


Getting the right paint consistency is the secret to a professional finish on your scale models. This isn't just some technical step you can skip; it's the absolute foundation for everything from smooth base coats to crisp, fine details. Honestly, learning to thin your paint properly is the difference between a frustrating session and achieving that flawless, factory-smooth surface we all chase.
Why Paint Consistency Is Your Most Important Skill
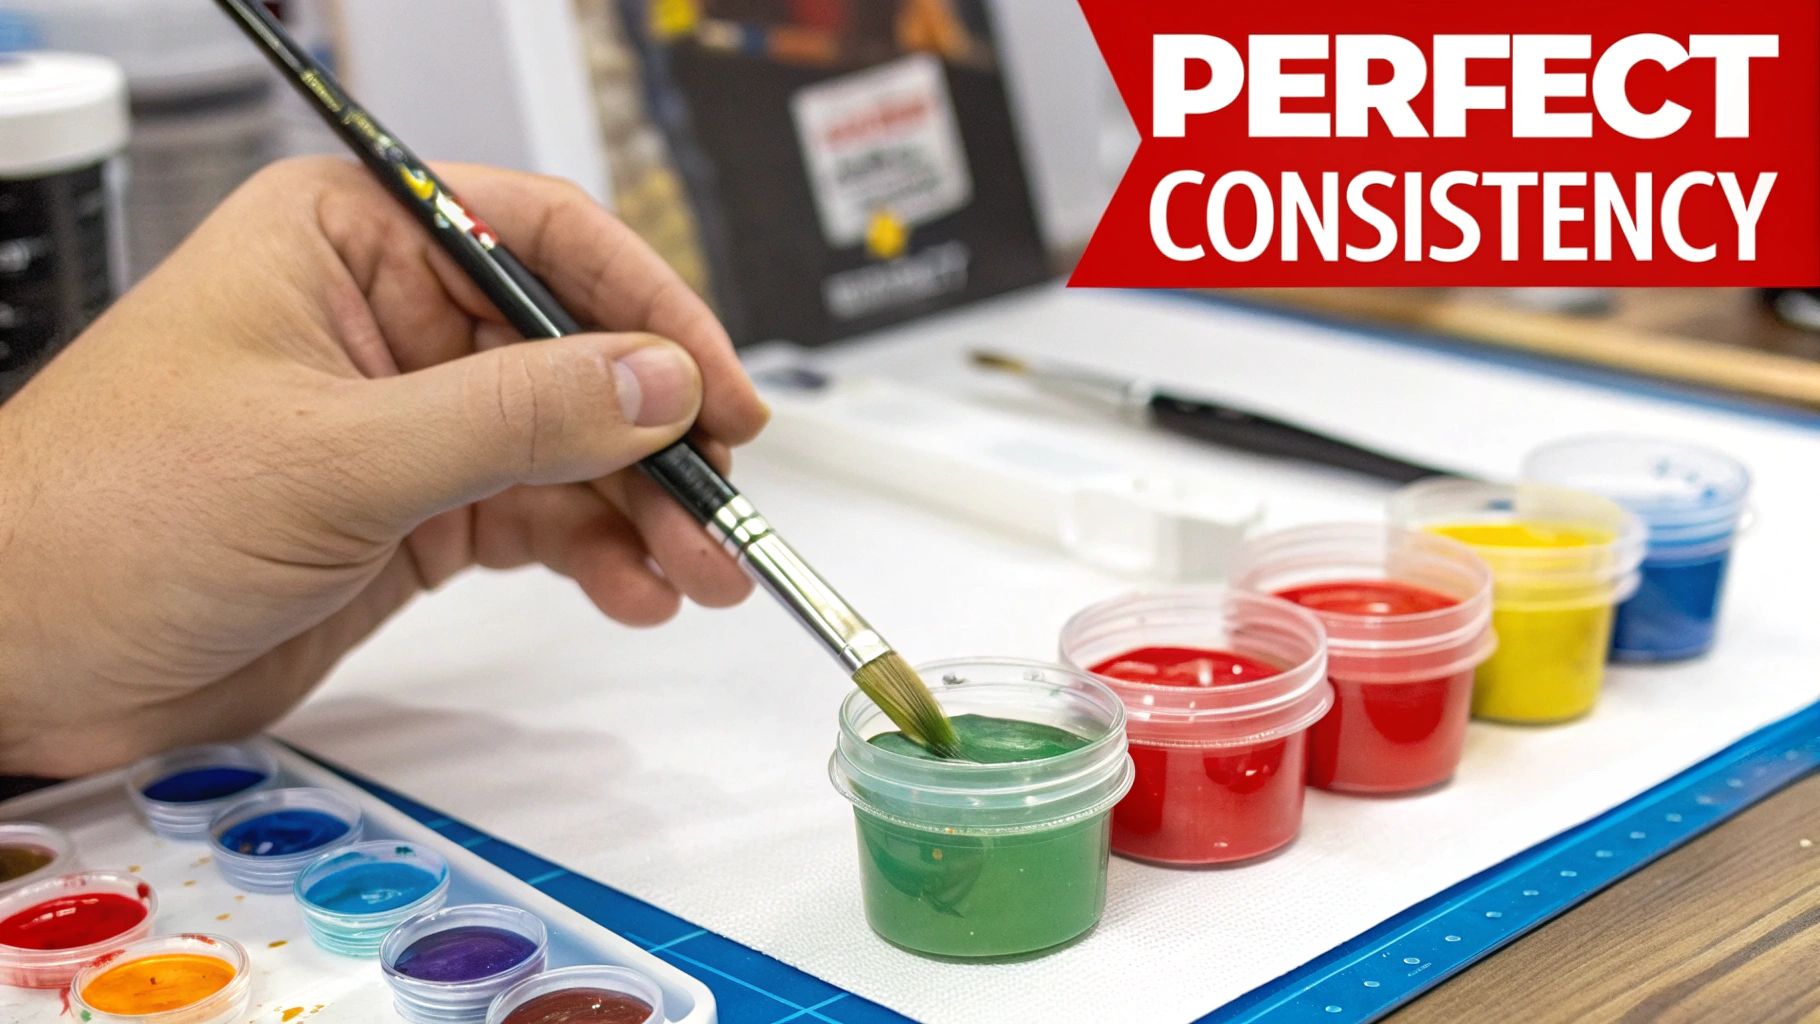
A lot of newcomers to scale modeling think a steady hand or a pricey airbrush is the magic bullet. While those things certainly help, they don't mean much if the paint itself is working against you. Think of paint straight from the pot like concrete mix—it’s just too thick and coarse to do anything useful on its own. Your job is to add the right stuff to turn it into a smooth, workable medium.
Learning how to thin acrylic paint correctly solves a massive number of common modeling problems before they even start. It prevents those ugly brush strokes, stops your airbrush from constantly clogging, and makes sure the paint adheres properly without burying fine surface details like panel lines or rivets.
This is a core skill that applies to almost any project, even if you're learning how to paint a boat and need a perfect finish. The principles of achieving smooth, durable coverage are pretty much universal.
The Impact of Proper Thinning
When you nail the consistency, you suddenly gain control over several key factors that make or break a paint job:
- Paint Flow: Thinned paint flows smoothly from your brush or airbrush, leveling itself out to create a uniform coat. This self-leveling quality is what kills those dreaded brush marks for good.
- Adhesion and Durability: Just adding tap water can be a mistake. Over-thinning with only water breaks down the acrylic binders that make paint stick. Using the right thinners or mediums preserves these binders, ensuring your paint job is tough and won't just peel off later.
- Detail Preservation: Thick paint acts like a layer of mud, filling in and softening the crisp, molded details on your model. Thin, properly applied layers build up color gradually while keeping every intricate feature sharp and visible.
The whole practice of thinning acrylics has come a long way. Early on, artists experimented with all sorts of additives, but standards started to emerge over time. The recommended ratio for thinning acrylic paint with water, established by major manufacturers, is up to 30% water to paint to maintain good coverage and adhesion. This standard was locked in back in the 1980s after paint companies realized that going past that ratio led to a serious drop in pigment concentration and durability.
Your Quick Guide to Thinning Agents
To get started, it’s really helpful to know which thinning agent to grab for different situations. Not all thinners are created equal, and picking the right one can make or break your project. This table gives a quick rundown.
Quick Guide to Acrylic Thinning Agents
| Thinning Agent | Best For | Key Characteristic | Typical Ratio (Agent:Paint) |
|---|---|---|---|
| Distilled Water | Basic brush painting, initial thinning | Inexpensive and readily available. | 1:3 to 1:1 |
| Commercial Thinner | Airbrushing, achieving smooth blends | Contains additives like flow improvers. | 1:2 to 2:1 |
| Acrylic Medium | Glazing, washes, altering sheen | Changes paint properties, not just consistency. | Varies by desired effect |
| Flow Improver | Hand brushing, reducing tip dry | Breaks surface tension for better flow. | A few drops per mix |
This should give you a solid starting point for what to use and when. Remember that these are just guidelines—your specific paint brand and even the humidity in your room can change things.
The classic advice to "thin your paint to the consistency of milk" is a great starting point, but it's not a one-size-fits-all rule. The perfect consistency for a base coat will be way too thick for a panel line wash, and what works beautifully for brush painting will instantly clog an airbrush. True mastery comes from learning to adapt your ratios for each specific task at hand.
Choosing the Right Thinner for Your Project
Picking the right liquid to thin your acrylics is just as important as choosing the paint itself. This decision changes everything about how the paint behaves—from its flow and drying time to the final look on your model. You've basically got three camps to choose from: good old water, commercial acrylic thinners, and specialized acrylic mediums.
Knowing the pros and cons of each will help you grab the right one for the job, whether you’re laying down a big base coat or adding a delicate weathering effect.
The Case for Simple Water
For a lot of basic tasks, especially brush painting, water is the default choice. It's cheap, easy to find, and does a decent job of making thick paints more workable. But not just any water will do.
You absolutely have to use distilled or demineralized water. Tap water is full of minerals and other gunk that will leave chalky white spots on your model as it dries, completely wrecking a smooth finish. Even worse, those same minerals can mess with the paint's ability to stick, meaning your hard work might just flake off later.
Water works for general thinning, but it has its breaking point. A 2019 survey showed that while 78% of professional artists use water, those who dilute their paint with more than 50% water see a 40% higher rate of problems with adhesion and color fade. This is because too much water breaks down the acrylic binder that holds the pigment together, resulting in a weak, chalky paint film.
Upgrading to Commercial Acrylic Thinners
When you need more control and consistent results, particularly for airbrushing, dedicated commercial thinners are a huge step up. These aren't just fancy water. They are engineered formulas designed to work perfectly with the chemistry of acrylic paints.
A good thinner is usually a cocktail of ingredients that do more than just dilute the paint:
- Flow Improvers: These break the paint's surface tension, letting it spread out smoothly and self-level. This is your secret weapon against brush strokes and the dreaded "orange peel" texture from an airbrush.
- Retarders: Most thinners include a little something to slow down the drying time. This is a lifesaver for preventing "tip dry" on your airbrush needle and gives you a bit more time to blend colors on the model.
For airbrushing, the right thinner is non-negotiable. It helps the paint atomize into a super-fine mist, giving you those buttery-smooth coats and letting you spray at lower pressures for detail work. A product like Abteilung 502's fast-dry thinner, for instance, is built to give you these advantages without weakening the paint.
Pro Tip: Whenever you try a new brand of thinner, always test it on a piece of scrap plastic with your go-to paint. Different formulas can sometimes react weirdly with each other. A quick test can save you the headache of stripping an entire model.
Unlocking Potential with Acrylic Mediums
Acrylic mediums are your advanced option. Think of them as "paint with no pigment." Instead of just watering down your color, they fundamentally change the paint's properties, unlocking a whole new level of creative techniques. Because they contain the same acrylic polymer binder as your paint, they extend the color without weakening it.
Here’s what mediums let you do:
- Create Glazes: Mix a little paint into a glaze medium, and you've got a transparent layer of color. This is the key to subtly shifting the hue of a base coat or building up incredible depth with weathering.
- Control the Sheen: Want a dead-flat finish for a tank or a high-gloss shine for a '57 Chevy? Mixing in a matte or gloss medium gives you total control over the final look, long before you even reach for a clear coat.
- Improve Durability: Since mediums add more binder to the mix, they can actually make the final paint job stronger and more chip-resistant than thinning with water alone.
The logic here is universal: just as the right medium ensures paint works perfectly, choosing the best adhesive for natural stone veneer ensures a durable, professional-looking bond. The medium must be right for the material.
To help you decide what to grab from your bench, here’s a quick breakdown of your options.
Water vs Thinner vs Medium A Comparative Analysis
This table offers a detailed comparison to help you decide which thinning agent is right for your specific task.
| Feature | Distilled Water | Commercial Thinner | Acrylic Medium (Glaze/Matte) |
|---|---|---|---|
| Primary Use | General brush painting, basic thinning | Airbrushing, high-performance brushwork | Creating glazes, washes, altering sheen |
| Cost | Very low | Moderate | Moderate to high |
| Effect on Paint | Dilutes pigment and binder | Dilutes pigment, maintains binder integrity | Extends paint, adds properties (sheen, transparency) |
| Performance | Can weaken paint film if overused | Improves flow, prevents tip dry | Enhances paint, increases durability |
| Best For | Quick base coats, rough weathering | Smooth airbrushed layers, fine detail | Advanced weathering, custom finishes, glazes |
| Airbrushing? | Not recommended (poor atomization) | Highly Recommended | Yes, for transparent effects and custom mixes |
Ultimately, having all three on hand gives you the most flexibility. Start with water, upgrade to a dedicated thinner for your airbrush, and experiment with mediums to take your finishing skills to the next level.
Practical Recipes for Perfect Paint Ratios
You've probably heard the old saying, "thin your paint to the consistency of milk." It's not bad advice, but it's only part of the story. The truth is, the "right" consistency completely depends on what you're doing. A perfect base coat mix will be a splattery mess if you try to use it for fine camouflage mottling.
Let's get into some specific, tested recipes that I use as starting points for common modeling tasks. Think of these as reliable baselines, not rigid rules. Your specific brand of paint, the humidity in your room, and even the pigment itself can change the ideal mix. The real skill comes from learning to read the paint on your palette before it ever touches the plastic.
This visual guide is a great way to think through which thinning agent you might need.
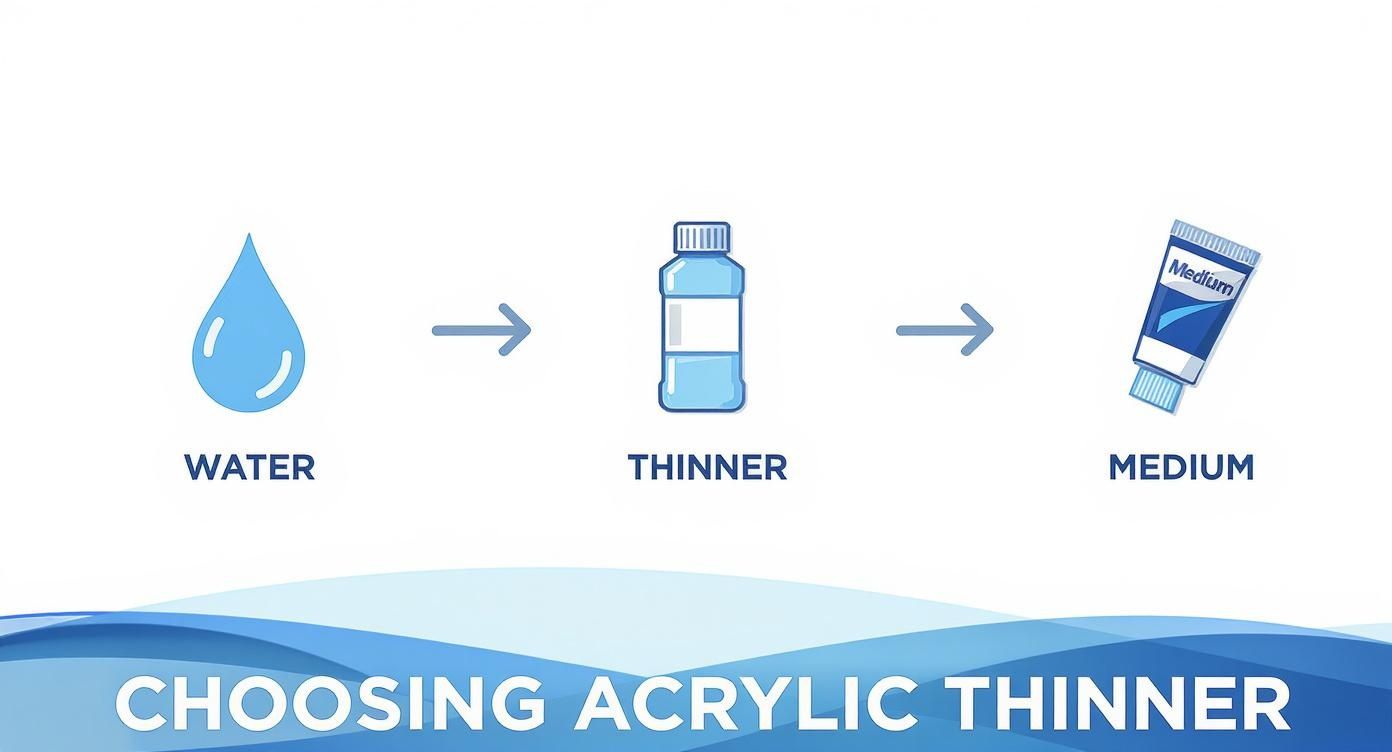
As the infographic shows, water is fine for simple jobs, but dedicated thinners and mediums give you the control needed for more advanced work.
Ratios for Hand Brushing
When you're painting by hand, the main goal is simple: kill the brush strokes. You want the paint to flow smoothly from the bristles and self-level, but not so thin that it runs all over the place and floods fine details.
- For Base Coats: I always start with a ratio of about 1 part thinner to 3 parts paint (1:3). This is usually just enough to break the paint's surface tension and get it flowing nicely. If you still see brush marks after it dries, just add another drop of thinner to your mix.
- For Layering and Detail Work: For finer work, a slightly thinner mix is better. Try around 1 part thinner to 2 parts paint (1:2). This consistency gives you great control with a fine-tipped brush and lets you build up color gently without burying tiny details.
Here's a quick test: load your brush and draw a line on your palette. If the paint leaves a thick, raised line, it’s too thick. If the line immediately looks watery or beads up, it's too thin. You're looking for a line that holds its shape for a second before settling down smoothly.
Airbrushing Ratios for Different Tasks
Airbrushing is where consistency becomes an obsession. It's directly tied to your air pressure (PSI). Thicker paint needs higher PSI to atomize, while super-thin paint can be sprayed at whisper-low PSI for incredibly fine lines. Learning how to thin acrylic paint for your airbrush is what transforms it from a source of frustration into your most precise tool.
General PSI and Ratio Relationship
| Task | Typical PSI Range | Starting Thinner:Paint Ratio | Desired Consistency |
|---|---|---|---|
| Primer/Base Coat | 18-25 PSI | 1:1 | Skim Milk |
| General Camouflage | 15-20 PSI | 1.5:1 to 2:1 | Whole Milk |
| Fine Lines/Mottling | 10-15 PSI | 2:1 to 3:1 | Watery, almost like ink |
The "skim milk" analogy is your best friend when dialing in airbrush ratios. If you drag a needle through your mix and it leaves a clear, sharp channel that slowly closes, you're in the right ballpark. If the channel stays open, it's too thick. If it closes instantly, it's too thin.
When I'm doing something like German Luftwaffe mottling, I use a very thin, inky mix at low pressure and get right up close to the model. This gives you pinpoint control and stops the paint from spiderwebbing. On the other hand, for a big single-color base coat on a tank, a slightly thicker mix at higher pressure gets the job done quickly and evenly.
Creating Perfect Washes and Glazes
Washes and glazes are all about being transparent. You're not trying to cover anything up; you're trying to tint a surface or get color to settle into panel lines and recesses. For these effects, you need to thin your paint... a lot.
- For a Panel Line Wash: You're aiming for a super-thin, watery mix that flows into panel lines with capillary action. A great starting point is 8-10 parts thinner to 1 part paint. A classic trick is to add a tiny drop of dish soap to the mix. It breaks the surface tension even more, helping the wash zip right into every nook and cranny.
- For a Filter or Glaze: A glaze is used to subtly shift the hue of the underlying paint job. The ratio here is less extreme, maybe around 5-6 parts medium to 1 part paint. For this, I strongly recommend using a dedicated glaze or matte medium instead of just thinner or water. Tools like the AK Interactive Mix-Addict are fantastic for creating and storing these custom mixes so you get repeatable results every time.
With these recipes, you're no longer just guessing. You have a solid, repeatable foundation for almost any painting task you'll face. Just do yourself one favor: always test your mix on a plastic spoon or a spare part before you commit it to your masterpiece. This one simple habit will save you from a world of frustration.
How Thinning Affects Drying Time and Sheen
When you start learning how to thin acrylic paint, you realize you're messing with more than just its consistency. The thinner you pick has a massive impact on two things that are crucial for scale modeling: how long the paint stays wet and what it looks like when it dries. Getting this relationship right is the secret to controlling your final finish.
Adding different thinners changes the paint's chemical makeup. It's not just about making it flow better; you're actually tweaking its core properties to fit the job, whether that's a buttery-smooth blend on a sci-fi kit or a dead-flat finish on a WWII tank.
Managing Your Paint's Working Time
A common myth is that adding water to acrylics will give you more time to work. Surprise—the opposite is often true. A bit of water can sometimes make the paint "flash off" and dry even faster, especially in the thin layers you spray with an airbrush.
This happens because water messes with the acrylic polymer emulsion. Research from the Getty Conservation Institute has shown that paints thinned with over 30% water can have a 25% faster drying time than those thinned with a proper acrylic medium. While that sounds great for speed, the study also found it causes a 30% reduction in color intensity and makes the paint more likely to crack down the line. You can learn more about these findings on acrylic thinners and why they matter for our hobby.
To really gain control, you need a thinner with a retarder.
- Commercial Thinners: Most quality acrylic thinners from brands like Tamiya or Vallejo already have a mild retarder mixed in. This additive is designed to slow down evaporation, giving you more "open time" to work the paint. It's a lifesaver for techniques like wet-on-wet camouflage or blending highlights on a figure's cloak.
- Dedicated Retarders: For maximum working time, add a drop or two of a dedicated retarder to your mix. This is a complete game-changer for wet blending, letting you feather colors into each other for several minutes before they even think about setting up.
By using thinners with retarders, you can turn fast-drying acrylics into a much more forgiving paint, giving yourself the time needed to nail the effect you’re after without panic.
Taking Control of the Final Sheen
The thinner you choose doesn't just manage drying time; it directly controls the final sheen of your paint. This is your secret weapon for getting a realistic finish right out of the gate, long before you even touch a can of clear coat.
Over-thinning with just water is the quickest way to kill your paint’s finish. As the water evaporates, the acrylic binder gets spread too thin and can't form a strong, cohesive film. The result is a fragile, chalky, and splotchy finish that looks dull and cheap.
The acrylic binder is the glue that holds the pigment together and gives paint its sheen and durability. When you use a medium instead of just water, you're adding more binder to the mix, extending the paint's volume without compromising its strength.
This is exactly where acrylic mediums shine. By using a gloss or matte medium as part of your thinning mix, you get total control over how the paint will look when it's dry.
- For a Gloss Finish: Painting something shiny like a classic car or a modern jet? Mix your paint with a gloss medium. It thins the paint while reinforcing a smooth, reflective surface. A good starting point is about 1 part gloss medium to 3 parts paint.
- For a Matte Finish: For military models, fabric textures, or beat-up, weathered subjects, a matte medium is your best friend. It thins the paint and adds a flattening agent to kill reflections. This gives you that perfect, dead-flat look you need for tank armor, uniforms, and dusty dioramas.
When you start adding these mediums to your thinning routine, you're not just watering down paint anymore. You're actively designing its final look and feel, making sure your model has the right sheen for the job from the very first coat.
Troubleshooting Common Paint Thinning Issues
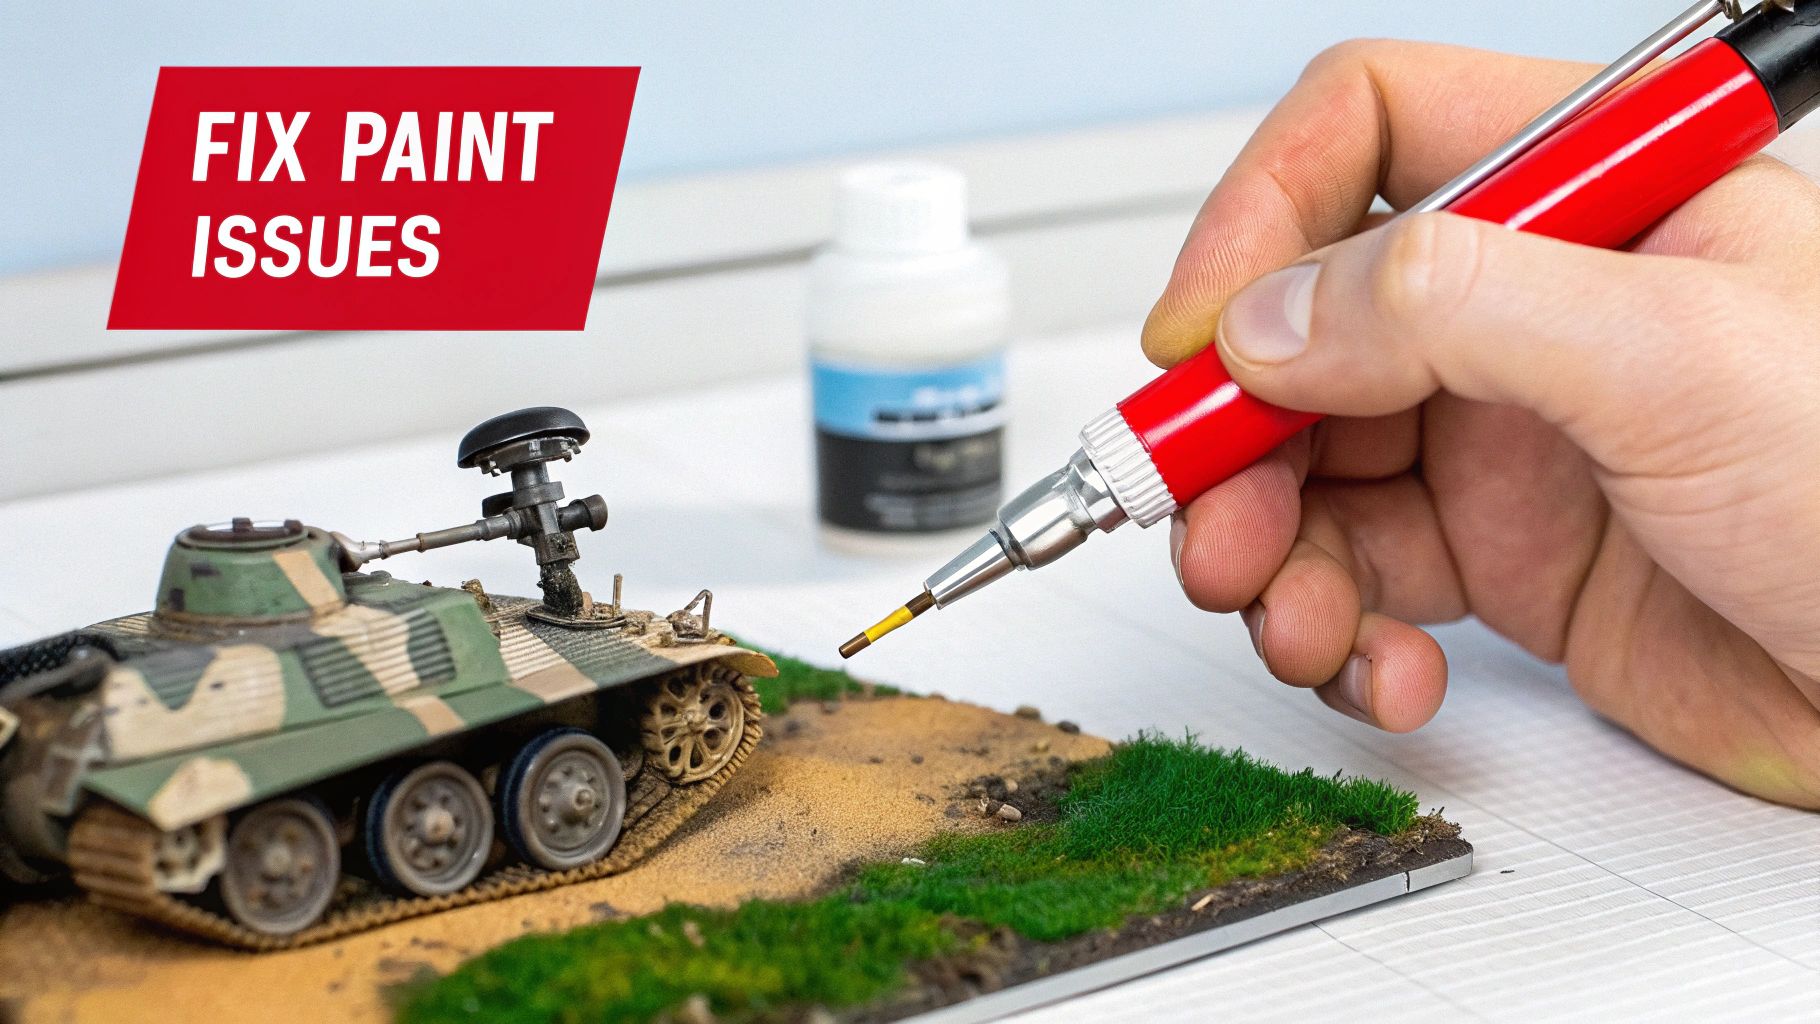
Even after years at the bench, every modeler has those days when the paint just refuses to cooperate. You’ve carefully mixed your color, but what comes out of the airbrush or off the brush is a complete disaster.
Don't panic—most of these frustrating moments are easy to fix once you know what's causing them. This section is your field guide for diagnosing and fixing the most common headaches that come with learning how to thin acrylic paint. We'll start with the temperamental airbrush and move on to common brush painting flaws.
Diagnosing Airbrush Problems
The airbrush is an incredible tool, but it's also incredibly sensitive to paint consistency. A slightly off mixture can lead to a whole range of frustrating outcomes. Let's break down the usual suspects and get your spray pattern back to perfect.
-
The Dreaded "Spiderweb" Effect: Instead of a fine mist, your airbrush sprays out tiny, web-like strings of paint. This creates a textured, fuzzy surface that looks awful. It’s the classic sign of paint that is too thin and/or your air pressure is too high. The air is literally blowing the watery paint around before it can land smoothly.
- The Fix: Add a few drops of un-thinned paint back into your airbrush cup to thicken the mix. Then, dial your air pressure down—try starting around 15-18 PSI and see how it behaves.
-
Paint Beading or Pooling: The paint refuses to form a solid coat. Instead, it pulls apart into little droplets on the model, almost like water on a waxed car. This usually happens for two reasons: your paint is over-thinned, or the surface of the model is too slick or greasy for the paint to grab onto.
- The Fix: First, try thickening your paint mix slightly. If the problem continues, the surface is the culprit. Make sure your model has a matte or satin primer coat, and always give it a quick wipe-down with isopropyl alcohol before painting to remove any lingering mold release agents or finger oils.
Fixing Brush Painting Flaws
While much more forgiving than an airbrush, a paintbrush will still tell on you if your paint consistency is off. Streaks and poor coverage are usually the first signs that your thinning ratio needs another look.
When you're brushing, the goal is to lay down smooth, even coats that eliminate visible strokes without flooding all those fine panel lines and details.
Common Brush Painting Issues and Fixes
| Problem | The Cause | The Actionable Solution |
|---|---|---|
| Streaky or Patchy Layers | Over-thinning with just water has broken down the acrylic binder, causing the pigments to separate on the model. | Use a dedicated acrylic thinner or a flow improver instead of only water. It’s always better to apply two thin, even coats than one thick one. |
| Paint Lifting with Masking Tape | This means the paint hasn't fully cured, or the primer underneath didn't get a good grip on the plastic. | Always allow your paint to cure for at least 24 hours before masking. To be safe, de-tack your tape by sticking it to your palm or a clean surface a few times first to reduce its grip. |
| Color Dries Much Lighter | This is just a natural characteristic of many acrylic paints; the wet color in the bottle is not the final hue. | Always test your mixed color on a plastic spoon or a piece of scrap sprue. Let it dry completely before you commit to spraying your model. |
A constantly clogging airbrush nozzle is infuriating. While it can be caused by thick paint, it’s often due to tiny, dried paint flakes from the cup getting sucked into the works. Keeping your tools spotless is just as important as the perfect mix.
The Importance of a Clean Airbrush
Even the most perfectly thinned paint won't spray correctly through a dirty airbrush. As you work, dried paint residue can flake off inside the airbrush and cause immediate clogs, leading to spitting and inconsistent spray patterns that look just like thinning problems.
A thorough cleaning after every single session is non-negotiable. Using a dedicated cleaner is crucial, as it’s formulated to dissolve cured acrylic paint that water and standard thinners just can’t touch.
For keeping your tools in top shape, a specialized solution like an AK Interactive perfect acrylic cleaner is your best bet to ensure every last trace of old paint is gone. By learning to spot these common issues, you can quickly adjust your mixture or prep to save a paint job and turn frustration into a flawless finish.
Common Questions About Thinning Acrylics
Even with the best guide, you're bound to run into questions at the workbench. It happens to all of us. This section is all about tackling those common head-scratchers we hear from modelers learning how to thin acrylic paint. Think of it as your quick-reference for getting clear, straight answers when you need them.
Nailing these little details is often the difference between a frustrating paint session and a finish you can be proud of. Let's dig into the specifics that often trip people up.
Can I Use Tap Water to Thin My Acrylic Paints?
Technically, yes. But for any serious modeling work, it's a practice you should absolutely avoid. The convenience just isn’t worth the risk to your model’s finish.
Tap water is loaded with minerals, chlorine, and other microscopic gunk. When that water evaporates from your paint, all those impurities get left behind on your model's surface. This can cause a few big headaches:
- Mineral Deposits: You might notice faint, chalky white spots appearing on your paint job, often called "water spots," which will ruin a smooth, uniform color.
- Weird Drying Times: The chemicals lurking in tap water can react unpredictably with the acrylic binders in your paint, messing with how it dries.
- Long-Term Discoloration: Over time, those impurities can even cause subtle shifts in the paint's color.
Honestly, one of the cheapest and best upgrades you can make to your painting setup is a jug of distilled or demineralized water. A gallon costs a couple of bucks and will last you for ages. It ensures your thinning agent is pure and consistent every single time, eliminating a major variable right off the bat.
Why Is My Paint Cracking After It Dries?
Paint cracking—sometimes called "crazing"—is almost always a dead giveaway that you've over-thinned your paint, especially if you're only using water. What's happening is you've pushed the paint's chemistry past its breaking point.
Acrylic paint is made of pigment particles suspended in an acrylic polymer binder. That binder is the glue that holds everything together and creates a strong, flexible film as it dries. When you add too much water, you dilute the binder so much that there isn't enough of it left to grab onto all the pigment. As the water evaporates, the weakened binder shrinks and literally pulls itself apart, causing those ugly cracks.
To dodge the cracking problem, especially when you need super-thin paint for washes or filters, always reach for a dedicated acrylic medium or a commercial thinner. These products have the same acrylic polymer as your paint, so they extend the color without weakening its internal structure.
What Is the Difference Between a Flow Improver and a Retarder?
This is a fantastic question because these two additives solve very different problems, though they often work hand-in-hand. You'll find a bit of both in many commercial thinners, but knowing what each one does helps you troubleshoot like a pro.
-
Flow Improver: A flow improver is a surfactant. Its only job is to reduce the surface tension of the paint. This makes the paint flow more smoothly off your brush or out of the airbrush, helping it self-level on the model. This is the magic ingredient that gets rid of brush marks and helps fight "tip dry" on your airbrush needle.
-
Retarder: A retarder, on the other hand, is a glycol-based additive made specifically to slow down the paint's drying time. It gives you a longer "open time" to work with the paint on the model's surface.
Here's the simple way to think about it: You'd add a flow improver when you want a smoother application. You'd add a retarder when you need more time for tricky techniques like wet blending colors on a figure or creating soft-edged camouflage patterns.
Do All Acrylic Paint Brands Thin the Same Way?
Not a chance. And learning this is a critical moment for any modeler. Every paint brand—from Tamiya and Vallejo to AK Interactive and Citadel—has its own secret sauce. Their pigment density, binder type, and how thick they are straight from the bottle can be wildly different.
For instance, Tamiya acrylics are notoriously thick and really sing when paired with their proprietary lacquer-based thinner for airbrushing. Conversely, many colors in the Vallejo Model Air line are formulated to be "airbrush ready" and might need just a drop or two of thinner, if any.
The key is to treat each brand as its own ecosystem. Start with the manufacturer's recommended thinner and ratios if they list them. From there, your own testing is king. Keep a plastic spoon or a piece of scrap sprue handy to test every single mix before it touches your model. Over time, you’ll develop a gut feeling for the paints you use most and learn exactly how to thin acrylic paint for each brand to get perfect, repeatable results every time.
At Fusion Scale Hobbies, we carry a comprehensive selection of paints, thinners, and mediums from all the top brands to help you achieve the perfect finish. Explore our collection and find the right tools for your next project at https://fusionscalehobbies.com.