


A scale model kit is, at its heart, a box filled with potential. Inside, you'll find a collection of parts—usually plastic—that let you assemble a miniature replica of something real, like a plane, car, or ship. But it’s so much more than a toy. It's a creative project that blends careful assembly, painting, and detailing to bring a piece of history or your imagination to life right on your shelf.
Building a scale model kit is an immersive hobby that feels like a mix of engineering, artistry, and patience.
Your Adventure into Miniature Worlds Begins
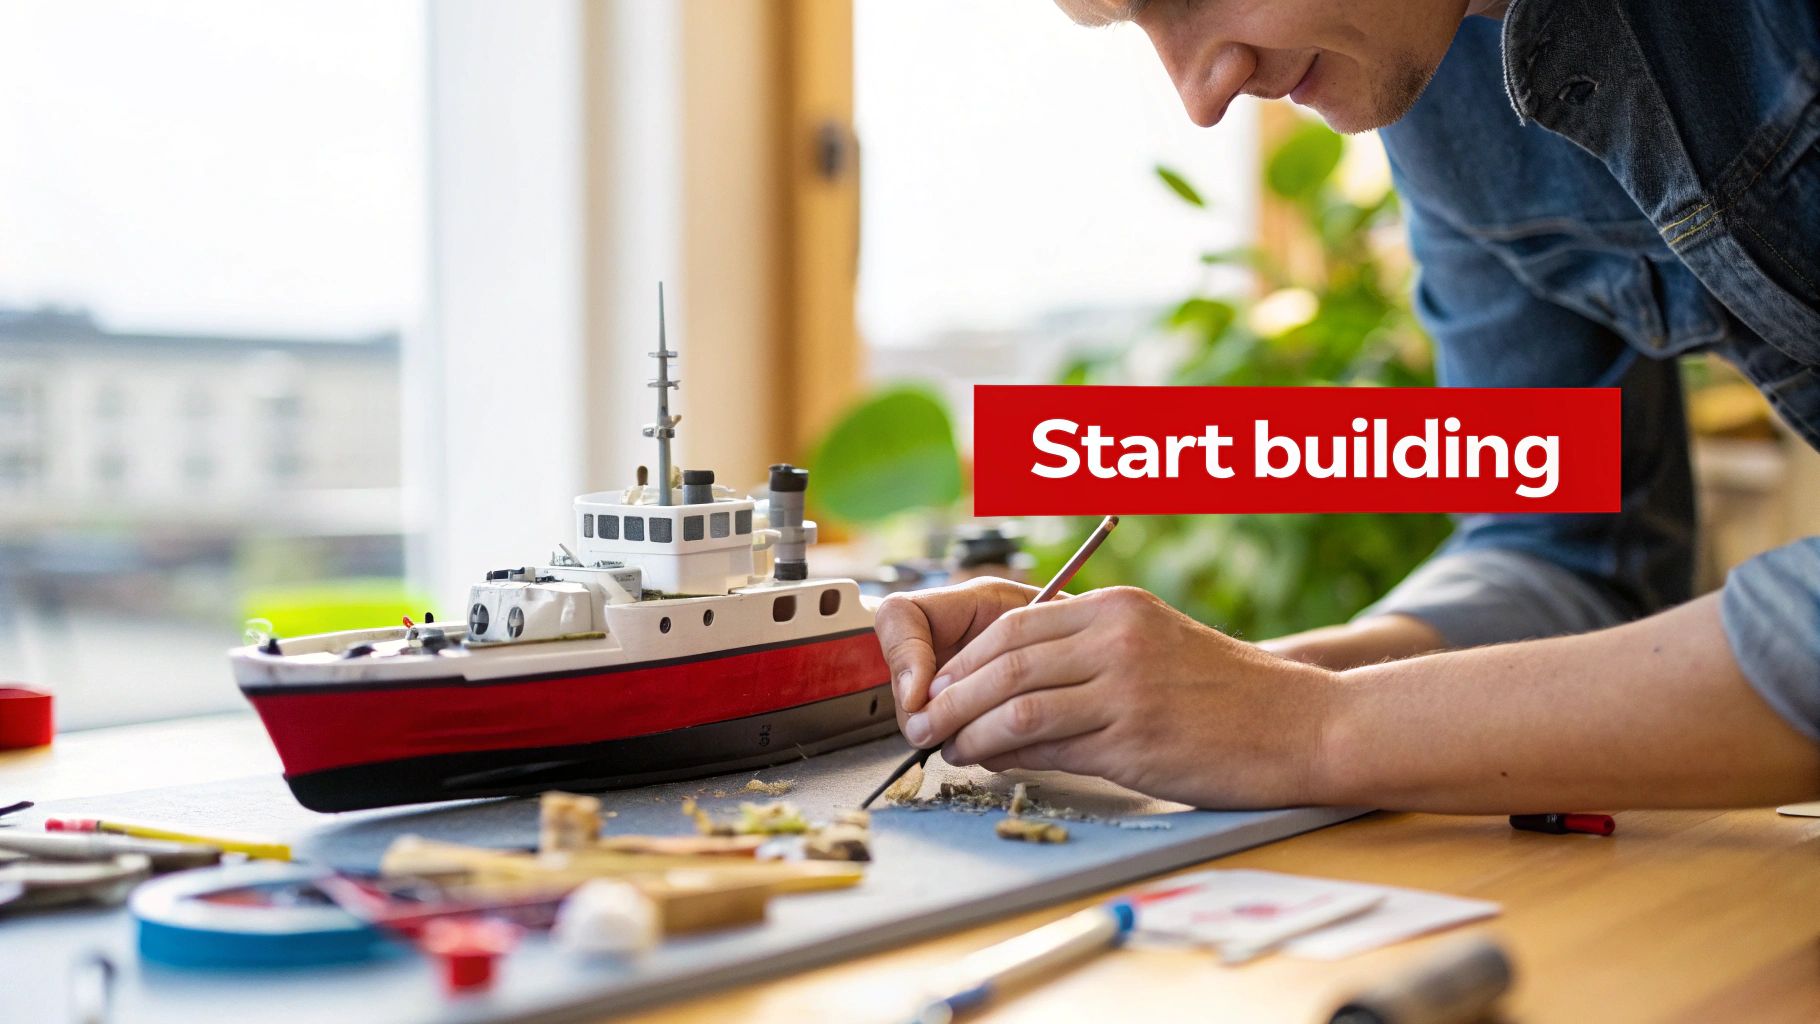
Welcome to the incredibly rewarding world of scale modeling. This craft is about much more than just snapping plastic pieces together; it’s a chance to become a historian, an engineer, and an artist all at once. There’s a deep satisfaction that comes from creating a detailed replica with your own hands—a quiet, meditative focus that’s hard to find in our fast-paced world.
A lot of newcomers think scale modeling is an overly complex or expensive hobby reserved only for experts. This guide is here to be your friendly roadmap, demystifying the whole process and giving you the confidence to dive into your first project. We'll break everything down into simple, achievable steps, setting you on a path to creating something you can be truly proud of.
Why This Hobby Captivates So Many
The appeal of building a scale model kit is multifaceted, attracting a diverse community of creators for all sorts of different reasons. It’s a hobby that really grows with you, always offering new challenges and rewards no matter your skill level.
Here are a few of the core attractions:
- A Tangible Connection to History: Assembling a historical aircraft or military vehicle gives you a hands-on connection to the past. You learn about its design, its function, and the stories behind it in a way that just reading a book can't replicate.
- The Joy of Creation: There is immense pride in taking a box of plastic parts, still attached to their frames (called sprues), and transforming them into a detailed, realistic miniature. Every step, from cutting the first piece to applying the final decal, contributes to a finished product that is uniquely yours.
- A Relaxing Mental Escape: The focus required for modeling is the perfect escape from daily stresses. It's a mindful activity that engages your creativity and problem-solving skills, letting you get completely lost in the project at hand.
Scale modeling is more than a pastime; it's a journey in patience and precision. Each kit is a puzzle waiting to be solved, an empty canvas awaiting color, and a story waiting to be told through your efforts.
A Growing Global Community
You're definitely not alone in this adventure. The hobby has seen a huge resurgence as more people look for hands-on, creative outlets. The global market for plastic model kits has been growing steadily, valued at around USD 2.82 billion and projected to hit USD 4.95 billion by 2033.
This growth shows a real appreciation for tangible skills and the quiet, educational joy of model building. You can read more about the model kit market trends to see just how much it's booming.
Understanding Model Scales and Kit Types
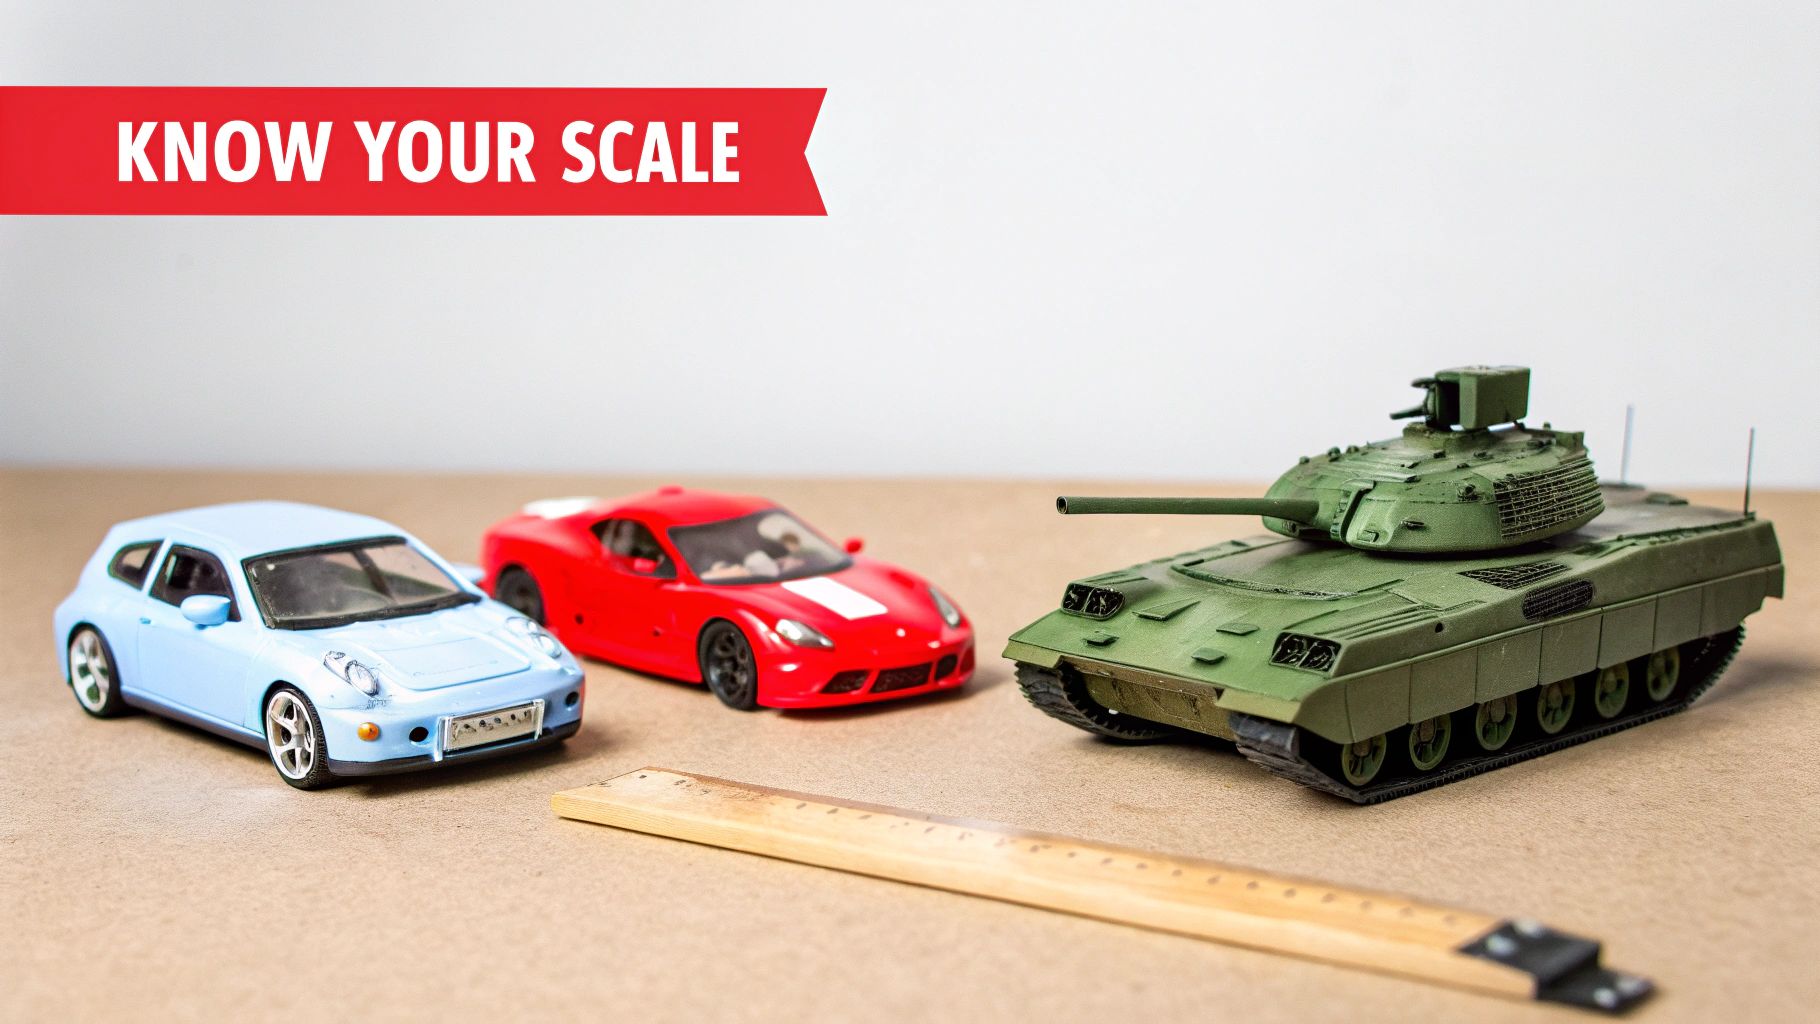
Before you jump into your first scale model kit, there are two big ideas you’ll want to get a handle on: scale and kit type. These two things will shape everything about your project—its final size, how much detail you’ll be working with, and the materials you'll need. Grasping these basics is the best first step you can take to pick a kit that’s right up your alley and matches your current skill level.
Think of scale as just a shrinking ratio. It's written as a fraction, like 1:72 or 1/72, and it tells you exactly how many times smaller the model is compared to the real thing. So, for a 1:72 scale Spitfire, every inch on your model represents 72 inches (or six feet) on the actual aircraft. Simple as that.
Here’s the key takeaway: the smaller the second number, the bigger the model. A 1:32 scale plane will be much larger and usually pack in more detail than a tiny 1:144 version of the same aircraft. This decision affects everything from how much shelf space it hogs to how intricate the parts are that you'll be handling.
Choosing The Right Scale For Your Project
You'll quickly notice that different subjects—like cars, tanks, or ships—tend to stick to standard scales. This is a huge help for modelers, as it allows you to build collections where everything looks right next to each other, which is perfect for creating dioramas or historical displays.
Here’s a quick rundown of the most common scales you’ll bump into:
- 1:72 Scale: An absolute favorite for aircraft. This scale gives you a massive selection of subjects without eating up too much display space. Some call it "braille scale" because the tiny parts can be a real test of patience, but it’s a fantastic starting point.
- 1:48 Scale: Another big one for aircraft builders, 1:48 gives you a larger canvas to play with. The parts are easier to wrangle than in 1:72, making it a great choice for when you want to dive into more advanced painting and weathering techniques.
- 1:35 Scale: This is the king of scales for military vehicles like tanks, armored cars, and artillery. It hits that sweet spot between size and detail, and there’s a massive aftermarket for figures and accessories to build stunningly realistic scenes.
- 1:24 & 1:25 Scale: If you love cars, these are your scales. They're big enough to allow for incredible detail under the hood, inside the cabin, and on the chassis, which is why they rule the automotive modeling world.
Model trains, of course, march to the beat of their own drum with scales like HO, N, and O gauge. These follow a completely different measurement system. If trains are your thing, it’s worth digging into how they stack up. We’ve got you covered—check out our complete guide to model railway scales for a deep dive.
To make it even clearer, here's a table comparing some popular scales and what they're typically used for.
Common Model Scales and Their Primary Uses
| Scale | Genre | Typical Detail Level | Best For |
|---|---|---|---|
| 1:72 | Aircraft, Military Vehicles | Moderate | Building large collections, dioramas with limited space |
| 1:48 | Aircraft, Military Vehicles | High | Showcasing individual models with detailed paintwork |
| 1:35 | Military Vehicles, Figures | Very High | Creating hyper-realistic dioramas and detailed armor models |
| 1:24 / 1:25 | Cars, Trucks | Exceptional | Displaying engine, interior, and chassis details |
| N Scale (1:160) | Model Railroads | Good | Building extensive layouts in a small room |
| HO Scale (1:87.1) | Model Railroads | Very Good | The most popular balance of size and detail for trains |
| O Scale (1:48) | Model Railroads | High | Large, impressive layouts with options for sound and detail |
This should give you a better feel for how the scale you choose influences not just the size, but the entire focus of your project.
Understanding Different Kit Materials
Beyond just the scale, the actual material a kit is made from will define your building experience. Most of us get our start with traditional plastic kits, but knowing what else is out there will help you make smarter choices as you explore the hobby.
Injection-Molded Plastic
This is what most people picture when they think of a scale model kit. Melted plastic is shot into steel molds, creating those familiar sheets of parts we call "sprues." These kits are everywhere, they're affordable, and the range of subjects is absolutely massive.
Snap-Fit Kits
These are a fantastic gateway into the hobby, especially for beginners or younger modelers. They're cleverly engineered plastic kits that click together without needing any glue. They offer a great, frustration-free way to learn the basics of assembly and build some confidence before tackling a more complex build.
Resin Kits
Made by smaller, more specialized companies, resin kits often feature subjects you just can't find in plastic. The casting process picks up incredibly fine detail, but the trade-off is that the parts need more prep work—like removing pour stubs—and have to be assembled with super glue. They're best left for intermediate or advanced modelers.
Photo-Etched Metal
Often sold as an upgrade set, photo-etch (or "PE") parts are thin sheets of metal used to replicate super-fine details like instrument panels, mesh grilles, or ship railings that would look clunky in plastic. Working with PE requires a steady hand and a lot of patience, but it can take a standard kit and turn it into a museum-quality showpiece.
Assembling Your Essential Modeler's Toolkit
Jumping into your first scale model kit doesn't mean you need a workshop full of expensive gear. The beauty of this hobby is how accessible it is—you can start with just a few core items and build out your collection as your skills and interests grow.
Think of it like stocking a kitchen for the first time. You don't start with a sous-vide machine; you start with a good knife and a cutting board. For modeling, this means focusing on tools that handle three simple tasks: getting the parts off the frame, cleaning them up, and sticking them together.
The Absolute Must-Haves
For your first few builds, you really only need a handful of essential tools. These are the non-negotiables that will take you from a box of plastic sprues to a fully assembled model. It's tempting to grab household scissors or a nail file, but trust me, using a dedicated hobby tool is designed for precision and will save you a world of frustration.
Your core starter set should include:
- A Quality Hobby Knife: This will be your go-to tool. A comfortable handle with sharp, replaceable blades (like a classic #11 blade) is perfect for trimming tiny imperfections and scraping away pesky seam lines.
- Sprue Cutters: Also known as side cutters or nippers, these are non-negotiable for cleanly removing parts from their plastic frame (the sprue). Twisting parts off or using scissors will almost always damage them. Sprue cutters give you a precise, clean cut right from the start.
- Sanding Sticks or Files: Once you snip a part from the sprue, you'll be left with a little nub. A set of fine-grit sanding sticks or hobby files is crucial for smoothing these areas down so every part fits perfectly.
- Model Cement: The right adhesive is everything. You'll want a plastic cement made specifically for polystyrene, as it works by slightly melting the plastic to create a strong, welded bond. For a deeper dive, check out our guide on choosing the best glue for plastic models.
Nice-to-Have Tools for Later
Once you’ve got a few builds under your belt, you can start adding tools that offer more precision or open up new techniques. These aren't necessary for your first kit, but they make the process smoother and allow for a much higher level of detail as you progress.
Building a toolkit is a marathon, not a sprint. Each new tool you add should solve a specific problem or unlock a new skill you want to learn, from precision drilling to advanced painting.
Consider these your next-level additions:
- Self-Healing Cutting Mat: This is a lifesaver for protecting your desk and providing a safe, forgiving surface for cutting. The grid lines are also a huge help for measurements.
- Pin Vise: Think of this as a tiny, hand-operated drill. It's perfect for drilling out gun barrels, creating holes for rigging on ships, or adding custom details.
- Tweezers: Absolutely essential for handling tiny parts, especially delicate photo-etched metal pieces, without fumbling or losing them to the dreaded carpet monster.
- An Airbrush and Compressor: This is the biggest leap forward for painting. An airbrush lets you apply thin, even coats of paint for a flawless, professional finish that's nearly impossible to get with a brush alone.
Remember, proper maintenance of your tools is key for longevity and better results; learn how to clean paint brushes to keep them in top shape. As this hobby grows, so does the market for these tools. The global model kits market was recently valued at USD 1.115 billion and is expected to grow to USD 1.5 billion, driven by the rising interest in hands-on hobbies. You can discover more insights about this growing market and see why so many are joining in.
Your Step-By-Step First Model Build
This is where the magic really happens. Taking that box of plastic parts and turning it into a finished replica is one of the most satisfying parts of the hobby. We'll walk through the essential stages of building your first scale model kit, breaking the whole process down into clear, manageable steps. The goal is a fun, successful first build.
Remember, the key to a great build isn’t speed. It’s about enjoying each stage, taking your time, and patiently building your skills. Every step, from prepping the parts to the final touches, adds up to create the final piece.
Stage 1: Preparing and Cleaning Your Parts
Before you even think about reaching for the glue, your first job is prep work. When you open the box, you’ll find all the parts attached to plastic frames called "sprues." Your first step is to gently wash these sprues in warm, soapy water and let them air dry completely.
This quick wash gets rid of any mold-release agents left over from the factory. These oily residues can stop paint and glue from sticking properly, so this simple step is a pro habit worth picking up from day one.
Stage 2: Removing and Tidying Up Parts
With your parts clean and dry, it’s time to start freeing them from the sprues. This is a critical step where a little precision goes a long way.
- Consult the Instructions: Always check your instruction sheet to see which part numbers you need for the step you're on. Working in order is the best way to avoid confusion.
- Use Sprue Cutters: Use your sprue cutters (or nippers) to snip the part from the frame. Don't cut right up against the part itself; leave a small nub of plastic behind.
- Trim and Sand: Once the part is free, use a sharp hobby knife to carefully trim away that remaining nub. Then, gently sand the area with a fine-grit sanding stick until it’s perfectly smooth.
Following this methodical process ensures your parts will fit together snugly without any ugly gaps or bumps—the foundation of any clean build.
Pro Tip: Always Test-Fit Your Parts. Before applying a drop of cement, always dry-fit the components. This lets you check for any fit issues and see exactly how the pieces should align, preventing messy mistakes once the glue comes out.
Stage 3: The Assembly Process
Now for the exciting part: bringing it all together. When it comes to plastic cement, remember that less is more. Modern cements work by chemically melting the plastic to create a strong, welded bond, so you only need a tiny amount.
Apply a thin line of cement to one of the joining surfaces, then press the parts together firmly but gently. Hold them in place for a few moments until the bond takes. If a little melted plastic squeezes out of the seam, don’t wipe it! Let it dry completely for a few hours, and then you can easily scrape or sand it off for a perfectly invisible seam.
This infographic breaks down the essential tools you'll need for assembly, separating the absolute must-haves from the nice-to-haves you can add later on.
As you can see, you can get started with just a few core tools. More advanced gear like an airbrush can always be added later as you dive deeper into the hobby.
Stage 4: Basic Painting and Decals
Many modelers find it easier to paint smaller bits and pieces while they are still attached to the sprue, or to paint sub-assemblies before final construction. For example, painting a cockpit interior or the wheel wells of an aircraft is much simpler before they get sealed up inside the model.
Once your main assembly is painted and has a gloss clear coat on it, it's time for decals. These super-thin, printed markings add a huge dose of realism.
- Cut and Soak: Cut the decal you need from the sheet and let it sit in a small dish of warm water for about 20-30 seconds.
- Slide into Place: Once it loosens from the backing paper, use a soft brush or cotton swab to gently slide it from the paper into position on your model.
- Set and Seal: A drop of decal-setting solution will help it snuggle down over the model's surface details. Once it’s dry, lock it in with another layer of clear coat to protect it.
Stage 5: Simple Weathering for Realism
Weathering is the step that turns a clean, factory-fresh model into something that looks like it has a story. One of the easiest and most effective techniques is applying a "wash." A wash is just heavily thinned paint—usually black, brown, or gray—that you brush over the model.
The thin paint naturally flows into all the recessed panel lines and details, creating shadows and making everything pop. It instantly adds depth and a sense of scale. After the wash has settled into the low spots, you can wipe the excess from the raised surfaces with a soft cloth, leaving the "grime" only in the crevices. This one technique can dramatically elevate the look of your first scale model kit.
Bringing Your Model to Life with Paint
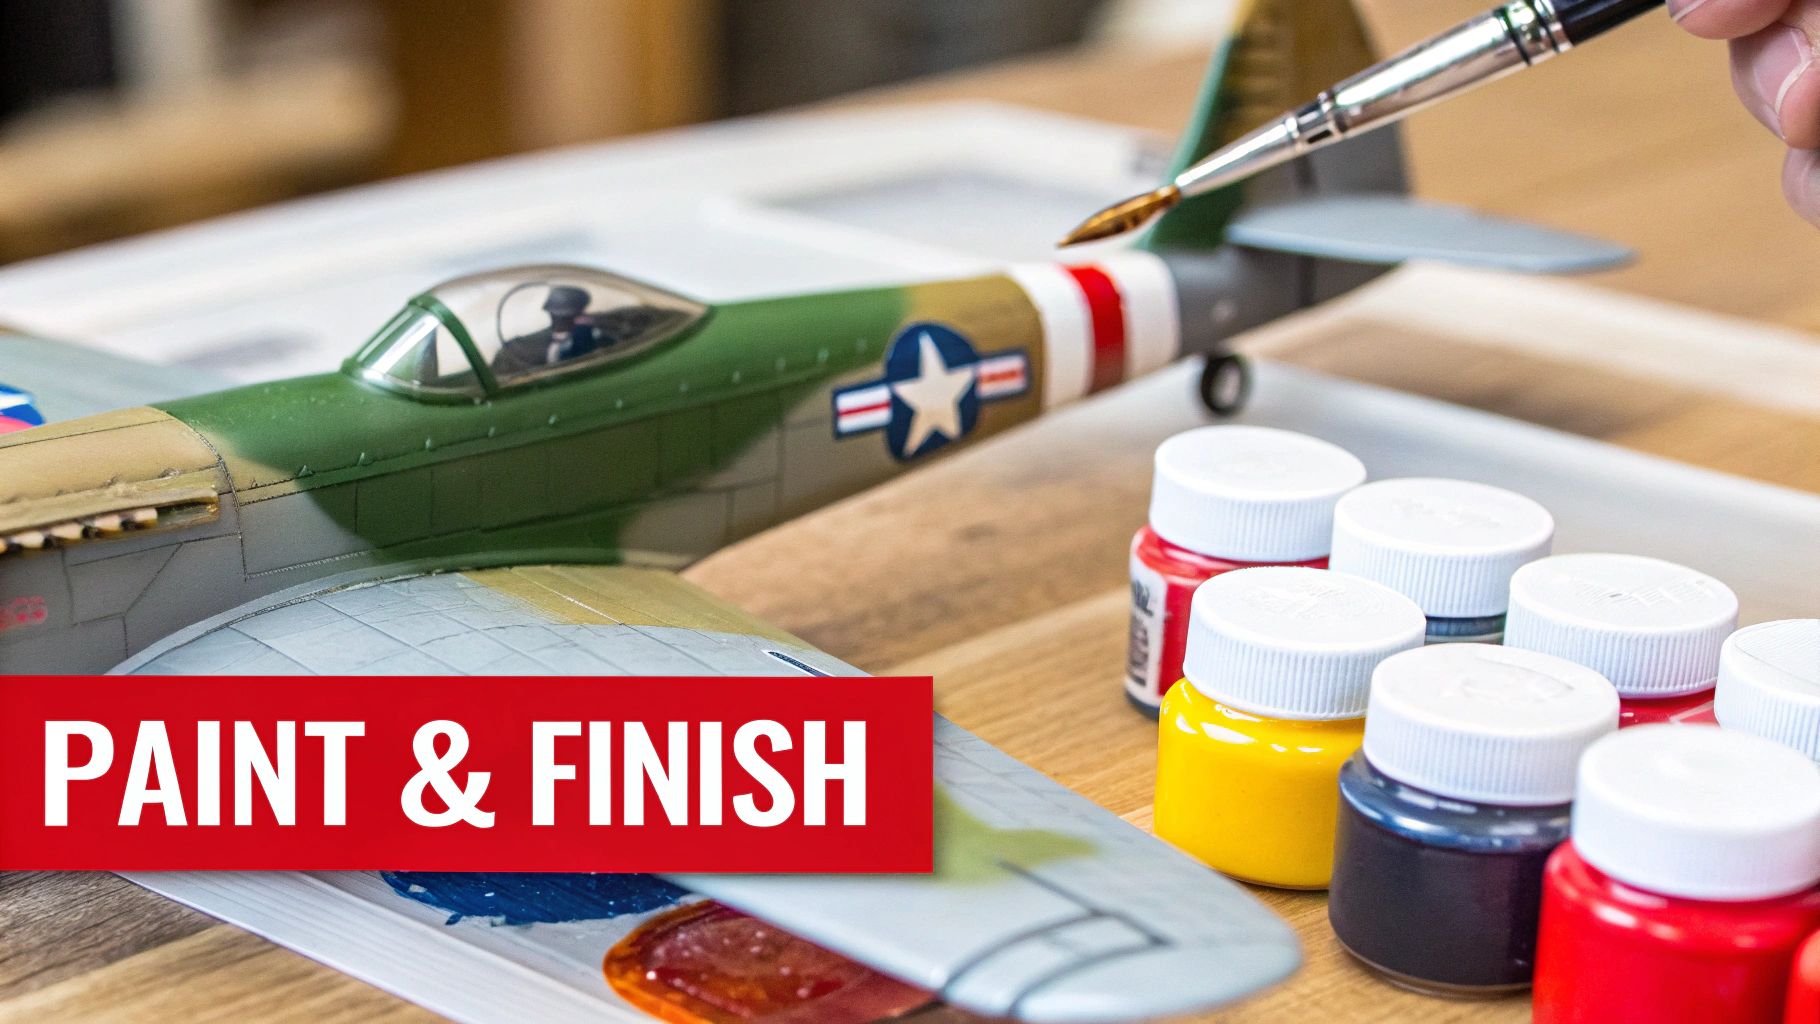
This is where the magic really happens. The painting stage is where your carefully assembled scale model kit stops looking like a collection of plastic parts and truly comes alive. It’s the step that breathes personality and realism into your creation.
Achieving a great finish isn't about being a master artist from day one. It’s about understanding your paints and following a process. The first big choice you'll make is what kind of paint to use.
Choosing Your Paint Type
Your paint choice will shape your entire workflow, from how you apply it to how you clean up. In the hobby world, there are three main players: acrylics, enamels, and lacquers. Each has its own personality, and the "best" one really depends on your project, your workspace, and your comfort level.
Here’s a quick rundown of the big three:
- Acrylics: These are the go-to for most modelers today, and for good reason. They're water-based, which means low odor, they aren't toxic, and cleanup is a breeze with just water. Brands like Tamiya and Vallejo have massive color ranges that work great for both hand-brushing and airbrushing.
- Enamels: Think of these as the old-school, oil-based workhorses. They are incredibly durable and level out to a beautiful, smooth finish. Because they dry slowly, you get more time to work with them for effects like blending. The trade-off? You’ll need mineral spirits for cleanup, and the fumes are pretty strong.
- Lacquers: A favorite of serious airbrush users, lacquers are known for their super-fine pigments and lightning-fast drying times. They lay down in a very thin, tough coat that preserves every tiny detail on your model. But be warned: they require aggressive thinners and excellent ventilation is an absolute must.
For your first few kits, acrylics are highly recommended. They deliver fantastic results without the hassle and harsh chemicals of the others. Once you get your feet wet, you can start experimenting with what enamels and lacquers have to offer.
To make it even clearer, here’s a simple breakdown of how these paints stack up.
Model Paint Type Comparison
This table sums up the key differences to help you pick the right paint for your project.
| Paint Type | Base | Cleanup | Pros | Cons |
|---|---|---|---|---|
| Acrylic | Water | Water | Low odor, fast drying, non-toxic, easy cleanup, huge color selection. | Can be less durable than others; may dry too fast for some techniques. |
| Enamel | Oil | Mineral Spirits/Thinner | Very durable, smooth self-leveling finish, long working time. | Strong fumes, slow drying time, requires harsh solvents for cleanup. |
| Lacquer | Solvent | Lacquer Thinner | Extremely durable, very fine pigments, dries fast, great for airbrushing. | Very strong fumes, requires aggressive thinners, not ideal for brush painting. |
Ultimately, the right paint is the one that fits your setup and gives you the results you want. Don't be afraid to experiment as you gain more experience!
A great paint job isn't about applying one thick layer. It's built upon several thin, patient coats, starting with a solid foundation. This approach ensures a smooth finish that preserves all the delicate details molded into your scale model kit.
The Foundation: A Good Primer
Before a single drop of color touches your model, you need to lay down a primer. Think of it as the handshake between the raw plastic and your paint. Primer is a special paint that lightly "etches" the surface, giving the next layers something to really grab onto.
A thin, even coat of primer does a few critical things. First, it instantly reveals any surface flaws you might have missed—scratches, glue marks, or faint seam lines—giving you a chance to fix them. Second, it creates a neutral, uniform base color (usually gray, white, or black) so your final colors look consistent across the whole model.
Applying Base Coats and Clear Coats
Once your model is primed and ready, it's time for color. The secret to a flawless finish, especially with a brush, is thinning your paint. You're aiming for a consistency close to milk. It's always better to apply two or three thin coats than to slop on one thick one that hides details and leaves brush strokes.
If you need a deep dive into getting that perfect consistency, check out our guide on how to thin acrylic paint.
After your base colors are fully dry, there's one last step: a clear coat. This protective layer is non-negotiable. It seals your hard work, protecting it from fingerprints and handling. It also creates the perfect surface for applying decals and doing weathering. A gloss coat helps decals settle down smoothly without trapping air, while a final matte or satin coat gives your model that perfect, realistic sheen.
Choosing and Preserving Your Models
Your journey with a scale model kit doesn’t end when the final clear coat is dry. In many ways, that’s just the beginning. Completing a build marks your transition from a builder into a collector, which brings two new skills into play: picking your next project wisely and protecting the models you’ve already poured so much effort into.
Choosing your next kit is a huge part of what keeps this hobby exciting. Instead of just grabbing the first box that looks cool, think about what will make the build truly rewarding. What are you passionate about? A specific historical era, a certain type of vehicle, or maybe a sci-fi universe? Building something you genuinely care about is always more fun.
It also pays to be honest about your skill level. Pushing your boundaries is how you grow, but jumping from a simple snap-fit kit to a multi-media beast with tons of photo-etch can lead to a frustrating time at the workbench. Also, keep brand reputation in mind—some manufacturers are famous for their brilliant engineering and clear, beginner-friendly instructions.
Safeguarding Your Hard Work
Once a model is finished, it’s a miniature piece of art, and it deserves to be protected. With proper display and care, your work will stay in pristine condition for years to come, safe from the usual enemies: dust, sunlight, and clumsy accidents.
Your first line of defense is a smart display spot. Direct sunlight is brutal on models; its UV rays will fade paint and make plastic brittle over time. A shelf away from a window is a good start, but an enclosed display case is the gold standard.
- Glass or Acrylic Cases: These are your best bet for keeping out dust and preventing accidental bumps, all while giving you a perfect view. Think of them as an investment that pays for itself by saving you hours of cleaning.
- Regular Dusting: For models on open shelves, a gentle dusting every week or two is a must. A large, soft makeup brush works wonders, as does a can of compressed air held at a safe distance.
- Handle with Care: When you need to move a model, always lift it by its most solid part—like the chassis of a car or the base of an aircraft's fuselage. This will help you avoid snapping off delicate antennas, mirrors, or landing gear.
A well-kept collection tells the story of your progress in the hobby. Each model is a snapshot of your skills at a particular time, and a few simple steps to protect them ensures that story can be shared for decades.
A Hobby in Full Bloom
As you build out your collection, you’re joining a massive, passionate global community. The scale model market has seen incredible growth, jumping from USD 2.65 billion to an estimated USD 3.52 billion in recent years.
This boom is a testament to the dedication of hobbyists worldwide and the incredible innovation from manufacturers who keep pushing the boundaries with more detailed and diverse kits. You can read the full research about model kit market growth to see just how much this wonderful hobby continues to thrive.
Frequently Asked Questions About Model Kits
Even with a solid guide, it's natural for questions to pop up when you're diving into a new hobby. We get it. This section tackles the most common queries we hear from beginners, giving you clear, straightforward answers to help you start your first scale model kit with total confidence.
What Is the Best Kit for a Beginner?
For someone just starting out, you can't go wrong with a "snap-fit" or "Skill Level 1" kit. These are specifically designed to be beginner-friendly, requiring little to no glue and having fewer parts to keep things from getting overwhelming.
A 1:72 scale aircraft or a 1:48 scale tank is a fantastic starting point. They offer a great balance of manageable size and satisfying detail for a first project. Brands like Bandai (for their sci-fi kits) or Airfix's QUICK BUILD series are perfect entry points that let you focus on learning the fundamentals of assembly without any frustration.
Do I Need an Airbrush for a Good Paint Job?
Absolutely not. You can get incredible results with hand brushing, and plenty of award-winning models are painted entirely by hand. The real secret isn't the tool you use, but your technique.
The key to a great brushed finish is patience and getting the paint consistency just right. By using quality brushes, thinning your paints to the consistency of milk, and applying several thin coats instead of one thick one, you can get a smooth, professional look without ever touching an airbrush.
How Much Does It Really Cost to Start?
Getting into scale modeling is surprisingly affordable. The initial investment is very reasonable, and the core tools you buy will last you through many, many projects.
- A Beginner Kit: This will typically run you between $15 and $30.
- Basic Toolkit: A starter set with a hobby knife, sprue cutters, glue, and sanding sticks can be put together for another $20 to $40.
All in, you can be fully set up and ready to build your first model for well under $100. That makes it one of the most accessible and rewarding hands-on hobbies you can get into.
At Fusion Scale Hobbies, we have everything you need to start and grow in this amazing hobby, from beginner-friendly kits to professional-grade paints and tools. Explore our massive selection and find your next project today at https://fusionscalehobbies.com.