


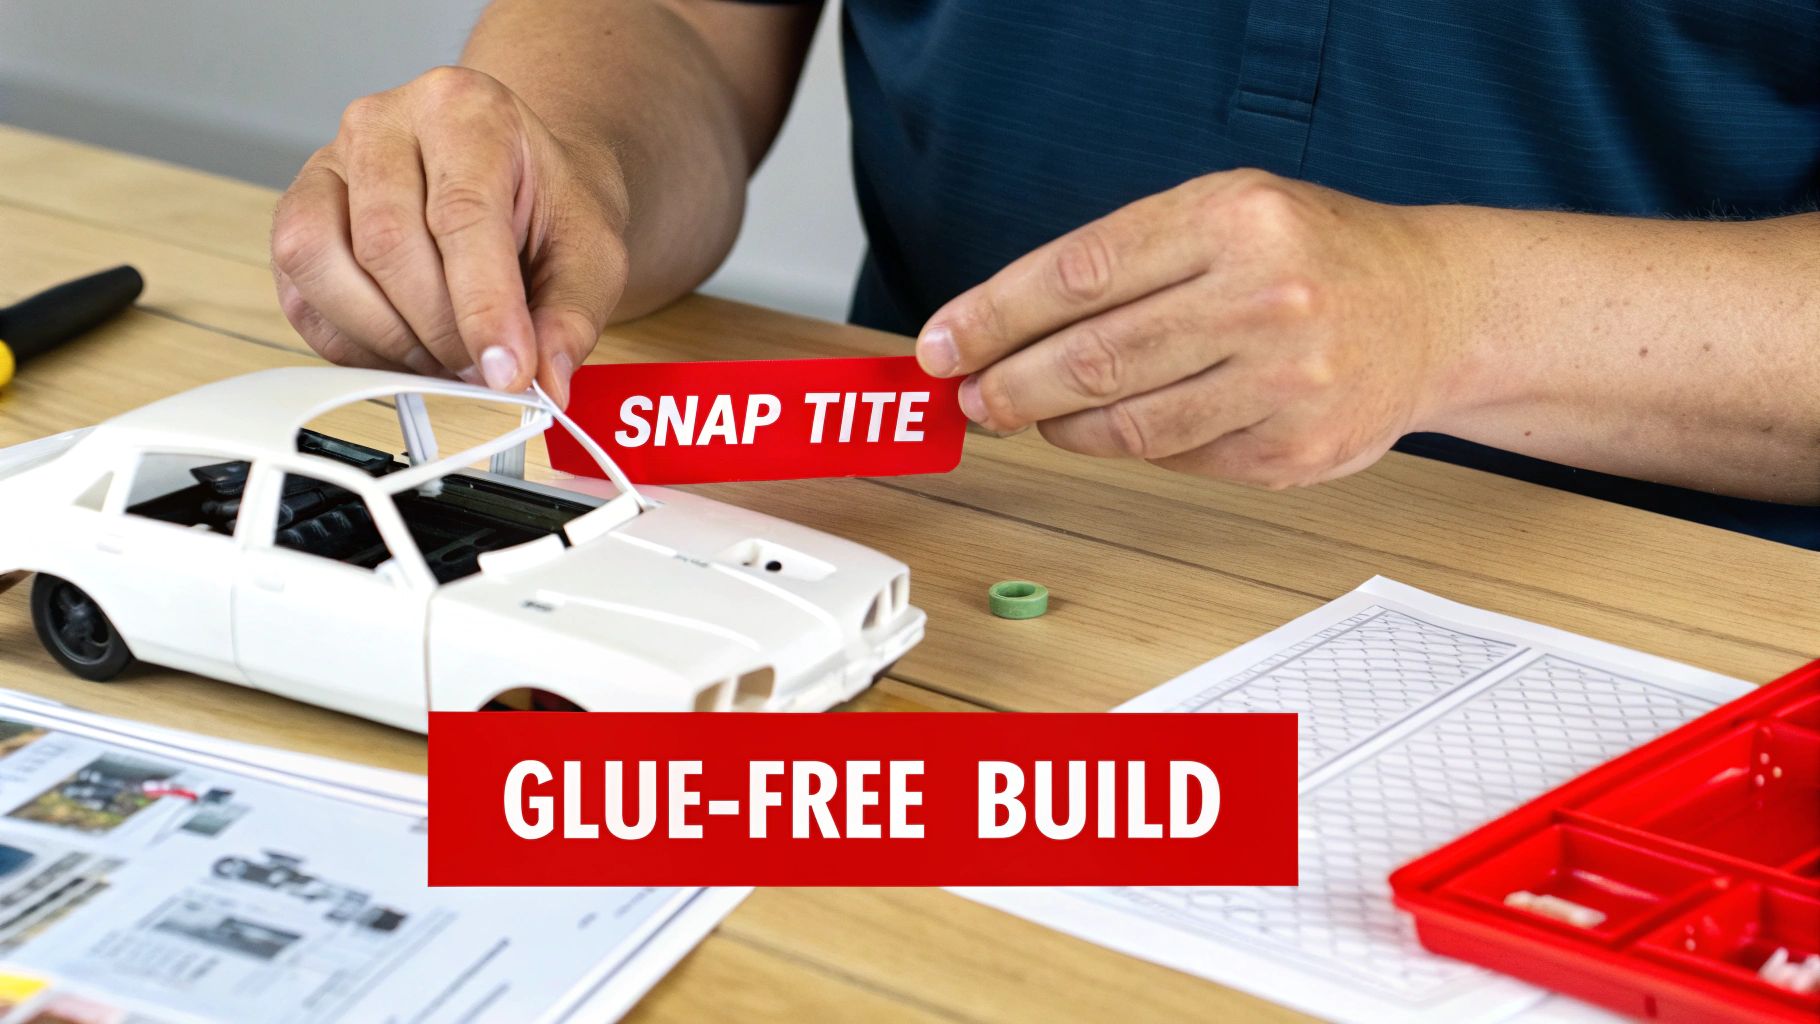
If you've ever been curious about scale modeling but felt intimidated by the glues, clamps, and long drying times, Snap-Tite kits are your perfect entry point. These kits are cleverly engineered with pegs and holes that snap together with a satisfying click, completely eliminating the need for messy adhesives.
Your Introduction to Snap Tite Model Kits
Think of it this way: if a traditional, glue-required kit is like a complex woodworking project, a snap-together kit is more like an advanced architectural LEGO set. Both create impressive final models, but one is designed from the ground up for accessibility and speed without sacrificing the core building experience.
Every component is precision-engineered to connect securely to the next. This simple but brilliant design philosophy opens up the world of modeling to a much wider audience, removing common hurdles like chemical fumes, the tricky art of applying just the right amount of glue, and the patience-testing wait for parts to bond.
Removing Barriers for New Builders
The biggest draw of Snap Tite model kits is just how user-friendly they are. They’re perfect for anyone who wants to jump into the hobby without facing a steep learning curve or needing a big upfront investment in tools.
The key benefits are immediate:
- No Mess, No Fumes: You can build on your kitchen table without worrying about spilled glue or needing heavy ventilation.
- Faster Assembly Time: A project that might take days with a traditional kit can often be finished in a single afternoon.
- Immediate Gratification: Seeing your model come together so quickly is a huge motivator, especially for beginners.
This approachable design has been a massive success. The global plastic model kit market was valued at USD 5.2 billion in 2023 and is still growing, thanks in part to the broad appeal of glue-free kits. Brands like Revell pioneered this space, attracting younger builders and casual hobbyists who might have otherwise stayed away. You can learn more about the growth of the model kit market at dataintelo.com.
Key Takeaway: Snap Tite kits are all about lowering the barrier to entry. They make scale modeling accessible and fun for everyone, from a curious kid to an adult looking for a relaxing new hobby.
Detail Without the Difficulty
There's a common misconception that easier assembly must mean less detail. That might have been true years ago, but modern manufacturing has changed the game. Today's snap kits often achieve a level of accuracy that rivals their glued counterparts.
You’ll find intricate panel lines, realistic textures, and complex shapes—all designed to interlock perfectly. This means even a first-time builder can produce a display-worthy model they can be proud of.
Thinking about which type of kit is right for you? Here's a quick rundown of how they stack up.
Snap Tite Kits vs Traditional Glue Kits At a Glance
This table breaks down the fundamental differences between the two main types of model kits. It’s a great starting point for figuring out which path you want to take in your modeling journey.
| Feature | Snap Tite Model Kits | Traditional Glue Kits |
|---|---|---|
| Assembly Method | Parts snap together with pegs and holes | Parts are bonded with plastic cement or glue |
| Required Skill Level | Beginner-friendly; very low learning curve | Beginner to advanced; requires patience and practice |
| Tools Needed | Minimal; often just a sprue cutter | Sprue cutters, hobby knife, files, glue, clamps |
| Build Time | Fast; typically a few hours | Slower; can take days due to glue drying times |
| Mess & Fumes | Virtually none | Requires ventilation and careful handling of glues |
| Durability | Good, but can sometimes be taken apart | Very strong, permanent bonds |
| Customization | Good; can be painted and weathered like any kit | Excellent; ideal for advanced modifications |
Ultimately, both styles offer a rewarding experience. Snap Tite kits prioritize a quick and satisfying build, while traditional kits offer a deeper, more involved process for those who love the challenge.
The Journey from Complex Kits to Simple Snaps
The story of the snap‑tite model kit is really a story about making a fantastic hobby open to everyone. To get why today's glue-free models are such a big deal, you have to rewind to the modeling boom that happened right after World War II. Back then, building a scale model was a serious undertaking. It demanded a ton of skill, a surgeon’s steady hand with messy glues, and a whole lot of patience.
Those early kits were great, but they put up a high wall for newcomers. A kid or a beginner could easily get frustrated with parts that didn't quite fit, glue that took forever to dry, and the permanent, ugly mark left by a single misplaced drop of cement. The hobby felt like it was reserved for hardcore enthusiasts, not something a family could enjoy on a rainy afternoon.
The Push for Simpler Building
Some forward-thinking companies saw a huge opportunity here. They realized there was an entire audience of kids, families, and curious beginners who loved the idea of scale models but were scared off by the complexity. The big question was, how could they offer that same satisfying building experience without the hassle of traditional glue-and-paint kits?
This kicked off a quiet revolution in how model kits were designed. The focus shifted from just making parts that could fit together to engineering pieces that would lock into place with precision and strength. It was a whole new ballgame, requiring better mold-making and a deep understanding of plastic tolerances. This was the work that laid the foundation for the snap-fit models we have today.
This evolution really took off in mid-20th century America, with companies like Model Products Corporation (MPC) and, later, Revell leading the charge. MPC was known for its vehicle kits, like the 1967 Plymouth Barracuda, and was one of the first to really push for easy-to-build kits that paved the way for SnapTite models. By getting rid of the biggest hurdles for beginners, this shift to snap-fit tech blew the doors of the hobby wide open. You can learn more about the pioneering history of MPC on Wikipedia.
From Niche Concept to Industry Standard
What began as a simple idea—let's make models easier to build—morphed into a massive segment of the hobby world. The "promo" models of the 1960s and 70s, often given away at car dealerships, were some of the earliest examples of this in action. They were simple, pre-painted, and you could put one together in just a few minutes.
The real innovation wasn't just getting rid of the glue. It was about completely rethinking the building process from the ground up to be more intuitive, forgiving, and, most importantly, fun.
That mindset stuck around as technology got better. Manufacturers like Revell perfected the snap-together concept, combining decades of experience with modern, high-precision manufacturing. The end result is the modern snap-fit kit—a product that stays true to its simple roots while often delivering detail that can stand proudly next to its more complex, glue-required cousins. It’s a journey that turned a niche craft into a hobby that anyone can pick up and enjoy.
How to Choose Your First Snap Tite Kit
Walking into the model kit aisle for the first time can be a bit overwhelming. You're hit with a wall of incredible box art, from sleek supercars to starships straight out of science fiction. It's tempting to just grab the one that looks the coolest, but a little bit of know-how will ensure your first build is fun and rewarding, not frustrating.
Let's start with the most important concept on the box: scale. Scale is just the ratio of the model to its real-life counterpart. For example, a 1:24 scale car means every inch of the model equals 24 inches on the actual car.
Bigger scales, like 1:24 or 1:32, give you larger, easier-to-handle parts with plenty of room for detail. On the other hand, smaller scales like 1:72 for planes are perfect for building out a whole collection without needing a hangar to display it. Think about where you'll put your finished model before you buy.
Decoding Skill Levels and Kit Quality
Most model kit boxes have a "skill level" rating, usually on a scale from 1 to 5. Snap-tite kits almost always fall into Level 1 or 2, which means they're designed for beginners, have fewer parts, and don't require any glue or paint to look great.
Pro Tip: For your absolute first project, grab a Level 1 kit. It's the best way to get a feel for the basics—like reading instructions and snipping parts off the plastic frame (called a sprue)—and you'll get a quick, confidence-boosting win.
Beyond the number on the box, keep an eye out for these signs of a quality kit:
- Clear Instructions: The manual should have big, easy-to-follow diagrams showing precisely where every part goes.
- Minimal "Flashing": "Flashing" is that thin, extra plastic around the edges of a part left over from the molding process. Less of it means less cleanup for you.
- Pre-Painted Parts: A huge plus for beginners. Many snap kits come molded in the final colors, so they look fantastic right out of the box with no painting needed.
If you want more tips on what to look for, our overview of different plastic model kits for sale is a great place to get more ideas.
Finding Your Niche
The model kit market is massive—we're talking an estimated 150 million units sold globally each year. Vehicles like cars, tanks, and planes are the biggest slice of that pie, and it's where manufacturers really compete on realism and detail. That's great news for us, because it means the variety is incredible. You can learn more about the model kit market at archivemarketresearch.com.
So, where should you start? The simple answer is to pick something you're genuinely excited about.
- Automotive Models: Perfect for capturing the iconic lines of a classic muscle car or a modern speedster.
- Military Vehicles: Offer rugged details on everything from tanks to armored trucks.
- Aircraft: A timeless choice, with options ranging from WWII fighters to stealth jets.
- Sci-Fi & Pop Culture: Your chance to build the starships and giant robots you've seen in movies and TV.
Choosing a subject you love is the secret ingredient. Your passion will keep you motivated from the first step to the last, making your first snap tite model kit a project you'll be proud to show off.
A Step-by-Step Guide to Assembling Your Model
Alright, this is where the fun really starts. The whole appeal of snap tite model kits is their simplicity, but picking up a few good habits early on will make your build that much smoother and more satisfying. Let's walk through the whole process, from cracking open the box to having a finished model sitting on your shelf.
This infographic breaks down the key decisions you'll make—scale, skill level, and model type—which are the building blocks for a great first experience.

Nailing down these three things before you buy is the surest way to get a kit that matches what you're looking for and actually enjoy the process from start to finish.
Pre-Assembly Prep: The Right Start
Before you snap a single piece together, a little prep work makes a huge difference. Think of it as setting up your workshop. You don't need a ton of gear, but a few essential tools will give you that clean, professional look right from the get-go.
Your most important tool is a good pair of sprue cutters, sometimes called side cutters. These are designed to cleanly snip parts off the plastic frame (the sprue). Just twisting or pulling parts off by hand is a recipe for ugly nub marks and can easily break fragile components. A clean cut means less cleanup work later.
Once the parts are free, here’s a pro tip that really separates beginners from seasoned builders: wash everything. Manufacturers use oily substances called mold release agents to get the plastic parts out of the molds, and this stuff can leave a residue. A quick bath in warm, soapy water and a gentle scrub with an old toothbrush is all it takes. This simple step ensures that if you decide to paint or add decals later, they'll actually stick properly. Just make sure the parts air dry completely before you start building.
The Building Phase: From Parts to Product
With your parts clean and ready, it’s time to build. Your instruction manual is your roadmap. Spend a minute looking it over, getting familiar with how the parts are numbered and how the diagrams show their orientation. Modern instructions are usually crystal clear, often highlighting exactly where pieces are meant to connect.
Here’s the golden rule for any kind of model building, whether it's a snap kit or a complex glue-together project: always test-fit your parts. Before you apply that final pressure, gently place the two connecting pieces together. Does it look right? Is the fit snug? This one simple check prevents you from snapping something into the wrong place, which can be a real pain to undo.
The mantra for any modeler should be "measure twice, cut once," or in our case, "test-fit twice, snap once." This single habit prevents more mistakes than any other technique and is a core part of building any type of scale model kit.
Once you've confirmed the fit, it's time for that satisfying "snap." Apply firm, even pressure. A common beginner mistake is pushing too hard or at a weird angle, which can stress the plastic. Just squeeze the parts together until you feel or hear them click securely into place.
What if a part seems stubborn? Don't force it. There might be a tiny bit of excess plastic (called flashing) from the molding process blocking the connection. A quick, gentle scrape with a hobby knife or a light pass with a sanding stick is usually all it takes to clear up minor fit issues.
By following these fundamental steps, you'll establish great building habits from your very first kit. It elevates the assembly from a simple task into a mindful craft, ensuring your final model is something you can be genuinely proud of.
Taking Your Snap-Tite Model to the Next Level
Putting together a snap-tite model kit is really just the first chapter of its story. Sure, these kits look fantastic straight out of the box, but a few simple finishing techniques can take your build from a fun project to a stunning, display-worthy masterpiece. Think of it this way: the snap-together assembly creates the perfect canvas. Now, it’s time to add the artistic touches that really bring it to life.
You don’t need an expensive airbrush or a professional studio to get incredible results, either. The methods we’ll cover here are beginner-friendly, require just a few basic tools, and blend the ease of snap-fit construction with the artistry of traditional modeling.
Making Details Pop with a Panel Line Wash
One of the quickest ways to add depth and realism is by applying a panel line wash. Imagine the seams on a car door or the armor plates on a starship; a wash darkens these recessed lines, making every little detail stand out with sharp contrast. It’s like outlining a drawing to make the subject pop right off the page.
You can make a simple wash with thinned-down acrylic or enamel paint. Using a fine-tipped brush, just touch the tip to a panel line and let capillary action do the heavy lifting. The wash will naturally flow along all the grooves, highlighting the intricate surface details the manufacturer molded into the plastic. If you get any on the flat surfaces, just wipe it away with a cotton swab lightly dampened with thinner.
The goal of a panel line wash is to create shadows where they would naturally occur, tricking the eye into seeing more depth and complexity than is physically there. It's a simple technique with a massive visual payoff.
This one step can instantly transform a model from looking like a toy into a miniature replica that looks much more realistic.
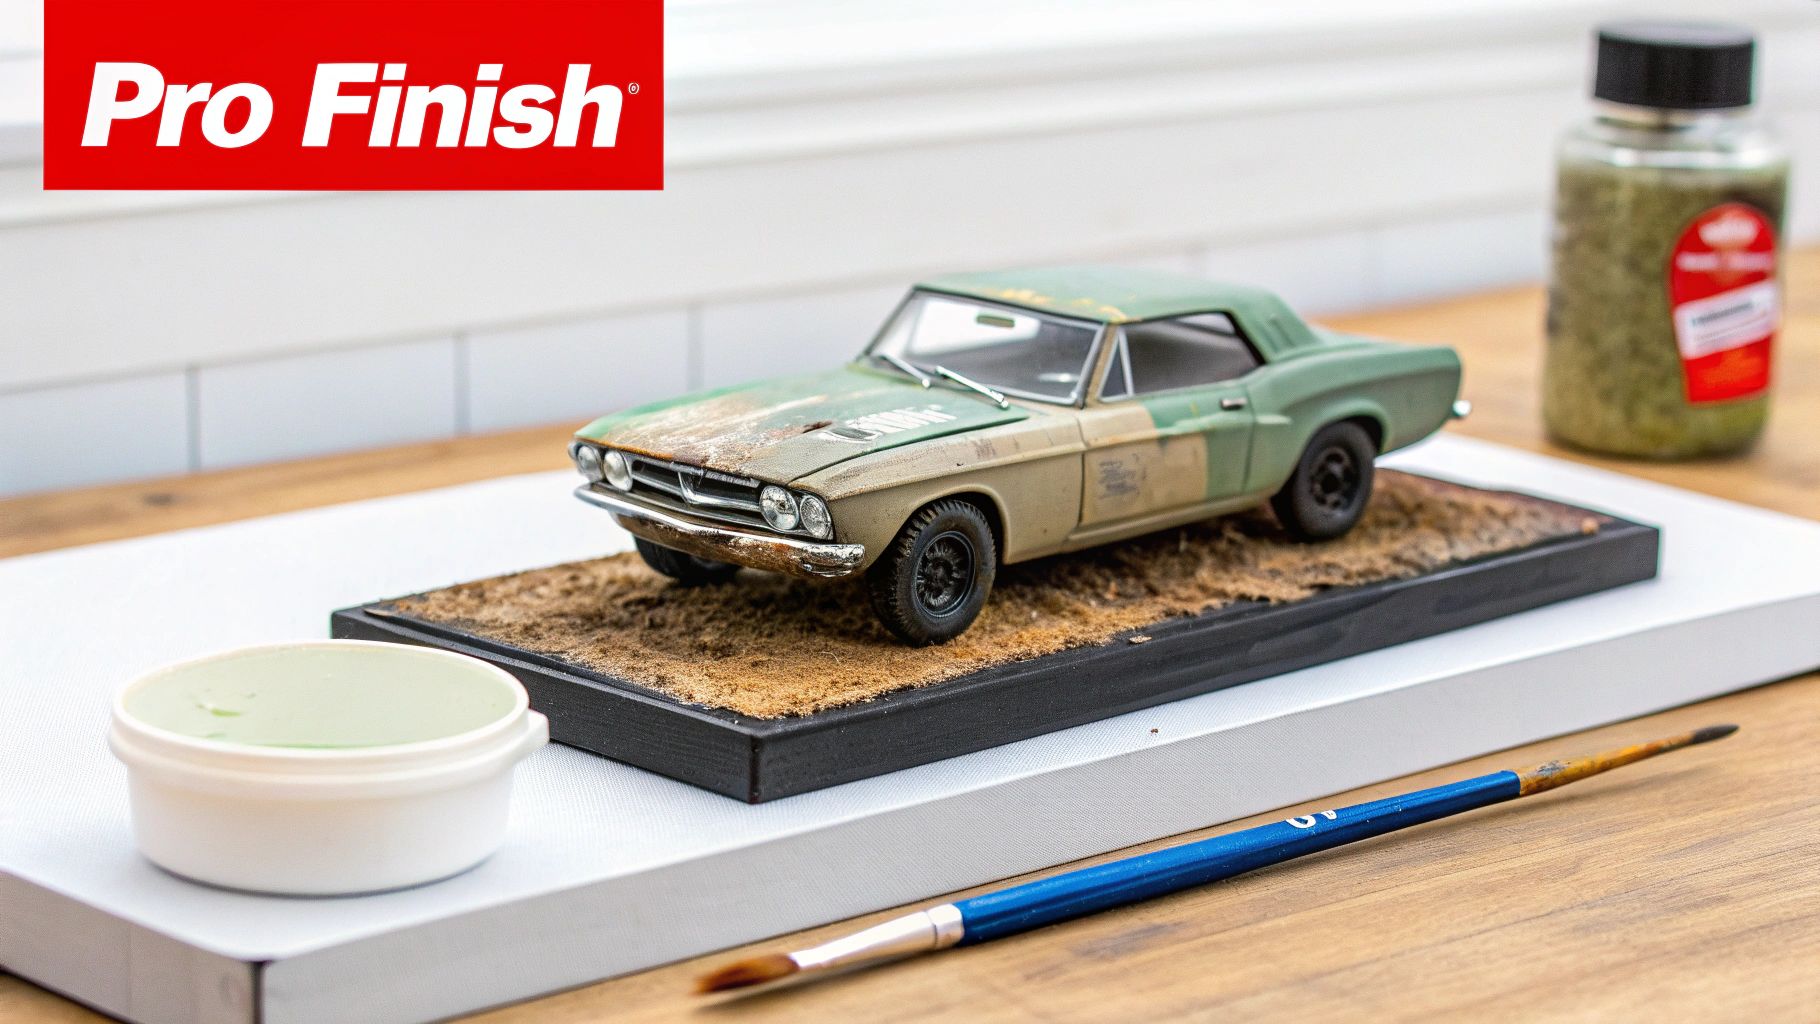
Creating Realistic Wear with Dry Brushing
Dry brushing is another powerful technique that’s perfect for adding weathering and texture. It's fantastic for simulating scraped paint, worn metal edges, or the dusty, grimy look of a vehicle that's seen some action. The concept is dead simple: put a tiny amount of paint on a flat brush, wipe most of it off on a paper towel until the brush is almost dry, and then lightly drag it across the raised details of your model.
This process deposits just a hint of pigment on the highest points, leaving the recessed areas untouched. It’s the perfect way to highlight things like bolts, grilles, and engine components.
- For metallic effects: Use a silver or gunmetal paint to dry brush the edges of an engine or weapon. This simulates where the top coat of paint has chipped away, revealing the metal underneath.
- For dusty or dirty effects: Use earthy tones like tans and browns to lightly dust the lower portions of a tank or truck, making it look like it’s been kicking up dirt.
This technique adds a layer of history and realism to your snap-tite model, suggesting a story well beyond its clean, out-of-the-box appearance.
Applying Decals for an Authentic Finish
Decals are the final touch that adds real authenticity—think corporate logos on a race car or squadron markings on a fighter jet. They might seem intimidating at first, but modern decals are surprisingly forgiving. The trick is to work on a smooth, glossy surface, which helps the decal slide into place easily and prevents that cloudy effect called "silvering."
The process is straightforward: cut the decal from its sheet, soak it in water until it slides freely, and then carefully position it on the model with a soft brush or cotton swab. Once it’s in place, you can use a decal-setting solution to help it conform perfectly to any curves or surface details. For a complete walkthrough, our guide on how to apply model decals covers everything you need to know for a perfect application every time.
By combining the simple assembly of snap-tite model kits with these fundamental finishing techniques, you can produce some truly impressive results. It just goes to show that you don't have to choose between convenience and artistry—you can absolutely have both.
Answering Your Top Questions About Snap Tite Kits
When you're just getting started with snap tite model kits, a few questions are bound to pop up. The world of scale modeling is packed with different opinions and techniques, so it's only natural to wonder what's what. Let's clear up some of the most common questions and myths so you can start building with confidence.
We'll cover everything from using glue and paint to fixing those little "oops" moments, giving you the practical know-how for a great first build.
Can I Still Use Glue on a Snap Tite Kit?
Yes, absolutely! In fact, it's a fantastic way to ease into more traditional building methods. While these kits are engineered to hold together without any adhesive, adding a little plastic cement at key connection points creates a far stronger, more permanent bond.
Think of it as extra insurance. Applying cement to structural parts, like a car's chassis or an airplane's fuselage, makes the finished model incredibly durable. It’s a smart move if you want your creation to last a lifetime and withstand plenty of handling.
Are Snap Tite Kits Only for Kids?
Not a chance. This is probably the biggest myth in the entire hobby. While their glue-free design makes them a safe and perfect introduction for younger modelers, many modern snap tite model kits are designed with a level of detail that even the most seasoned builders can appreciate.
For a veteran modeler, a snap kit can be a perfect, low-stress weekend project—a way to enjoy the craft without a massive time commitment. They also make an incredible canvas for advanced painting and weathering, letting you skip the basic assembly and jump straight to the artistry.
A great model kit is defined by its accuracy and detail, not by its assembly method. Many snap kits today rival traditional models in quality, offering a different but equally rewarding building experience for all ages.
What if a Part Breaks While I Am Building?
First off, don't panic. It happens to literally everyone, from first-timers to pros with decades of experience. Breaking a small, delicate part is almost a rite of passage in modeling, and the good news is, it's almost always a simple fix.
A tiny drop of plastic cement or super glue is all it takes to make a strong, nearly invisible repair.
- Apply Sparingly: Use the tip of a toothpick or a hobby knife to dab a minimal amount of adhesive onto the broken edges. Less is more here.
- Align Carefully: Gently press the pieces together and hold them firmly for a minute or so to make sure they bond in the right position.
- Let It Cure: Set the part aside and give the glue plenty of time to fully dry and harden before you try to handle it again.
Learning this simple repair skill will serve you well for your entire modeling journey.
Do I Need to Paint My Snap Tite Model?
Nope, and that’s one of their biggest perks. The vast majority of snap kits are molded in color, sometimes with several different colors of plastic right in the box. Many even come with pre-painted details or decals already applied, so they look sharp the moment you snap that last piece into place.
Of course, painting is always an option if you want to take your model to the next level. As we covered earlier, applying your own paint scheme is the single best way to add a personal touch and achieve that authentic, display-quality finish.
Ready to start your next project? Fusion Scale Hobbies offers a massive selection of model kits, tools, and supplies for every skill level. Find your perfect first kit and everything you need to build it at https://fusionscalehobbies.com.