


If you’ve ever felt like your model train layout has more potential, DCC for HO scale is the key to unlocking it. DCC, or Digital Command Control, completely changes the game by giving you independent control over every single locomotive on the same piece of track.
Unlocking a New World of Model Railroading
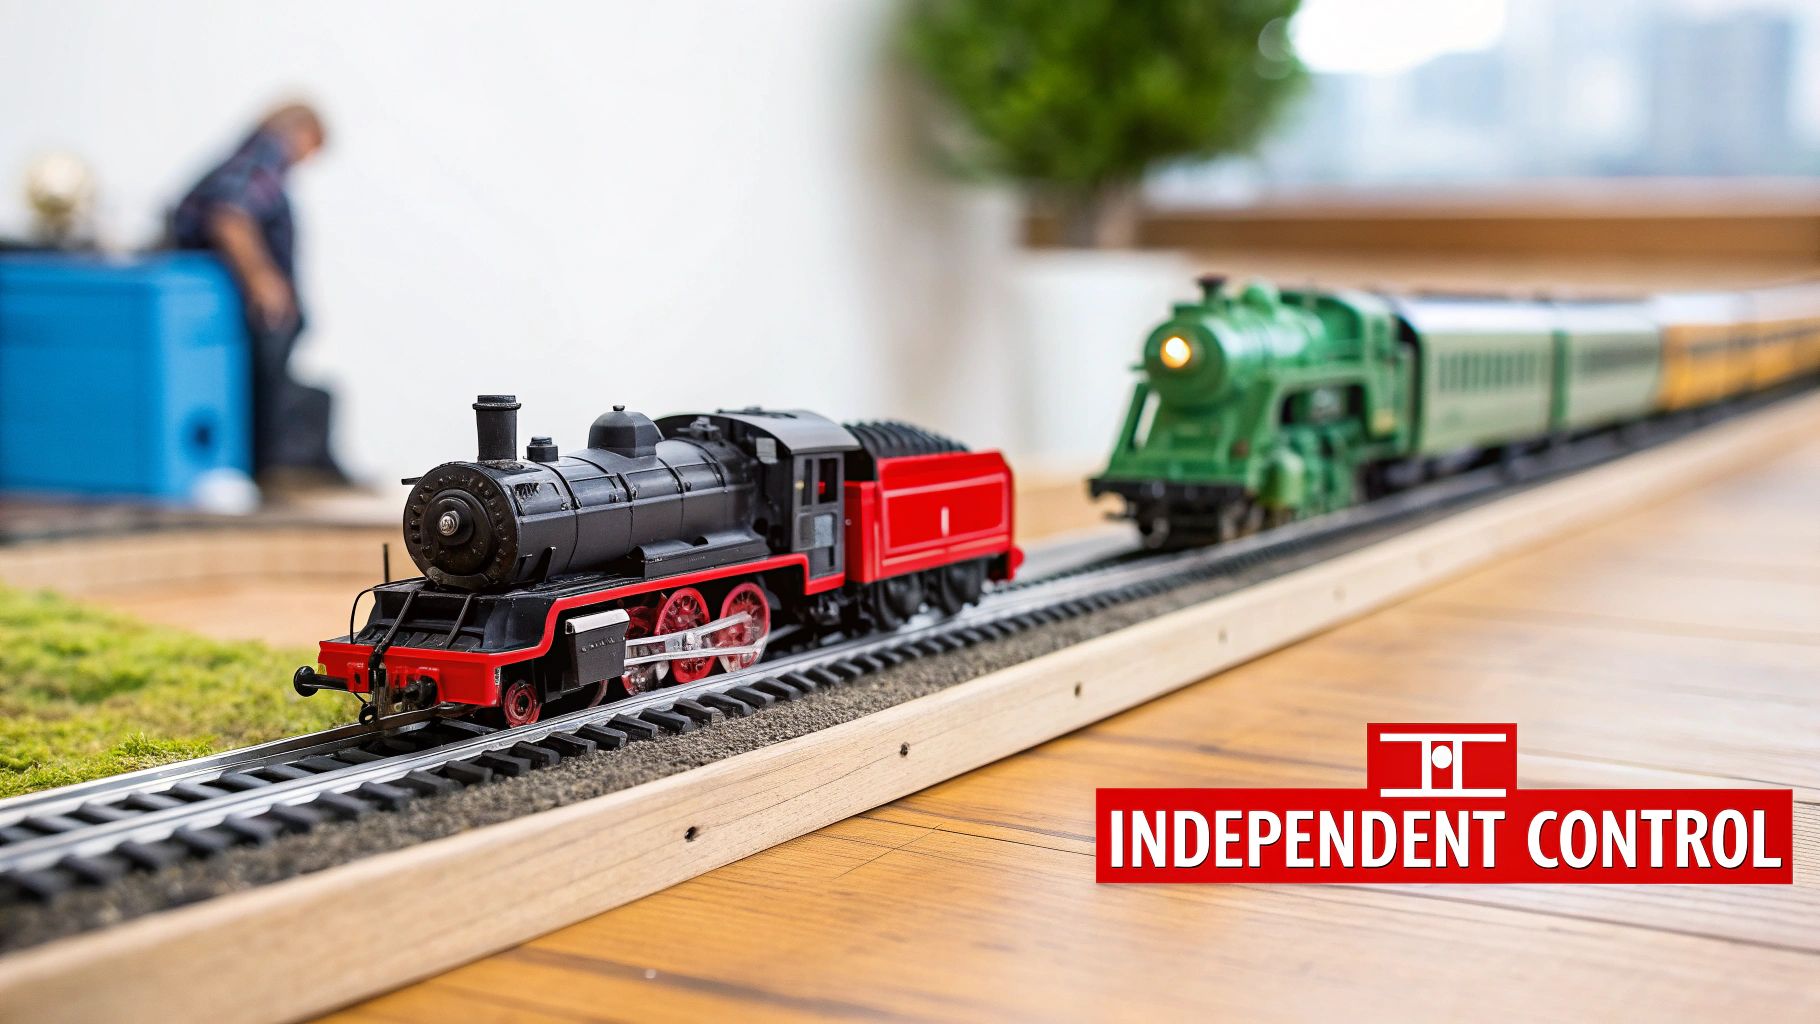
Think of traditional DC (Direct Current) control like an orchestra where every musician has to play at the exact same volume. When you turn up the power pack, you’re controlling the track, not the trains. Every engine on that block of track speeds up together. It works, but it’s limited.
Now, imagine giving each musician their own sheet music and a direct line to you, the conductor. That’s DCC. It turns your simple layout into a smart communication network.
With a dcc ho scale system, a constant voltage is always present on the rails. But here's the magic: digital commands are sent through that power, and only the locomotive with the right "address" will listen and respond. This simple concept opens up a whole new level of realism and fun.
To put it simply, here’s how the two systems stack up.
DCC vs DC Operation at a Glance
| Feature | Traditional DC Control | Modern DCC Control |
|---|---|---|
| Control Method | Varies track voltage to control speed and direction. | Sends digital commands over constant track voltage. |
| Train Operation | One train per isolated block of track. | Multiple trains on the same track, controlled independently. |
| Wiring | Complex block wiring with many switches for multi-train layouts. | Simple wiring; the whole layout is a single electrical block. |
| Lighting | Lights dim as the train slows down and turn off when stopped. | Lights (headlights, cab lights) are controlled independently. |
| Sound | Requires a separate, often layout-based sound system. | Onboard sound decoders sync with the locomotive's actions. |
| Realism | Limited; operations feel more like controlling a toy. | High; enables prototypical operations like switching and consists. |
The move to DCC is about more than just convenience; it’s about bringing your model railroad to life.
The Core Benefits of DCC Control
Switching to DCC is a massive upgrade over old-school DC systems. The biggest win is running multiple trains independently without needing a spiderweb of complex wiring.
Here’s what that really means for your layout:
- Independent Operation: Run a fast freight on the main line while a local switcher shuffles cars in the yard—all on the same track, at the same time.
- Realistic Lighting: Turn headlights, ditch lights, and cab lights on or off, regardless of whether the train is moving. You can have an engine sitting idle in the yard with its lights blazing.
- Immersive Sound: DCC is what makes incredible onboard sound possible. Hear the rumble of a diesel, the chuff of a steam engine, the blast of a horn, and the squeal of brakes, all perfectly synced to your commands.
- Simplified Wiring: Forget about cutting your track into isolated blocks and wiring up dozens of toggle switches. DCC wiring is drastically simpler for most layouts.
DCC lets you operate your model railroad more like a real one. You stop being just a "train driver" and become an engineer, managing every piece of equipment with precision.
Why DCC Dominates the Hobby
The shift to this dynamic system isn't just a trend; it's the standard. The global model train market was valued at around USD 1.2 billion in 2023 and continues to grow, with DCC systems being a major reason why. This popularity comes from the operational freedom and realism that today's modelers expect.
For many hobbyists, making the switch from DC to DCC is a natural part of their journey. If you're just getting started, our complete guide to Digital Command Control for model trains breaks down all the components you'll need to hit the ground running.
Your DCC HO Scale System Components Explained
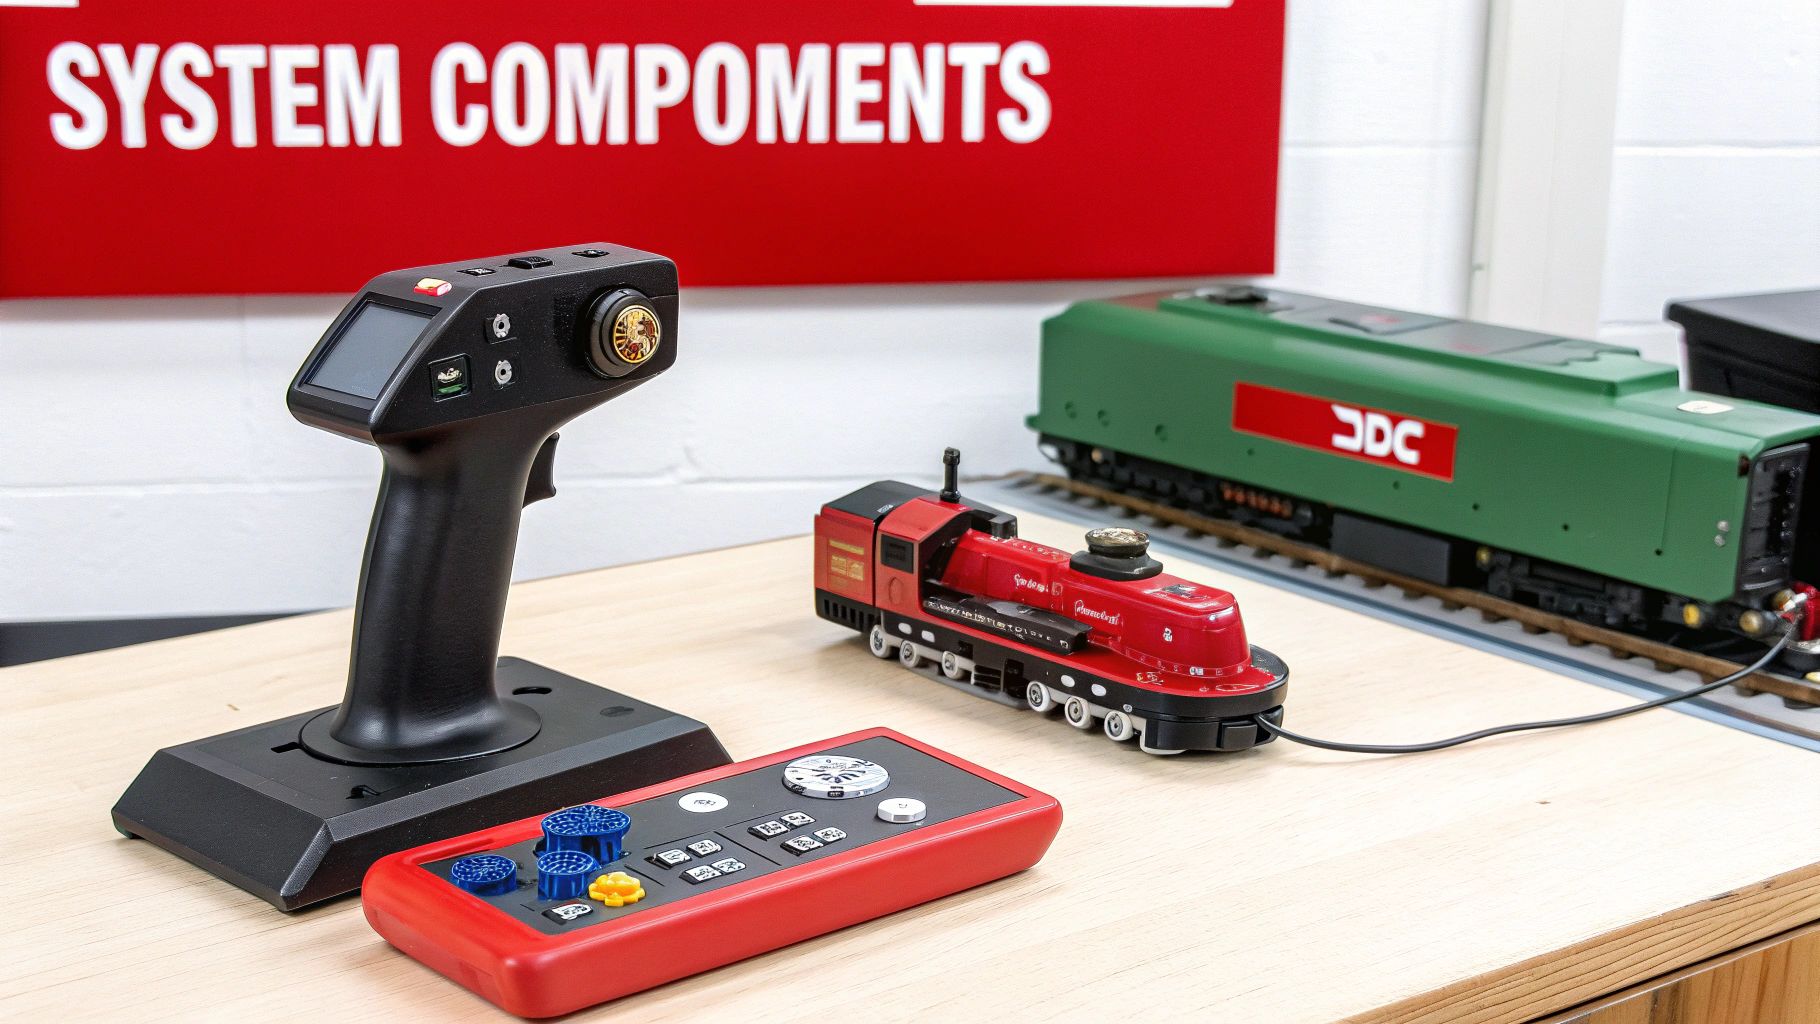
Putting together your first DCC HO scale system is a bit like building a high-tech nerve center for your layout. Each piece of hardware has a very specific job to do. Once you get a feel for what each part does, you'll be running trains like a seasoned pro.
Let's break down the essential gear that makes all the DCC magic happen. Think of it as a team, with each player having a critical role.
The Command Station: The Brains of the Outfit
The Command Station is the absolute heart of your railroad. It’s the air traffic controller, taking your instructions and turning them into digital signals that travel through the rails. When you tell Locomotive #5025 to speed up, the command station is what translates that into a language the engine can understand.
This is the one non-negotiable piece of any DCC setup. Everything else—from your throttle to the tiny decoders inside your locomotives—relies on the command station to create and manage the digital signal. Without it, you’re basically just using a simple DC power pack.
Throttles: Your Direct Control Interface
If the command station is the brain, the Throttle is your hands-on control panel. Sometimes called a "cab," this handheld device is how you send instructions to the command station. Every time you turn a knob, press a button to select an engine, or trigger a sound, you're using the throttle to make it happen.
Throttles come in a few different flavors:
- Wired Throttles: These plug right into the command station with a cable. They offer a rock-solid, simple connection.
- Wireless Throttles: Using radio or infrared signals, these give you the freedom to walk around your layout and follow your train without being tethered.
No matter the type, the throttle’s job is the same: it’s your personal interface for running the whole show.
Boosters: The Power Amplifiers
As your layout gets bigger, the DCC signal can start to fade over long stretches of track, kind of like your home Wi-Fi signal getting weaker the farther you move from the router. A Booster is simply a power amplifier. It takes the clean digital signal from the command station and boosts it back to full strength across a larger layout.
Many modelers divide their layout into "power districts," with each one powered by its own booster. This not only keeps the power consistent everywhere but also makes troubleshooting a breeze. If a short circuit happens in one district, only that section shuts down, leaving the rest of your railroad running smoothly.
Decoders: The Onboard Computers
This is where the digital commands turn into real-world action. The Decoder is a tiny circuit board installed inside each locomotive, acting as its own personal computer. It’s always listening to the digital chatter on the track, but it’s programmed to only respond to commands sent to its specific address.
When a decoder "hears" its unique address followed by an instruction—like "reverse direction" or "turn on the headlight"—it executes that command by controlling the locomotive's motor and other functions. This tiny device is the key to independently controlling every single engine on the same track.
Think of it this way: The command station is the radio tower broadcasting to everyone. Your throttle is the microphone you use to send a message. The decoder is the tiny radio receiver in one specific locomotive, tuned only to its channel.
Understanding DCC Locomotive Terms
When you're shopping for HO scale locomotives, you’ll run into two key terms:
- DCC Ready: This means the locomotive was built to easily accept a decoder. It will have a factory-installed socket or plug, making the installation a simple "plug-and-play" job with no soldering required.
- DCC Equipped (or DCC Onboard): This means the locomotive comes with a decoder already installed at the factory. It’s ready to run on a DCC layout right out of the box.
Digital Command Control has completely changed how hobbyists operate their HO scale collections. The market is clearly shifting toward DCC systems that go beyond basic control to include features like synchronized sound, lighting, and even automation. This technological evolution is a huge part of what's attracting new, tech-savvy modelers to the hobby. You can explore more about the rise of model train technology and see where the industry is headed.
Installing Decoders in Your HO Scale Locomotives
The decoder is where the magic of a dcc ho scale system really comes alive. Think of it as your locomotive's brain—a tiny interpreter that translates digital commands from the tracks into precise actions like motor speed, light functions, and sound. This is the fun, hands-on part where you bring your engines into the digital age.
Installing a decoder can be anything from a simple, five-minute plug-in job to a more involved weekend project that requires a soldering iron. The path you take depends entirely on the locomotive you're working with. Modern engines are often built with DCC in mind from the start, while older, classic models will need a more direct approach.
Plug-and-Play vs. Hard-Wired Installations
The first question most modelers ask is what kind of installation their engine needs. It really boils down to two main methods, and knowing the difference is the key to a successful upgrade.
-
Plug-and-Play (DCC Ready): Newer HO scale locomotives are frequently advertised as "DCC Ready." This is great news because it means the manufacturer has already done most of the heavy lifting. Inside, you'll find a standardized socket (like an NMRA 8-pin, 9-pin, or 21-pin plug) that's already wired to the motor, lights, and track pickups. All you have to do is pop the shell off, unplug a "dummy" plug, and plug in a compatible decoder. It's clean, quick, and requires zero soldering. To get a deeper look at what this means for your models, explore our guide on DCC Ready vs DCC Equipped locomotives.
-
Hard-Wired Installation: This method is your go-to for older DC locomotives or any model not designed with a simple plug-in decoder. A hard-wired install means you'll be manually soldering the decoder's wires directly to the motor terminals, track power pickups, and lighting. While it requires basic soldering skills and a little patience, it's an incredibly empowering way to bring your favorite vintage engines into your modern DCC fleet. It’s a common and rewarding project for many model railroaders.
Choosing the Right Decoder for Your Engine
With so many decoders on the market, picking the right one can feel a bit overwhelming at first. But don't worry—your choice really comes down to two main things: the locomotive's power needs and the features you want.
First, you need to think about the motor's stall current. This is just a technical term for the amount of amperage the motor draws when it's stopped but still has power applied (like if it's stalled against a wall). You must choose a decoder with an amperage rating higher than your motor’s stall current to prevent it from burning out. Most standard HO locomotives draw less than 1 amp, but some older models with less efficient motors can pull a lot more.
Next, decide what you want your decoder to do. They generally fall into three categories:
- Motor-Only Decoders: These are the most basic and affordable options, giving you just motor control. Simple and effective.
- Motor and Function Decoders: These add extra outputs for controlling things like headlights, reverse lights, and ditch lights.
- Sound Decoders: This is the top-tier experience. These decoders have a built-in sound processor and a library of authentic sounds like engine rumbles, horns, bells, and the squeal of brakes. Brands like SoundTraxx and ESU are legendary for their high-quality, immersive sound projects.
A classic rookie mistake is buying a decoder with too low of an amperage rating for an older locomotive. Always check your motor’s stall current before you buy. It’s a small step that ensures a long, reliable life for your electronics.
The HO scale market is the cornerstone of the model train world, mostly because its size hits that sweet spot between detail and practicality. This versatility extends to its fantastic compatibility with modern DCC systems, making it accessible for hobbyists of all stripes. The wide availability of affordable HO scale decoders has been a huge factor in making advanced model railroad operations achievable for everyone. You can discover more insights about the model train market's growth on StrategicRevenueInsights.com.
A Quick Look at Installation Types
To help you get a clear picture of the process, we've put together a quick summary of the different decoder installation methods you'll run into with HO scale models.
HO Scale Decoder Installation Types
| Installation Type | Best For | Difficulty Level | Key Skills Required |
|---|---|---|---|
| 8-Pin Plug | Most "DCC Ready" North American models | Easy | Unplugging a dummy plug and plugging in the decoder. |
| 21-Pin MTC Plug | Many modern European and some American models | Easy | Similar to an 8-pin plug; direct connection to a socket. |
| Drop-In Board | Specific models (e.g., Kato, Atlas) | Easy to Medium | Replacing the factory light board with the new decoder board. |
| Hard-Wire | Vintage DC locos, models without a DCC socket | Medium to Hard | Soldering, wire stripping, heat-shrinking, motor isolation. |
No matter what kind of locomotive is sitting on your workbench, there's a decoder installation path that will work for it. A great way to get started is with a simple plug-and-play installation on a DCC Ready model. It’s a fantastic way to build confidence before you tackle a more rewarding hard-wire project on a classic engine from your collection.
Wiring Your Layout for Reliable DCC Power
If you've ever seen the underside of a traditional DC layout, you know the drill: a dizzying web of wires, toggle switches, and complex block systems. It’s enough to make anyone nervous. But here’s the good news—wiring for DCC is dramatically simpler. You can forget about all those complicated diagrams because, with DCC, your entire railroad operates as one big, unified circuit.
The secret to making it all work reliably is something called a power bus. Think of it as the main power line running beneath your entire layout. It's a heavy-duty pair of wires that carries the full DCC signal and power directly from your command station and distributes it everywhere.
From this main bus, you’ll run smaller “feeder” wires up to different sections of the track. This setup is crucial because it ensures every single piece of rail gets a strong, consistent supply of power. No more frustrating stalls or flickering lights in the far corners of your layout caused by voltage drop.
Choosing the Right Wire Gauge
Picking the right wire thickness is one of the most important decisions you'll make for your dcc ho scale layout's performance. Wire size is measured using the American Wire Gauge (AWG) system, and it's a bit counterintuitive: a lower number means a thicker wire. Thicker wires can carry more power over longer distances with less resistance and power loss.
For a typical HO scale layout, here are the go-to recommendations:
- Main Power Bus: Use 12 or 14 AWG solid copper wire. This creates a rock-solid electrical backbone for your layout, minimizing voltage drop even if your railroad is huge.
- Feeder Wires: 20 or 22 AWG wire is perfect for connecting the bus to the track. It’s thin enough to easily hide and solder to the rails but plenty robust for these short-distance connections.
This is not the place to save a few bucks. Using wire that’s too thin for your main power bus is the number one cause of frustrating DCC performance problems. Investing in the proper gauge from the start will save you countless headaches later on.
The image below shows the two ways a decoder—the DCC brain—gets into a locomotive.
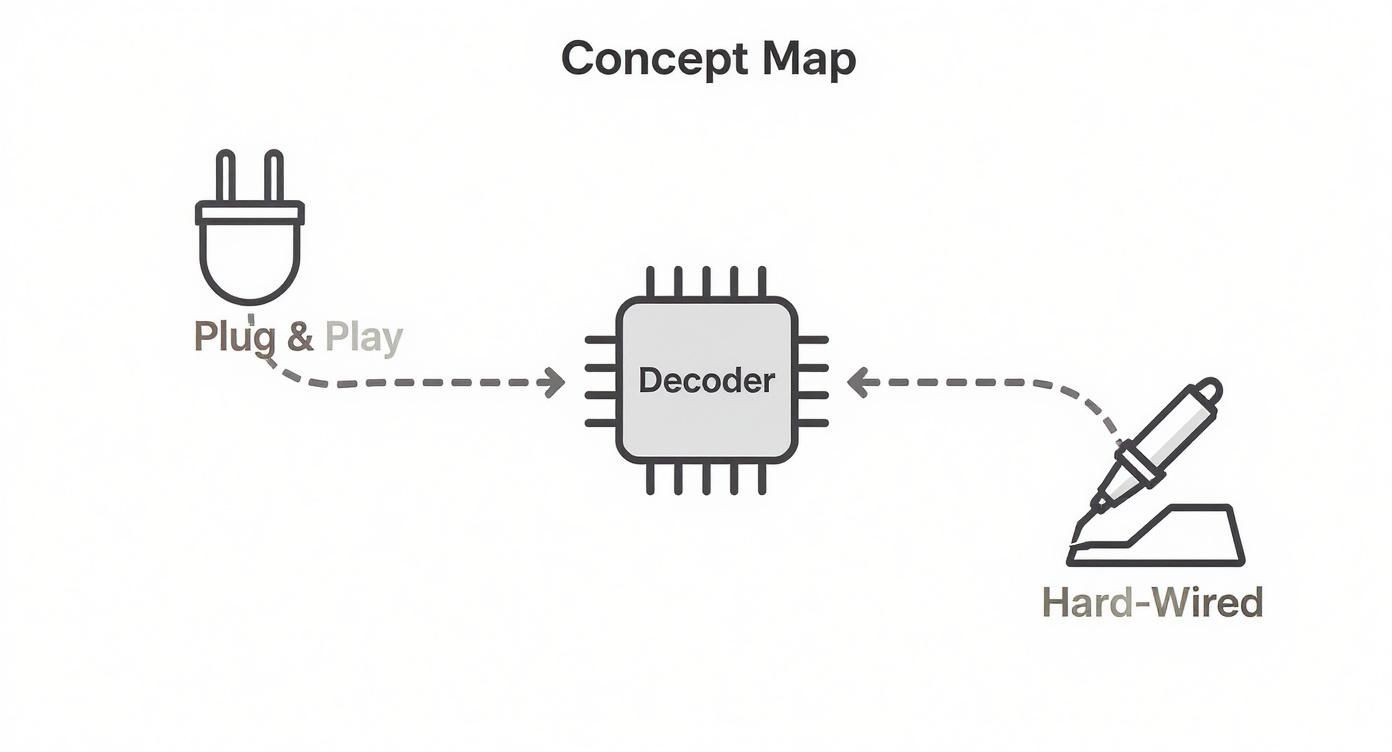
As you can see, modern "DCC Ready" locomotives make it easy with a simple plug, while older models will require you to get your hands dirty with a hard-wired installation.
Handling Reverse Loops and Wyes
There’s one common scenario where DCC’s otherwise simple wiring hits a wall: the reverse loop. This includes any track configuration that lets a train turn around and come back on itself, like a turntable lead or a wye track.
The problem? The moment a locomotive’s metal wheels cross the gap to exit the loop, they touch rails of opposite polarity. This creates a dead short, and your DCC system will instantly shut down to protect itself. It's a classic model railroading puzzle.
Thankfully, there's a simple, elegant solution: an automatic reverse loop module. This little piece of electronic magic detects the short circuit the instant it happens and, in a split second, flips the polarity of the track inside the loop to match the mainline. The change is so fast you and your train won't even notice. Installing one is a straightforward wiring job that completely eliminates one of the biggest potential headaches on a DCC layout.
Programming and Operating Your DCC Fleet
With your decoders installed and the layout wired up, the real fun begins. You’re moving from construction to operation, and this is where your DCC HO scale system truly comes alive. It's time to stop building and start running trains, turning your collection of individual locomotives into a coordinated, responsive fleet.
Right out of the box, nearly every DCC decoder is programmed to respond to address ‘3’. This is handy for a quick test run, but it’s completely impractical for real operations. Your first, most critical task is to give each locomotive its own unique address—think of it like giving every ship in a navy its own call sign. This way, when you send a command, only the intended engine listens.
The Programming Track and Unique Addresses
To assign these unique addresses, you'll need a programming track. This is a small, electrically isolated piece of track that connects to the special programming outputs on your command station. By isolating the locomotive, you ensure you're only "talking" to one decoder at a time. It’s a simple but vital step to prevent accidentally reprogramming every engine on your layout at once.
The process itself is straightforward. You place a locomotive on the programming track, put your command station into its programming mode, and assign it a new number. Most modelers choose the locomotive’s road number (like 5025 for a Santa Fe GP35) as its DCC address. It's an incredibly intuitive system that makes remembering which engine is which a breeze during an operating session.
Think of the programming track as a private, one-on-one briefing room. You bring an engine in, give it new, secret instructions, and send it back out to the main line, where it will only listen for commands addressed specifically to it.
Fine-Tuning Performance with CVs
Beyond just the address, you can customize almost every aspect of a locomotive's behavior using Configuration Variables, or CVs. These are just numbered settings stored inside the decoder that control everything from momentum and top speed to special lighting effects. You change them right on the programming track.
Here are a few essential CVs you'll want to get familiar with:
- CV2 (V-start): This sets the starting voltage. A little tweak here can get you that ultra-smooth, slow crawl from a dead stop.
- CV3 (Acceleration Rate): This controls how quickly the locomotive gets up to speed, perfect for simulating the immense weight of a heavy train.
- CV4 (Deceleration Rate): The opposite of acceleration, this dictates how long it takes for the engine to slow down, adding incredible realism to braking.
- CV5 (V-high): This sets the locomotive’s maximum top speed. It's the key to "speed matching" different models so they run well together.
By adjusting these CVs, you can make a zippy passenger engine feel completely different from a slow, powerful yard switcher, even if they have the exact same motor under the hood.
Mastering the Art of Consisting
One of the most impressive tricks in the DCC playbook is consisting—linking multiple locomotives together so they respond to a single address as a unified team. This lets you realistically model the common railroad practice of using two, three, or even more engines to haul a heavy freight train.
When you build a consist, you designate one locomotive as the "lead" unit and then link the others to it. From that moment on, any command you send to the lead unit's address is followed by every engine in the group. They'll speed up, slow down, and change direction in perfect sync. This powerful feature is what transforms a collection of models into a true motive power fleet.
For those running larger layouts with multiple operators, you can dive even deeper and learn how to change your NCE throttle ID cab address to keep everything running smoothly.
Troubleshooting Common DCC HO Scale Problems
Sooner or later, every DCC HO scale layout hits a snag. One minute your trains are running smoothly, the next, everything grinds to a halt. When it happens, don't panic. Most DCC issues are surprisingly simple to fix with a bit of logical thinking, turning a moment of frustration into a great learning opportunity.
The most common headache is a single locomotive that just won't respond. Before you start worrying about a fried decoder, check the simple stuff first. Could you be using the wrong address? It happens to the best of us. Grab your throttle and double-check the number you've called up, or even try the factory default address '3' if it's a new engine you haven't programmed yet.
If the address is right, the next culprit is almost always dirty track or dirty locomotive wheels. That digital signal needs a clean, uninterrupted electrical path to work. Even a tiny speck of dust or a bit of oxidation can completely break the communication between your command station and the decoder.
Hunting Down Electrical Gremlins
When a locomotive stutters, stalls in the same spot, or its lights flicker, you're almost certainly dealing with poor electrical contact. This is your cue to do a little basic maintenance.
- Clean Your Track: Grab a quality track cleaning block or a soft, lint-free cloth with some isopropyl alcohol and wipe down the rails. You’ll be shocked at how much invisible grime builds up over time.
- Clean Locomotive Wheels: The wheels pick up the exact same gunk as the track. A cotton swab dipped in a bit of alcohol is usually all you need to clean them up without taking the locomotive apart.
- Check Your Feeders: Look under the layout and make sure all your feeder wires are still securely soldered to the rails. A single broken connection can create a dead spot that will stop a train in its tracks.
Sometimes, the whole layout just shuts down instantly. This is the classic sign of a short circuit. Don't worry—this means your DCC system’s protective circuits are doing their job and cutting the power to prevent any real damage.
A short circuit is DCC's emergency brake. The most frequent cause is a locomotive's metal wheels bridging the gap at a turnout frog that isn't properly insulated or powered.
Isolating a Short Circuit
Finding a short can feel like looking for a needle in a haystack, but there's a simple trick that makes it easy. The "quarter test" is a time-honored method for a reason: just place a quarter across the rails in different spots. If the system shuts down, you know the power and wiring to that section are working perfectly.
If you've divided your layout into power districts, each with its own booster, finding a short is even easier. The booster for the affected area will shut down, but the rest of your layout will stay powered up. This instantly narrows your search, letting you quickly find that one derailed freight car or the stray screwdriver you left on the tracks. By methodically checking each section, you'll find and fix the problem in minutes—and get your trains running again.
Frequently Asked Questions About DCC in HO Scale
Stepping into a new corner of the model railroading world always brings up a few questions. Let's tackle some of the most common ones we hear from modelers who are just getting started with dcc ho scale.
Can I Run My Old DC Locomotives on a DCC Layout?
This is probably the #1 question we get, and the short answer is no, not directly. Placing a standard DC locomotive on a live DCC track is a recipe for disaster. The constant AC waveform on the rails will quickly overheat and destroy its motor. While some systems have a "zero stretching" feature that can technically run one DC engine, it's a risky move that most experienced modelers strongly advise against.
The right way to bring your classic engines into the digital age is to install a DCC decoder. It’s the only way to do it safely.
The safest rule is simple: Only DCC-decoder-equipped locomotives should be run on a DCC-powered layout. This single practice will prevent costly and heartbreaking damage to your favorite vintage models.
Do I Need to Rewire My Entire Layout for DCC?
Not necessarily! If you already have a well-wired DC layout with a solid power bus and feeders, you're already 90% of the way there. Good wiring is good wiring, and DCC actually works perfectly fine on track that was set up for DC.
In fact, you can often simplify things by removing all the complex block wiring and toggle switches. Just connect all your track sections to your main DCC power bus, and you're good to go.
What Is the Best DCC System for a Beginner?
Choosing your first system really depends on your goals and how you like to operate, but a couple of systems consistently stand out for being user-friendly and reliable right out of the box.
- NCE Power Cab: This one is a crowd favorite, often praised for its comfortable, ergonomic throttle and straightforward operation. It feels natural in your hand, making it a fantastic entry point.
- Digitrax Zephyr Express: A very capable all-in-one console that gives you a great balance of features and the ability to grow with your layout later on.
Either of these will give you everything you need to get a small-to-medium-sized HO scale layout up and running. Best of all, they can both be expanded with boosters and extra throttles as your railroad empire grows.
Ready to take control of your layout with the power and realism of DCC? Fusion Scale Hobbies has all the top-tier systems, decoders, and wiring supplies you need from brands like NCE, Digitrax, and SoundTraxx.
Explore our complete collection of DCC systems and decoders at Fusion Scale Hobbies!