

The B-52 Stratofortress isn't just an airplane; it's a legend. For model builders, a B-52 bomber plastic model kit is a chance to capture that legendary presence in miniature form. Kits come in all shapes and sizes, from smaller 1:144 scale versions perfect for a desk display to massive 1:72 scale projects that dominate a shelf.
This guide is your co-pilot, here to help you navigate the entire process of building a stunning replica you’ll be proud of for years to come.
Your Mission: Building an Aviation Icon
Tackling a B-52 Stratofortress is a monumental piece of aviation history, and building one is a deeply rewarding challenge. We're going to skip the generic, black-and-white instructions and dive into the real-world techniques and strategies modelers use to bring this impressive bomber to life, from cracking open the box to putting on the final touches.
Think of this guide as your complete mission briefing. It’s designed to walk you through every stage with confidence and help you sidestep the common mistakes that can frustrate even seasoned builders. Whether this is your first kit or your fiftieth, our goal is to give you the insights you need for a successful build.
What You Will Learn
We’ve structured this guide to build your skills logically, making sure the whole experience is smooth and enjoyable. Here's a look at what we'll cover:
- Selecting the Perfect Kit: Learn how to pick a B-52 kit that fits your skill level, budget, and display space. We'll break down what the different scales mean and point out key features to look for on the box.
- Assembling Your Toolkit: Discover the must-have tools for a clean, professional build, from basic sprue cutters and sanding sticks to the airbrushing gear needed for a truly impressive finish.
- Mastering the Build: We'll highlight the critical assembly steps, focusing on the unique challenges posed by the B-52's enormous fuselage and wingspan.
- Applying Realistic Finishes: This is where the magic happens. We’ll show you how to apply paint, decals, and weathering effects to make your model look like it just rolled off the flight line.
By the end of this guide, you won't just have a finished model; you'll have a much deeper appreciation for the real aircraft and the skills to take on even more ambitious projects down the road.
Choosing the Right Scale for Your B-52 Model
Before you even touch a tube of glue or pop open a jar of paint, the very first decision you’ll make is also the most important: choosing the scale for your B-52 bomber plastic model kit.
So, what is scale? It’s just the ratio between your model and the real-life aircraft. It’s what dictates the final size of your project, the level of detail you can expect, the complexity of the build, and even how much it’ll cost.
Think of it like choosing a TV screen. A bigger scale like 1:72 is your giant, high-definition screen—it’s massive, packed with stunning detail, and becomes the centerpiece of any room. On the other hand, a smaller scale like 1:144 is like a sharp, well-made standard TV. It’s more compact, much easier to handle, and still gives you a fantastic picture of the real thing without taking over your entire living space.
Understanding the numbers is easy. A 1:72 scale kit means every inch on your model represents 72 inches on the actual B-52 Stratofortress. That also means a 1:72 B-52 will be double the size of a 1:144 version, which makes a huge difference when it comes time to find a place to display it.
Finding Your Perfect Fit
Picking the right scale is all about finding a balance between your ambition, your workspace, and where you plan to show off the finished model. A monster 1:72 B-52, with a wingspan often stretching over two feet (~78 cm), is a seriously impressive sight, but it demands its own dedicated shelf. A smaller 1:144 kit, however, can sit comfortably on a desk or fit right in with a growing collection of other aircraft.
To help you figure out what’s best for you, here’s a quick decision tree based on your experience and what you want out of the build.
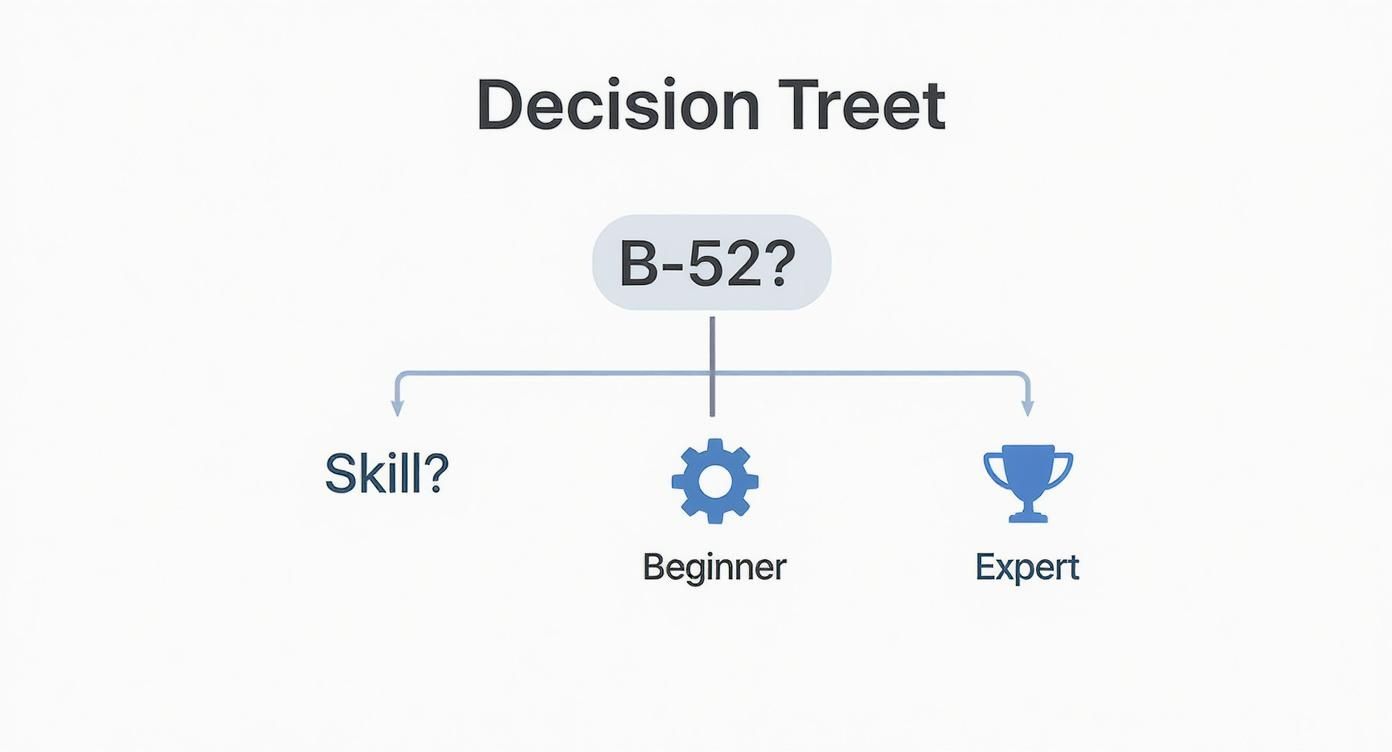
The key takeaway here is to be honest with yourself about your current skill level. You want this to be a fun, rewarding build—not a source of frustration.
For decades, the 1:144 scale has been a worldwide favorite for B-52s, with Minicraft's B-52H being a prime example. Its manageable size (it finishes up around 30 cm long) and solid engineering make it a perfect starting point for newcomers and a satisfyingly quick project for veterans. We’re not just guessing, either—sales data shows that tens of thousands of these kits have found homes in workshops around the globe.
B-52 Model Kit Scale Comparison
To help you see the differences at a glance, here’s a quick-glance comparison of common B-52 kit scales. This should help you choose the best fit for your space, skill, and budget.
| Scale | Typical Size (Wingspan) | Detail Level | Best For | Average Price Range |
|---|---|---|---|---|
| 1:72 | Over 2.5 feet (78 cm) | Highest | Experienced modelers with lots of display space. | $70 - $150+ |
| 1:100 | Approx. 2 feet (60 cm) | Good | A good balance between size and manageable detail. | $40 - $80 |
| 1:144 | Approx. 1.3 feet (40 cm) | Moderate | Beginners, those with limited space, or fleet builders. | $25 - $50 |
| 1:200 | Under 1 foot (30 cm) | Basic | Quick builds and collectors of airliner-scale models. | $20 - $40 |
Ultimately, there is no single "best" scale—only the best scale for you. If you're new to building giant bombers, starting with a 1:144 kit is a fantastic way to learn the ropes before you commit to a much larger and more complex project.
Now, you might wonder why you don’t see B-52s in 1:48 scale. Given its immense size in real life, a 1:48 B-52 would be impractically huge for most modelers! But it's still useful to understand that scale's place in the hobby. You can learn more about how different aircraft fit into the popular 1:48 scale in our detailed guide. It really helps put into perspective why certain scales are the go-to choices for different types of aircraft.
Assembling Your Essential Toolkit
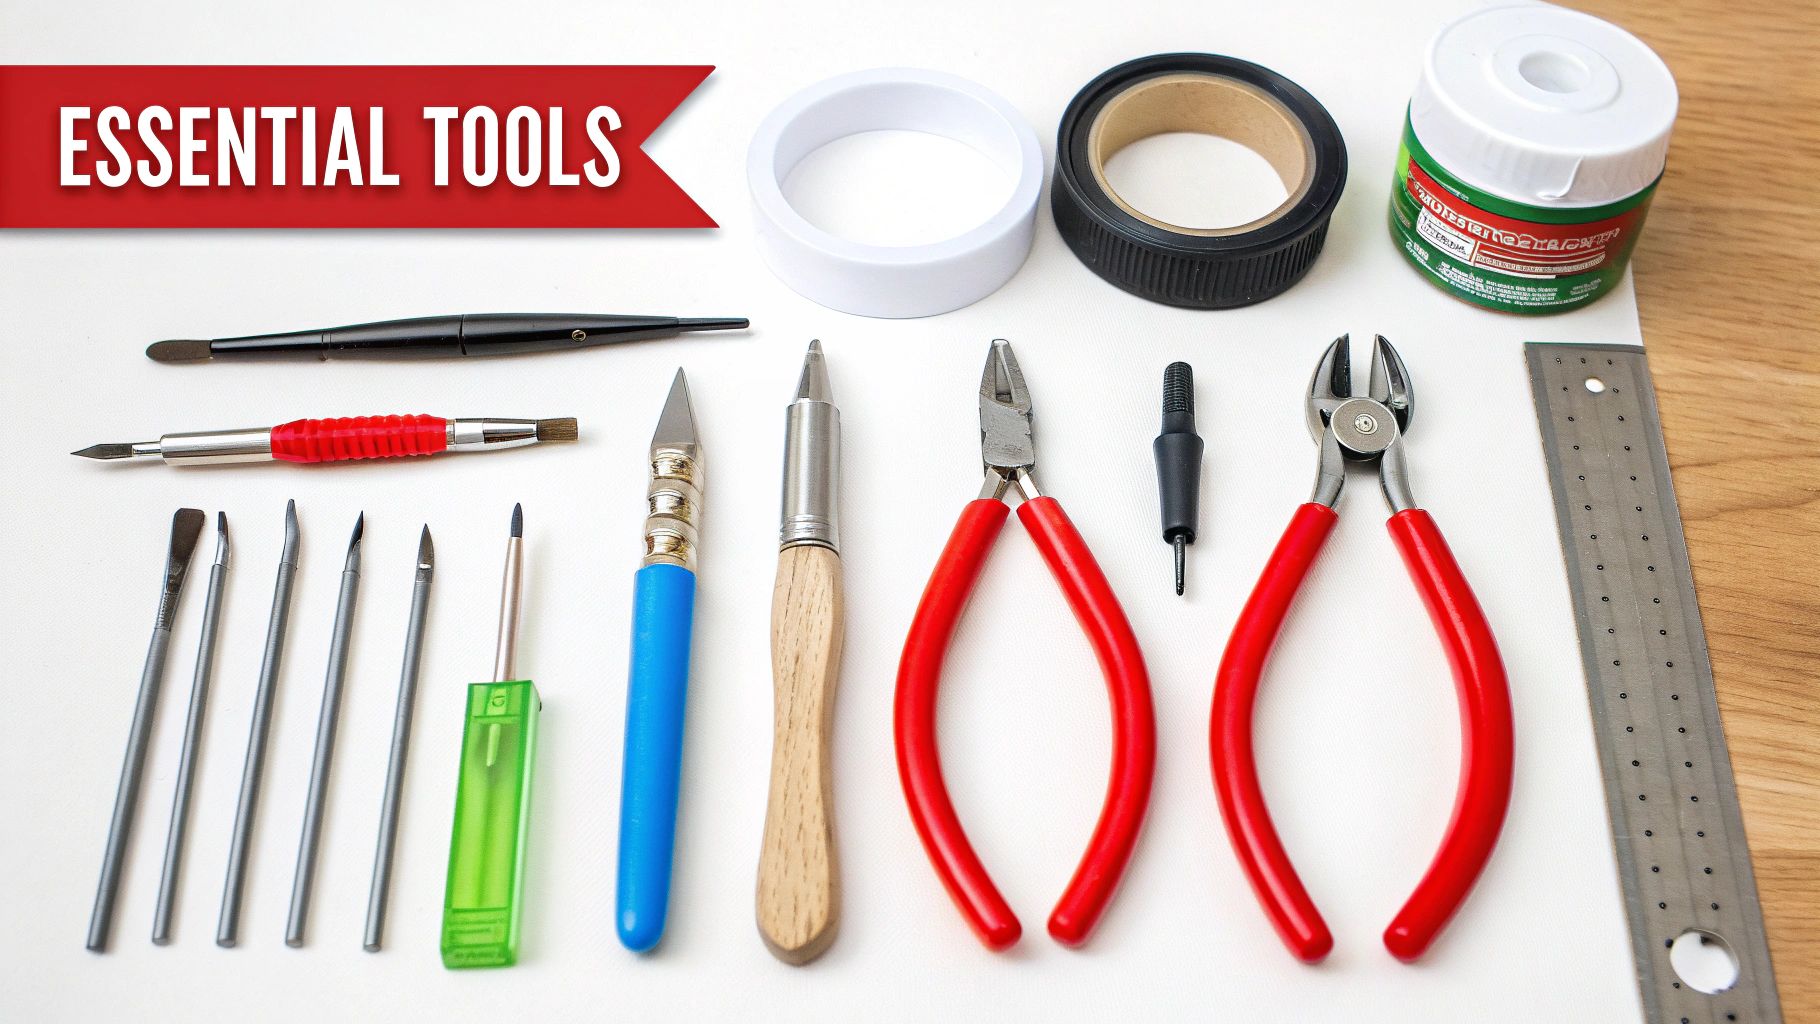
A great model starts with the right tools. Think of your workbench as the ground crew getting your bomber ready for its mission; having the right equipment on hand ensures everything goes smoothly. While you can build up a collection of specialized gadgets over the years, you really only need a few core items to build a fantastic B-52 bomber plastic model kit right out of the box.
Let's break down the essentials into a couple of key groups, starting with the absolute basics.
The Must-Haves for Every Builder
This first group is your non-negotiable flight crew. These are the tools you’ll use constantly, from the moment you crack open the box until the last part is glued in place. Without them, your build will be grounded before it even begins.
- Sprue Cutters: These are basically small, flush-cutting pliers designed to snip parts from the plastic frame, or "sprue." A good pair is worth its weight in gold, as it prevents those ugly white stress marks on the plastic—a real lifesaver on the B-52’s massive fuselage and wing sections.
- Hobby Knife: A sharp knife with replaceable blades (like an X-Acto) is your go-to for cleaning up the little nubs left behind by the sprue cutters. It’s your main tool for making sure parts fit together cleanly without any gaps.
- Model Cement: This isn’t your kid’s school glue or even superglue. Plastic model cement works by slightly melting the plastic on both parts, creating a strong, permanent weld. The right adhesive can make a huge difference. For a deeper look, check out our guide on finding the best glue for plastic models to see how different types can seriously up your game.
With just these three tools, you can successfully build just about any plastic kit. But to make the process easier and get a more polished result, there are a few other items I’d strongly recommend.
Highly Recommended for a Smoother Build
Think of this next set of tools as your support squadron. They aren't strictly required to get the job done, but they make the trickier tasks way easier and more precise, which leads to a much better-looking model in the end.
- Tweezers: A good pair of fine-tipped tweezers is a lifesaver for handling and placing tiny parts without your clumsy fingers getting in the way. Think cockpit controls or delicate landing gear details.
- Masking Tape: You'll want specialty model masking tape, which is designed to stick firmly but peel off without pulling up your paint or leaving sticky gunk behind. It's absolutely essential for creating the sharp, clean lines on a B-52's camouflage pattern.
- Sanding Sticks/Files: These are used to smooth out seams where parts join and to knock down any imperfections. Getting that long seam along the top of a B-52’s fuselage perfectly smooth is a classic modeling challenge, and these make it a whole lot easier.
- Modeling Putty: Sometimes, no matter how careful you are, gaps appear where big parts meet, like where the wing roots join the fuselage. A small dab of modeling putty can fill these gaps perfectly, creating a flawless surface once it's sanded and painted.
Comparing Popular B-52 Model Kits
With your essential toolkit ready, it’s time for the fun part: picking out your B-52 bomber plastic model kit. The market has some fantastic options from well-known brands, and each one brings something different to the table in terms of size, detail, and complexity. Think of it like a pre-flight check—we'll go over the top contenders to help you choose the right mission for your workbench.
The two names you’ll see most often are Italeri and Minicraft. Both have been making quality kits of this iconic bomber for years, but they tend to focus on different scales and levels of detail. Your decision will really come down to whether you want a massive, eye-catching centerpiece or a more compact and manageable build.
The Heavyweights in 1:72 Scale
For modelers who believe bigger is always better, 1:72 scale is where the action is. Kits in this scale build into enormous, impressive models that absolutely command attention.
- Italeri B-52G "Gulf War": This is a classic for a reason. It's well-regarded for its crisp molding, good fit, and fantastic decal options for aircraft that flew in Operation Desert Storm. This specific B-52 bomber plastic model kit is a perfect choice if you want to build a historically significant version with a high degree of detail.
- Revell/Monogram B-52H: Another legend in this scale, this kit has been a favorite for decades. While the tooling is older, it still builds up into an incredibly impressive replica of the "H" model, the same variant still flying today. Just be prepared—it’s a massive project that's best tackled by builders with some experience handling large assemblies.
The B-52 Stratofortress has been a top subject for modelers since the Cold War, and Italeri has long been the leader in the popular 1:72 scale. Their B-52G Gulf War kit (model number 1378) creates a stunning model measuring 67.4 cm long and includes decals for four different aircraft, making it a favorite for serious collectors. You can find more details and options for this classic by exploring the wide selection of B-52 models available on eBay.
Compact and Capable in 1:144 Scale
If you’re short on display space or just getting started, 1:144 scale offers a fantastic alternative. You still get the B-52’s iconic silhouette, but in a much more manageable package.
The real beauty of 1:144 scale is its accessibility. You can finish a great-looking model in a fraction of the time and space needed for its larger cousins, making it an ideal entry point for building this legendary bomber.
In this scale, Minicraft is the undisputed champion. They offer several versions of the B-52, which is great if you want to build a whole collection showing the bomber's evolution over the years.
- Minicraft B-52H: This is probably the most popular and accessible B-52 kit you can buy. It features modern tooling with recessed panel lines and a straightforward assembly. It's the perfect choice for a first-time B-52 builder.
- Minicraft B-52D/F: For those interested in the Vietnam War era, Minicraft also produces these earlier variants. These kits are great for depicting the classic high-visibility camouflage schemes seen during that conflict.
Mastering the Key Building Stages
Your kit’s instruction manual is your map, but think of this section as your mission briefing. We're going to walk through the major phases of the build, pointing out the spots where a little extra care and technique will pay off big time in the end. A massive B-52 bomber plastic model kit is a marathon, not a sprint, and breaking it down into manageable stages is the key to success.
This approach keeps you from getting overwhelmed and makes sure each part of the bomber gets the attention it deserves. Let's break this mission down into three critical phases: the cockpit, the main airframe, and finally, the paint and decals.
Starting with the Cockpit
The cockpit is always, always the best place to start. Why? Simple. Once you glue the two halves of the fuselage together, that detailed little office is sealed away for good, visible only through a few small windows. This is your one and only chance to get it right.
Focus on painting the tiny instrument panels, seats, and control yokes before you even think about gluing anything. A great technique here is dry brushing—using a nearly dry brush with a lighter color—to make all the raised details on the instrument panels pop. A few tiny dabs of bright color for buttons and switches will really bring the whole space to life.
A well-detailed cockpit, even if it’s mostly hidden on the finished model, is the signature of a dedicated builder. It's the heart of the aircraft, and putting in the effort here sets a high standard for the rest of your build.
Tackling the Massive Fuselage and Wings
Assembling the fuselage and wings of a B-52 is the moment you truly grasp the sheer size of this project. The biggest challenge you'll face here is dealing with the long seams where the huge plastic parts meet. Getting these seams perfectly smooth and invisible is absolutely critical for a realistic finish.
Follow this process for a seamless result:
- Test Fit Everything: Before a drop of glue touches plastic, dry-fit the fuselage halves and wing sections. Check for any major gaps or alignment problems.
- Apply Cement Carefully: Use liquid cement along the inside of the seam first to weld the parts into a strong bond. Then, apply it sparingly to the outer seam and gently squeeze the parts together until a tiny bead of melted plastic oozes out.
- Sand and Smooth: Let the cement cure for at least 24 hours. Then, carefully sand that raised bead down using sanding sticks with progressively finer grits. Keep going until the seam completely vanishes.
This takes patience, no doubt about it. But it’s the only way to avoid that ugly centerline crack that can ruin the look of an otherwise fantastic model.
Nailing the Paint and Decals
With the main construction finally done, it's time to bring your B-52 to life. For those iconic camouflage schemes, low-tack modeling masking tape is your best friend for creating sharp, clean lines between the colors. Remember, spraying several thin, even coats of paint is always better than one thick, globby one.
Applying the decals is the final major hurdle. B-52s are plastered with dozens of tiny stencils and markings. To avoid "silvering"—that amateurish look where you can see the clear film around the decal—you have to apply them to a glossy surface.
- First, spray a clear gloss coat over your finished paintwork and let it cure.
- Use a decal setting solution like Micro Sol to help the decal melt into surface details like panel lines.
- Once all the decals are dry, seal everything with a final matte or satin clear coat to give it that authentic, non-toy-like finish.
Adding Realism with Weathering and Finishing
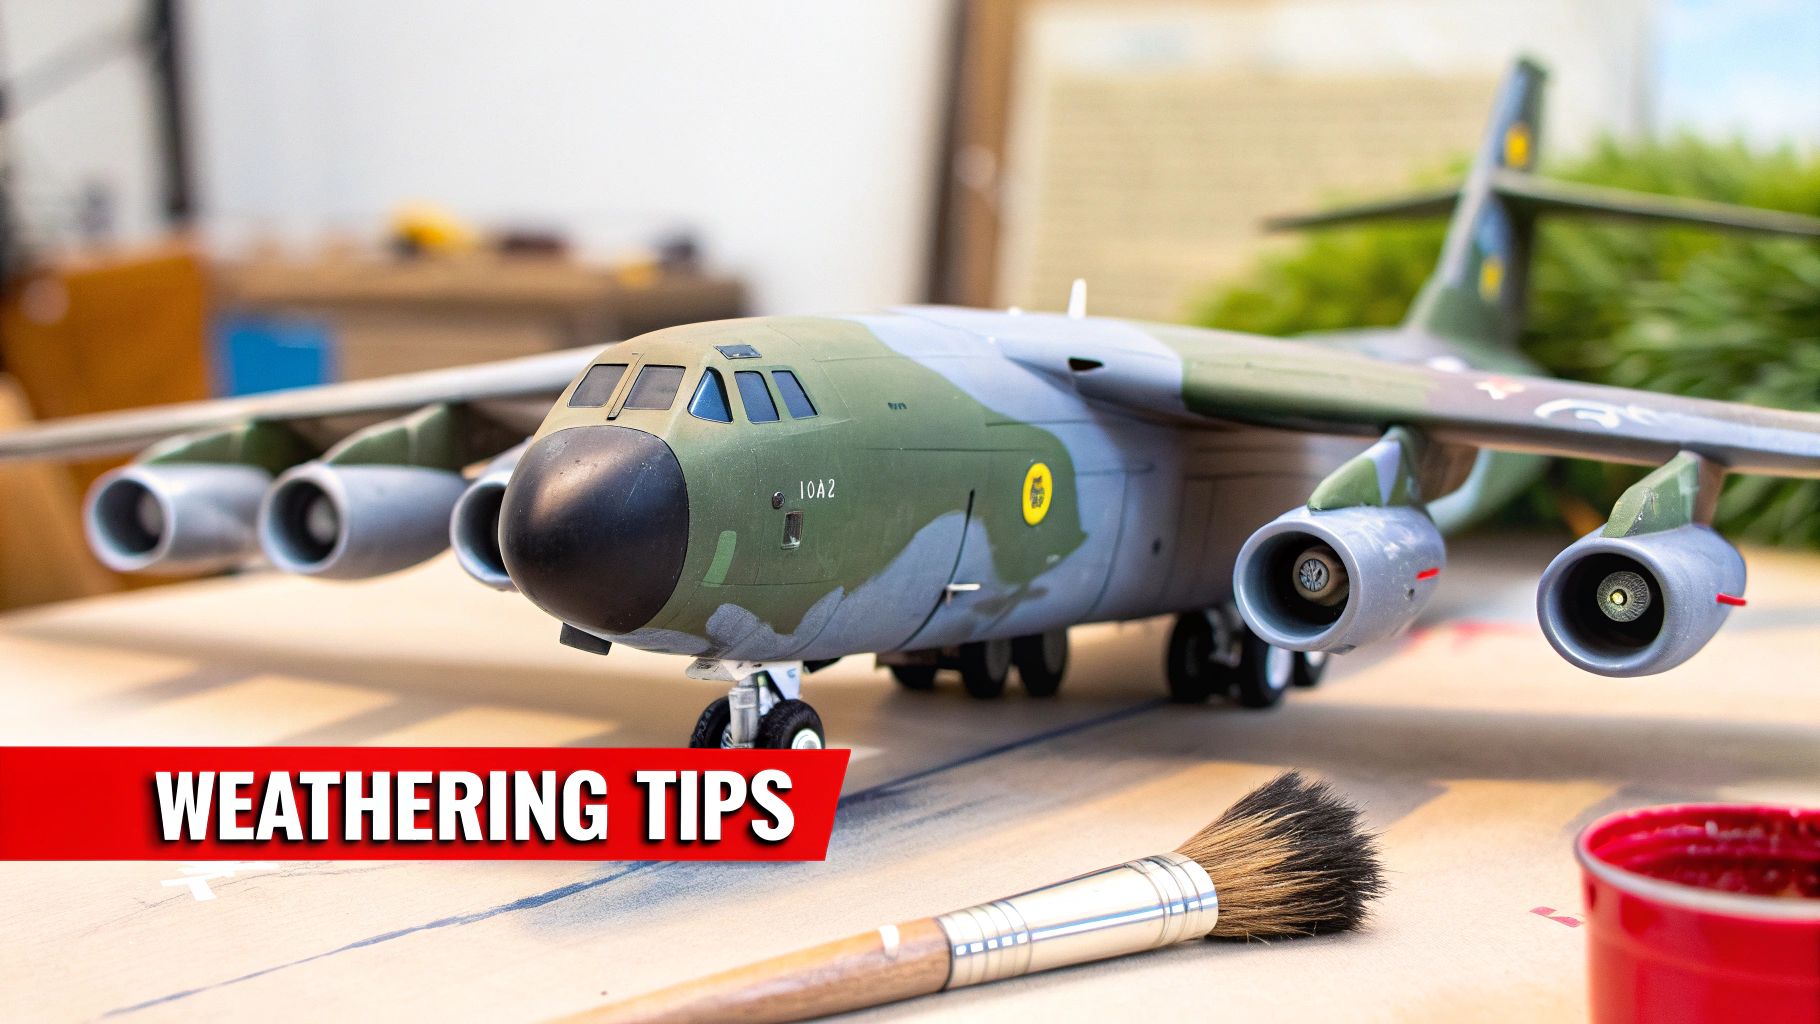
This is where the magic happens. The final finishing stage is where your project transforms from a plastic assembly into a miniature aircraft with a soul. The art of weathering is really about storytelling—mimicking the subtle dirt, grime, and fluid streaks that a real B-52 Stratofortress picks up on duty. You don't have to be a master painter; even simple techniques can have a dramatic impact.
The best place to start is with a panel line wash. This just means applying a thinned, dark paint over the model and then wiping away the excess, leaving the color behind in the recessed panel lines. This single step makes every little detail pop, instantly adding depth and realism to those huge wing and fuselage surfaces.
Creating Authentic Wear and Tear
Beyond the panel lines, you can focus on specific areas to tell a more detailed story of your bomber's service life. The eight engine pods on a B-52 are notorious for getting caked in dark, sooty exhaust stains. You can replicate this look with black and brown weathering powders or by carefully airbrushing highly thinned black paint.
Consider adding grime to these key areas:
- Engine Nacelles: Build up layers of dark pigment trailing back from the engine exhausts. Start light and build it up slowly.
- Landing Gear Bays: These areas are magnets for hydraulic fluid, grease, and dirt. A dark, oily wash works wonders here.
- Wing Roots: Think about where the ground crew would walk and perform maintenance. Adding subtle scuff marks and grime in these spots tells a great story.
Weathering is less about making a model look dirty and more about making it look used. A little goes a long way. The real goal is to create a believable history for your aircraft, suggesting missions flown and hours spent on the flight line.
Applying the Final Clear Coat
The very last step is sealing all your hard work with a clear coat. Don't skip this! The choice of finish is crucial for the final look of your B-52 bomber plastic model kit. Most modern military aircraft have a flat, non-reflective finish to reduce visibility in the air. For a detailed guide on this, check out our post on the best paints for plastic models and their matching clear coats.
A matte varnish is almost always the right choice for a B-52. It will kill any unrealistic shine from the plastic or decals, giving it an authentic, scale-appropriate appearance that ties all your weathering together.
Your B-52 Kit Questions Answered
Building a legendary bomber like the B-52 Stratofortress is a rewarding project, but it’s natural to have a few questions before you dive in. Let’s tackle some of the most common things modelers ask when starting one of these massive kits.
Getting Started and Common Hurdles
If you’re wondering which kit is best for a beginner, I always point people to the Minicraft 1:144 scale B-52H. It’s a modern tool with a great fit, a manageable size, and none of the headaches older kits can present. It’s the perfect entry point.
Another big question—literally—is how to apply those huge decals, like the national insignia on the wings, without them wrinkling or silvering.
The secret to perfect decals is a glossy surface. Always spray a gloss clear coat over your paint before decaling. This smooths out the microscopic texture of the paint, giving the decal a perfect surface to stick to and preventing trapped air bubbles.
Painting and Finishing Like a Pro
People often ask about the best way to tackle the complex camouflage patterns seen on many BUFFs. For those sharp, clean lines, nothing beats low-tack modeling masking tape. But if you're aiming for the softer, feathered edges on some schemes, a neat trick is to roll out thin "snakes" of poster tack to outline the camo pattern. This lifts the mask just off the surface, allowing a slight overspray that creates that perfect soft edge.
And what about weathering? A factory-fresh B-52 is nice, but a weathered one tells a story.
- A Little Goes a Long Way: Start with a simple panel line wash. A thinned dark enamel or oil paint will settle into the panel lines, adding instant depth and making the details pop.
- Focus on the Power: Those eight engine pods are the heart of the B-52 and a prime spot for weathering. A bit of dark gray or black pigment dusted around the exhausts perfectly replicates the sooty stains you see on every hard-working Stratofortress.
Finally, don't be surprised if you need some filler putty. It’s almost a guarantee on a kit this big. You'll likely find gaps along the long fuselage seam and where the massive wing roots join the body. This isn't a flaw; it's just part of the process of getting a perfectly smooth airframe on a large-scale model.
At Fusion Scale Hobbies, we've got everything you need to build your own piece of aviation history—from the kits themselves to the tools, paints, and weathering supplies. Check out our full collection of scale modeling essentials and get your project off the ground. Find the perfect B-52 kit and more right here: https://fusionscalehobbies.com.