


To get enamel paint just right, you'll need to mix it with a compatible solvent like mineral spirits or the specific thinner your paint's manufacturer recommends. You're aiming for the perfect consistency for your tool. For brushing, just a little bit of thinner makes the paint glide on smoothly. For spraying, however, you'll need a bigger reduction—usually a 10-15% thinner-to-paint ratio—to keep your airbrush from clogging and to get that perfectly even coat.
Why Thinning Enamel Is Your Secret to a Flawless Finish
Ever wonder how the pros get that glass-smooth, brush-stroke-free look on trim, cabinets, or scale models? The secret isn't just a steady hand—it's properly thinned paint.
Straight out of the can, enamel is often too thick for a perfect application. This leads to all-too-common frustrations like visible brush marks, a pebbly "orange peel" texture from a sprayer, or thick, globby coats that completely hide any fine details.
Thinning is simply the process of reducing the paint's viscosity (its thickness) with a solvent. It's a quick step that separates an amateur job from a professional one.
The Payoff: What Thinning Actually Does
- Improves Flow and Leveling: Thinned enamel flows more freely, which allows it to settle into a smooth, flat surface. It literally erases brush strokes as it dries.
- Better Atomization for Sprayers: If you're using an HVLP gun or an airbrush, getting the viscosity right is non-negotiable. It allows the paint to break up into a fine mist, creating a flawless, even layer without gumming up the nozzle.
- Enhances Penetration and Adhesion: On porous surfaces like wood, a slightly thinned first coat can penetrate deeper into the material. This creates a much stronger bond for the coats that follow.
Think of it like pancake batter. Too thick, and you get a lumpy, uneven pancake. Too thin, and it spreads all over the pan. Learning to thin enamel paint is all about finding that perfect, workable consistency.
A good rule of thumb in the industry is to thin alkyd-based enamel paints by about 10%, which means adding one part thinner for every ten parts of paint. This is often the sweet spot for balancing sprayability and coverage. You can see how experts apply these ideas in professional house painting techniques.
The goal is to make the paint work with you and your tool, not against you. A few minutes spent thinning can save you hours of sanding and recoating.
Understanding the unique, oil-based nature of enamel is a huge part of mastering it. Its durability is what makes it so popular, but that also means it behaves differently from other paints. For modelers trying to decide between finishes, check out our guide comparing acrylic vs. enamel model paint to see which one is right for your project.
Choosing the Right Thinner for Your Enamel Paint
Selecting the right solvent is one of those things that separates a frustrating paint job from a flawless one. It’s about more than just grabbing a generic can of "paint thinner" off the shelf. The chemical you choose directly impacts everything from drying time to the final surface finish.
Use the wrong one, and you can turn a perfect can of enamel into a lumpy, unusable mess. That’s a lesson most of us only need to learn once.
Before you even pry open a can of paint, your first move should be to hunt down its Technical Data Sheet (TDS). Manufacturers put these online, and it’s basically the paint’s official instruction manual. It will tell you exactly which solvents are compatible, taking all the guesswork out of the equation.
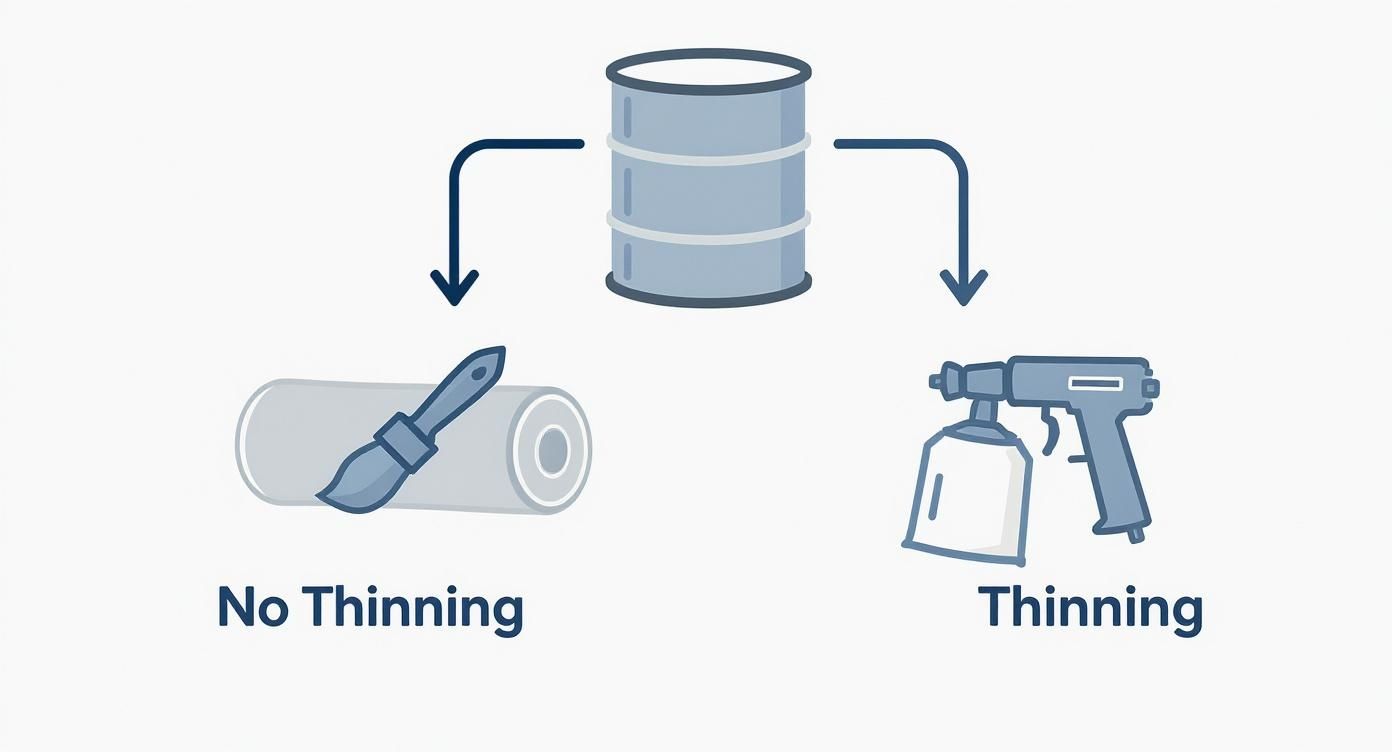
As you can see, thinning is almost always a requirement for spray applications but is usually optional when you're brushing or rolling. It all comes down to getting the paint to the right consistency for the tool you're using.
Navigating Oil-Based Enamel Thinners
When you're working with traditional oil-based enamels, you have a few go-to options. Each one has its own personality, making it better for certain jobs.
- Mineral Spirits: This is the workhorse thinner for most oil-based paints. It has a moderate evaporation rate, which is perfect for brushing. That slower drying gives the paint enough "open time" to level itself out, which helps those pesky brush marks disappear.
- VM&P Naphtha: Naphtha is the speedy cousin to mineral spirits. It evaporates much faster, which is a huge advantage for spray applications. It helps the paint flash off quickly, preventing runs and sags on vertical surfaces. But that same quality makes it a poor choice for hand-brushing, as the paint can get tacky before you have time to work with it.
- Lacquer Thinner: This one is a much more aggressive, or "hotter," solvent. While it can thin some enamels, it's often too powerful. It can easily cause the paint to lift or wrinkle if you apply it over an existing finish. For hobbyists working on delicate models, a milder option is usually a safer bet. You can learn more about the specifics of a mild lacquer thinner and how it’s used in scale modeling projects.
Pro Tip: Never play chemist by mixing different types of thinners. Pick one solvent for your project and stick with it. Solvents can be incompatible, causing the paint’s binders to break down and completely ruin your finish.
Picking the right tool for the job is critical. The table below breaks down the most common choices to help you decide which solvent best fits your project's needs.
Comparing Common Enamel Paint Thinners
| Solvent Type | Evaporation Speed | Best For | Safety Note |
|---|---|---|---|
| Mineral Spirits | Medium | General-purpose brushing and rolling. Great for achieving a smooth, self-leveling finish. | Good ventilation is essential. Wear gloves to avoid skin irritation. |
| VM&P Naphtha | Fast | Spray applications (conventional or HVLP) to reduce runs and sags. | Highly flammable with strong fumes. Requires excellent ventilation and a respirator. |
| Lacquer Thinner | Very Fast / "Hot" | Specialized enamel thinning (with caution) and heavy-duty cleanup of tools. | Extremely aggressive solvent. Can damage plastics and underlying paint. Use a respirator. |
| Turpentine | Slow | Traditional oil painting and artist enamels where long working time is needed. | Strong odor and can cause skin allergies. Many painters now prefer odorless mineral spirits. |
Ultimately, this table is a guide. Always start with the manufacturer's TDS to confirm compatibility before you start mixing.
A Note on Water-Based Enamels
The game changes completely with modern acrylic or water-based enamels. These formulas must only be thinned with water or a specific reducer recommended by the manufacturer.
If you add a petroleum-based solvent like mineral spirits to a water-based enamel, you’ll instantly ruin it. The paint will separate and curdle into a cottage cheese-like mess. Always, always confirm if your paint is oil-based or water-based before you even think about reaching for a thinner. It's a simple check that can save you from a costly and frustrating mistake.
Mastering Ratios for Brushing and Rolling
When you're painting by hand, the goal isn't just slapping on some color—it's getting a finish so smooth it looks like it came out of a spray booth. This is where a little bit of know-how in thinning enamel paint makes all the difference. You don't need to thin it drastically, but a small adjustment can completely change the game.
Unlike airbrushing, which needs a very specific, almost watery consistency, thinning for a brush or roller is all about improving the paint’s “flow.” The right mix lets the paint glide off your brush and settle down perfectly, allowing those pesky brush marks to melt away as it self-levels. This is the secret to avoiding that thick, dragged look that can ruin a hand-painted project.
Finding the Right Starting Ratio
For brushing, a great place to start is a ratio of about one part thinner to eight parts paint (1:8). This subtle change is usually just enough to relax the paint without making it runny or hurting its coverage. Give that a try first and see how it feels on the brush.
Think of it like adding cream to a thick soup; you only add a splash at a time until you hit that perfect consistency. It’s the same idea here. Always, and I mean always, mix your paint and thinner in a separate, clean container—never in the original can. Trust me, you don't want to accidentally over-thin your entire supply.
Here’s my go-to process:
- Pour a manageable amount of paint into a mixing cup.
- Add a small, measured amount of your thinner (like mineral spirits).
- Stir it like you mean it for at least a minute to make sure the solvent is completely mixed in.
- Test the flow. Dip a stir stick in, lift it out, and watch. The paint should run off in a smooth, continuous stream for a few seconds before breaking into drips. If it’s still clumpy or breaks off right away, add a tiny bit more thinner.
Using Paint Conditioners for a Superior Finish
Sometimes, a standard thinner isn't the best tool for the job. For years, I’ve sworn by paint conditioners like Penetrol for oil-based enamels. These additives are a different beast entirely because their main job is to extend the paint's "open time."
What's open time? It's the window you have before the paint starts getting tacky. A longer open time gives the enamel more time to self-level, which is the secret to making brush strokes vanish for a truly professional, glass-like surface.
Unlike regular thinners, conditioners don’t significantly water down the paint's pigment or binders. This means you can get that flawless flow without sacrificing the paint's durability or rich color. Just add a little bit according to the label and stir it in. The result is paint that feels silkier and far more cooperative under the brush, making your work easier and the final look a whole lot cleaner.
Perfecting the Mix for Airbrushing and HVLP Sprayers
When you make the leap from a brush to a sprayer, thinning enamel paint becomes non-negotiable. For any kind of spray gun, paint that’s too thick is a recipe for disaster. It’ll clog the nozzle, sputter out in globs, and leave you with a bumpy "orange peel" texture that’s an absolute nightmare to fix.
The goal is to get the paint to a consistency that lets it atomize into a fine, even mist you can actually control.
For airbrushing, especially in the world of scale modeling, the classic advice is to aim for the consistency of milk. It sounds simple, but that often translates to surprisingly high thinning ratios that can feel a little scary at first. For some projects, you might be looking at one part paint to one part thinner (1:1).
Finding Your Ideal Spraying Ratio
There’s no single magic number for the perfect thinning ratio. It’s going to depend on your specific paint, your equipment, and even the air pressure you’re running. But there are some fantastic starting points whether you’re using a tiny airbrush or a big HVLP sprayer.
- For Airbrushing: A 1:1 ratio (paint to thinner) is a great place to start. Mix it up and see how it sprays. If it seems too thick or looks like it's spattering, just add a bit more thinner until it flows beautifully.
- For HVLP Sprayers: These bigger guns can usually handle slightly thicker paint. A common jumping-off point is three parts paint to one part thinner (3:1).
Of course, seasoned pros tweak these ratios all the time. For super-fine airbrush details, I've seen ratios go as high as 1:4 to get that watery, milk-like flow needed for perfect atomization. On the flip side, for bigger jobs with an HVLP, a 3:1 ratio (25% thinner) is a pretty reliable mix that you'll see mentioned a lot. For a great real-world breakdown of this in action, learning how to spray paint kitchen cabinets effectively is a masterclass in getting the mix right for large surfaces.
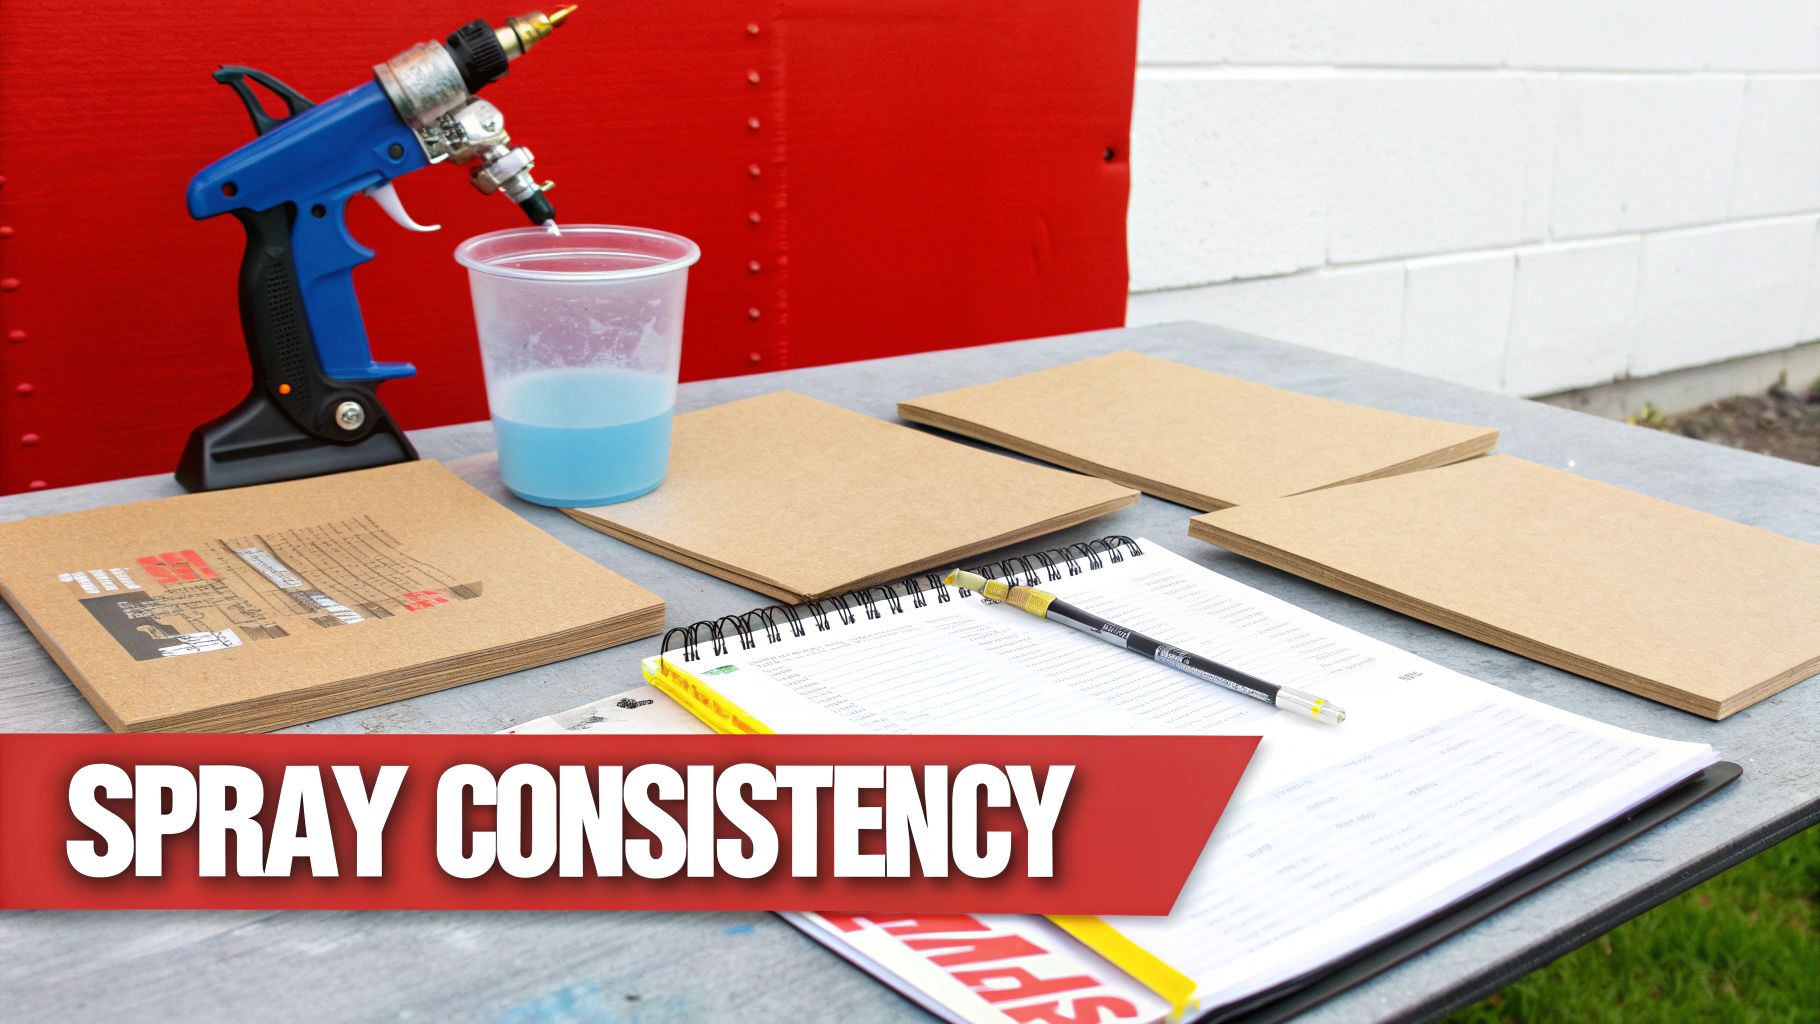
The All-Important Test Spray
Never, ever go straight from the mixing cup to your actual project. I learned this the hard way, and trust me, it’s a mistake you only make once. Always test your thinned paint on a piece of scrap cardboard or a similar throwaway material first.
This one simple step tells you everything you need to know:
- "Orange Peel" Texture: If the surface looks bumpy and pebbled, your paint is still too thick. Add more thinner.
- Runs and Sags: If the paint immediately drips and runs down your test piece, it’s too thin. Add a little unthinned paint back into your mix to thicken it up.
- A Smooth, Even Coat: This is what you're after. The paint should lay down in a fine mist and create a smooth finish without running.
Once you’ve nailed down the perfect mix, you just need the right tool for the job. If you’re a scale modeler wanting to get the absolute best results, check out our guide on choosing the https://fusionscalehobbies.com/blogs/news/best-airbrush-for-scale-modeling.
My Pro Tip That Prevents Clogs: Always, always strain your thinned paint before you pour it into the sprayer's cup. Tiny, dried bits of paint from the can’s rim or undissolved pigment can instantly clog an airbrush nozzle. A simple paint strainer—or even a coffee filter in a pinch—can save you from a world of frustration.
Essential Safety and Cleanup Procedures
Working with paint thinners isn't like cleaning up after a latex paint job. These are powerful, volatile solvents that demand your full attention and respect. The fumes are no joke, and getting this stuff on your skin will cause some serious irritation.
When you're learning how to thin enamel paint, prioritizing safety isn't just a friendly suggestion—it’s a non-negotiable part of the process.
Before you even think about cracking open a can of thinner, you need to gear up. Think of it as your pre-flight checklist.
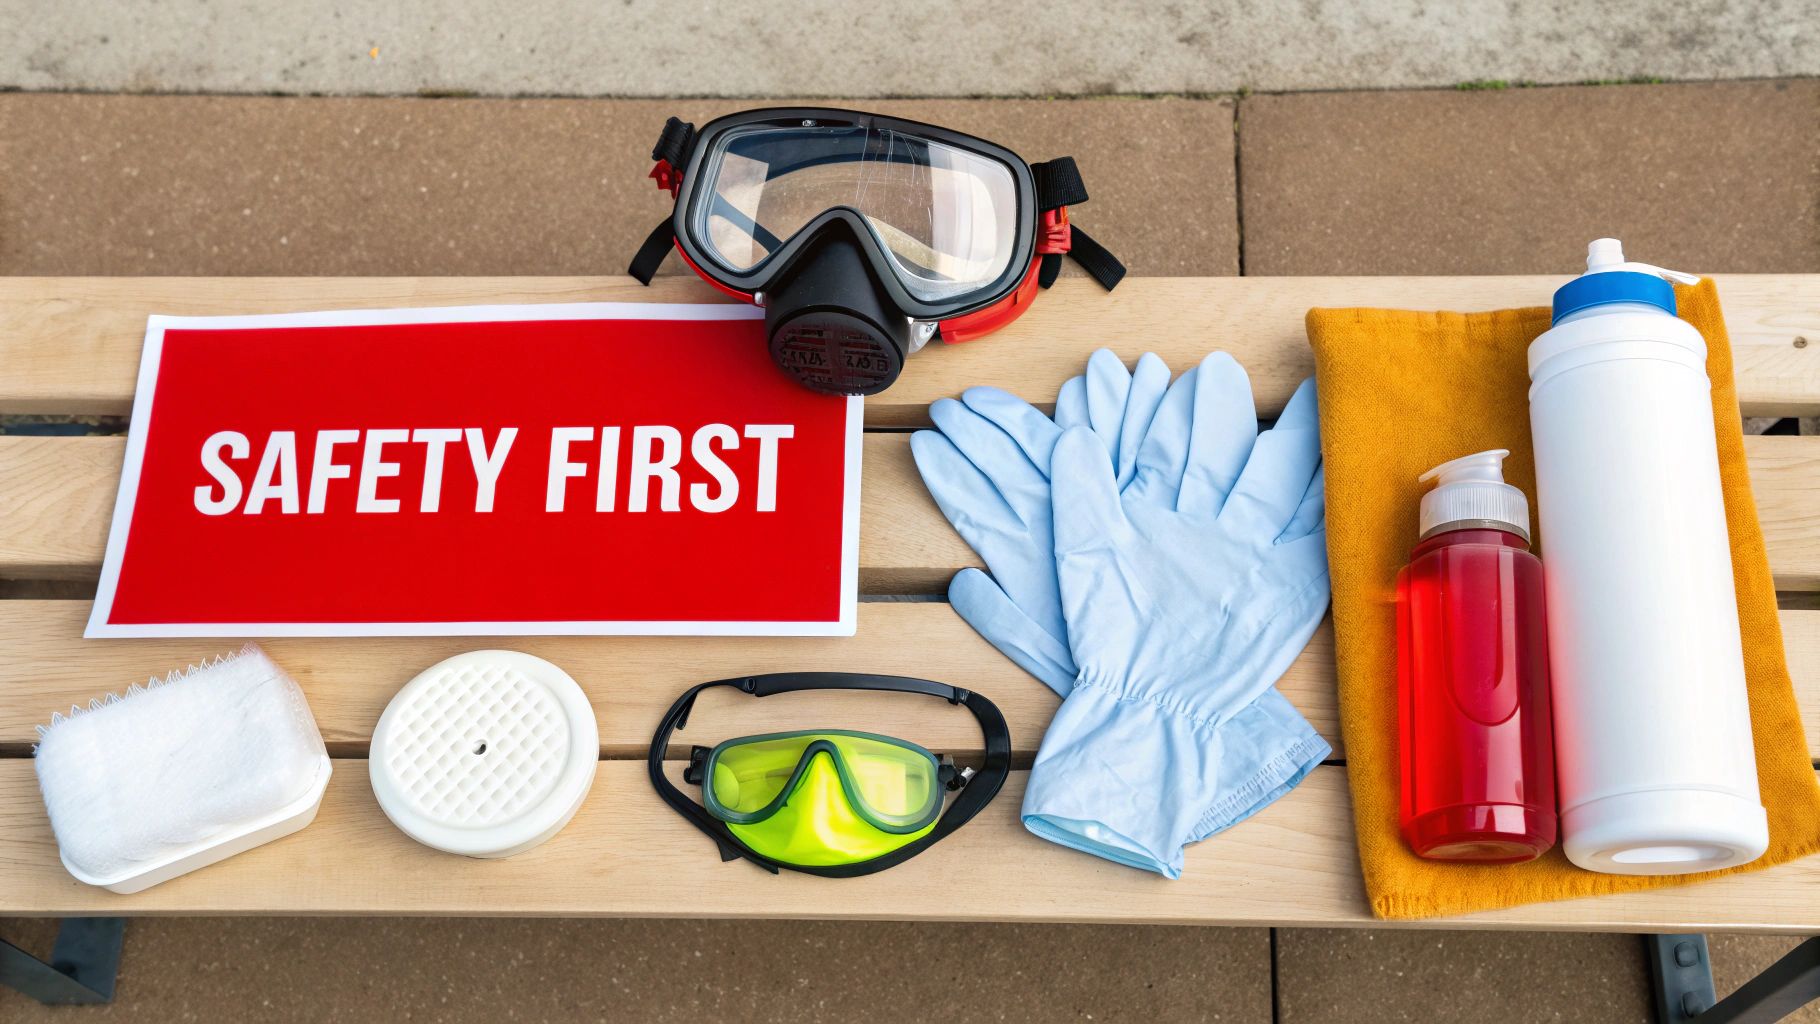
Personal Protective Equipment (PPE) is a Must
Your health is the most important tool you have. The solvents used for thinning enamel paint release volatile organic compounds (VOCs) that are nasty to breathe and can be absorbed right through your skin. Don't take chances.
- Respirator: A simple dust mask is useless here. You absolutely need a respirator with organic vapor cartridges. It’s the only thing that will effectively filter out the harmful solvent fumes.
- Safety Glasses: Protect your eyes from splashes. One stray drop of solvent in your eye is a trip to the emergency room that you can easily avoid.
- Chemical-Resistant Gloves: Grab some nitrile or neoprene gloves. Standard latex gloves will just break down and dissolve when they come into contact with strong solvents, offering you zero protection.
Ventilation is just as critical as the gear you wear. Always, always work in a well-ventilated area. I mean open windows, open doors, and a box fan pointed outward to pull the fumes away from you and push them outside.
Your goal is to breathe as little of this stuff as possible. If you can smell the thinner strongly while wearing your respirator, check the fit. Make sure the cartridges are seated correctly and haven't expired.
Smart and Safe Cleanup
Once the painting is done, cleaning up the right way is crucial for both safety and for keeping your tools in good shape. Immediately clean your brushes, mixing cups, and any spray gun parts with the same solvent you used for thinning.
Now for the most dangerous part of cleanup: the rags. Solvent-soaked rags can spontaneously combust. It's a real thing. As the oils and thinners oxidize, they generate heat, and if they're wadded up in a trash can, they can catch fire. Never just bunch them up and toss them out.
Here’s how to handle them safely:
- Lay each rag out flat on a non-flammable surface, like your garage’s concrete floor, until they are completely dry.
- Once they're dry and stiff, they’re usually safe to throw away with your regular trash.
- For wet disposal, you can place them in a metal can with a tight-fitting lid and cover them completely with water before sealing it up.
It's always a good idea to check with your local waste management authority for their specific rules on hazardous waste disposal. Taking these extra steps ensures your workspace stays safe long after the paint is dry.
Troubleshooting Common Thinning Problems
Even when you measure carefully, things can still go sideways when you're learning how to thin enamel paint. Don't panic—most issues are pretty easy to diagnose and even easier to fix once you know what you're looking at. Think of this as your quick-reference guide for rescuing a finish that’s not quite right.
Most problems boil down to one simple thing: the paint's viscosity was off for your specific application. Getting that perfect, smooth result is all about finding the sweet spot between too thick and too thin.
Paint is Running or Sagging
If you spray a vertical surface and the paint immediately starts to form drips or sag, you've got a classic case of over-thinned paint. The solvent has made the paint so watery that gravity is winning the battle before the paint has a chance to set up properly.
The fix here is simple: add a small amount of unthinned paint back into your mixing cup. Stir it thoroughly and do another test spray on your scrap piece. Keep adjusting until the paint lays down smoothly without running.
The Finish Has an Orange Peel Texture
The exact opposite problem is "orange peel," a bumpy, pebbly texture that looks just like its name suggests. This is a tell-tale sign that your paint is still too thick to atomize correctly through your airbrush or sprayer. The gun is spitting out tiny droplets instead of a fine, even mist.
To correct this, just add a little more thinner to your mix, a few drops at a time. Stir well and test again. You’re looking for that perfect mist that creates a smooth, wet coat on contact.
A great finish is a balancing act. Too thin leads to runs, while too thick causes orange peel. Your test panel is where you find the perfect equilibrium before you ever touch your project.
Other Common Issues and Their Fixes
Sometimes the problem isn’t as obvious as a run or a bump. Here are a few other frustrating issues you might run into:
- Dull or Chalky Finish: If your gloss enamel dries to a dull, almost chalky finish, you likely added way too much thinner. Over-thinning breaks down the paint's binders, which kills both its sheen and its durability. Unfortunately, this isn't an easy fix after the fact and usually means you'll have to sand and recoat.
- Slow Drying Time: While enamel is known for its slow cure, excessively long drying times can mean you used the wrong type of solvent. A slow-evaporating thinner, like certain types of mineral spirits, can dramatically extend the curing period, especially in cool or humid conditions. Always try to use the manufacturer-recommended thinner for predictable results.
Still Have Questions About Thinning Enamel?
Even after you've got the basics down, a few common questions always seem to pop up. Here are some quick answers to the problems that trip up modelers the most, so you can get back to building with confidence.
Can I Use Water to Thin Oil-Based Enamel Paint?
Nope, never. Using water to thin a traditional oil-based enamel is a recipe for disaster. Oil and water refuse to mix, and trying to force them will instantly turn your expensive paint into a lumpy, separated mess.
Always stick with a compatible solvent. Mineral spirits are a great all-around choice, but the best bet is always the specific thinner recommended by the paint manufacturer right on the can.
How Do I Know if My Enamel Paint Is Thin Enough?
The classic "stir stick test" is your best friend here. It’s a simple but surprisingly reliable way to gauge your paint’s consistency.
Just dip a clean stir stick into your thinned paint and lift it straight out. You're looking for the paint to flow off the stick in a smooth, continuous stream for about two to three seconds before it starts breaking into individual drips. If it runs off instantly or just drips, it's either too thin or too thick.
For airbrushing, the only real way to know is to test it. A quick spray on a piece of cardboard or scrap plastic will tell you everything you need to know about your spray pattern and how well the paint is atomizing.
Don't ever skip the test spray. I’ve seen it a hundred times: a modeler gets impatient, goes straight to the model, and ends up with a splattery mess. A ten-second test on scrap can save you hours of sanding and repainting.
Does Thinning Enamel Affect Its Durability or Gloss?
It absolutely can, especially if you overdo it. When you add too much solvent, you’re not just thinning the paint—you’re diluting the binder that holds everything together.
This weakens the final finish, which can lead to a lower gloss, poor adhesion (paint peeling or chipping), and reduced resistance to wear and tear. That's why it's so important to stick to the recommended ratios and only add just enough thinner to get the flow you need for your specific application.
For all your scale modeling needs, from paints and thinners to the perfect airbrush for your next project, Fusion Scale Hobbies has the supplies you need to create a masterpiece. Explore our collection at https://fusionscalehobbies.com.