


This is where the magic really happens. Transforming a flat sheet of plywood into a believable, miniature world is the heart and soul of building a great layout. It’s what separates a toy train running in a circle from a true model railroad.
Every piece of foam you carve and every tree you plant helps tell a story, giving your trains a purpose and a place to belong.
Bringing Your Miniature World to Life
Building scenery is the step that breathes life into a layout. It’s the process that takes you beyond track and wiring and turns you into a landscape artist, a civil engineer, and a storyteller, all rolled into one. The goal isn't just to cover the benchwork—it's to create an immersive environment that feels authentic for your railroad's operations.
A layout without scenery is just a collection of equipment. A layout with scenery is a working world in miniature. But before you even think about buying a jug of scenic cement or a bag of ground foam, you need a plan. The most important thing you can do is define the story you want to tell.
Establishing Your Layout's Narrative
Every truly great model railroad has a theme, a core idea that guides every single decision you make. This narrative is your creative compass, and it keeps your layout from becoming a random jumble of cool-looking stuff.
To nail this down, just ask yourself three simple questions:
- Where is this railroad located? Is it struggling up a grade in the Appalachian Mountains, rolling through the arid deserts of the Southwest, or navigating a grimy industrial district in the Northeast? Your location sets the entire visual tone—the colors, the plants, the shape of the land itself.
- What era is it? A sleepy 1950s branch line will have completely different buildings, vehicles, and advertisements than a modern mainline operation. The time period dictates every man-made object on your layout.
- What is its purpose? Is your railroad a hard-working coal hauler, a classy passenger line, or a busy switching yard that serves local industries? Its function determines the structures you'll need, from mines and factories to depots and team tracks.
Think of it this way: answering the "Where, When, and Why" gives you a blueprint for your entire world. It makes every future decision—from the color of the dirt to the style of a bridge—so much easier.
When you have these answers, you've created a powerful vision. For instance, deciding on a 1930s logging railroad in the Pacific Northwest immediately conjures up images of towering fir trees, muddy roads, rickety wooden trestles, and a camp full of rough-sawn buildings. That's a much stronger starting point than just saying, "I want to build a forest scene."
Getting this part right is, without a doubt, the most critical step in building impressive scenery for model trains.
Building Your Foundational Landscape
Once you've got the story for your layout figured out, it's time to build the world it lives in. Before you can even think about adding that first tuft of static grass, you need a solid terrain foundation. This is where you create the very bones of your landscape—the hills, valleys, and riverbeds that will become the canvas for all your detailed scenery.
It’s tempting to jump right in and start gluing things down permanently, but that's a common rookie mistake. A much smarter move is to start with a quick, no-commitment mockup. Grab some cardboard strips or stack up some foam blocks to create temporary shapes right on your benchwork. This lets you check sightlines, test clearances for your trains, and see if that big hill you planned accidentally hides your town from view. You can shuffle these shapes around until the whole scene just feels right.
When you're happy with the overall flow, you can commit to building the permanent terrain base. This is a huge step in creating your scenery for model trains, and thankfully, you have a few great methods to choose from.
This process—moving from a high-level idea to a physical form—is what makes sure your layout's terrain looks intentional and believable.
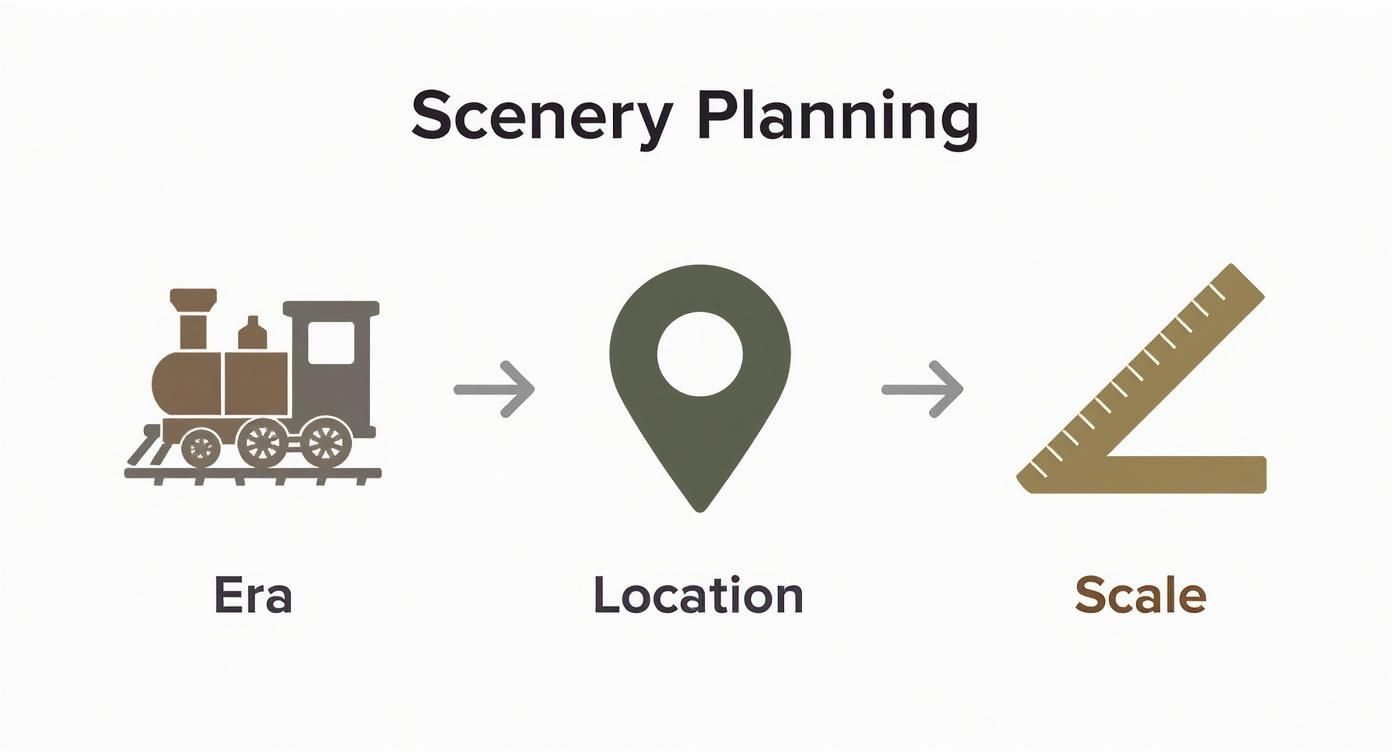
This visual guide breaks it down perfectly: defining your era, location, and scale first gives you the guardrails you need to build a cohesive and realistic world.
Choosing Your Core Terrain Material
When it comes to building that hard-shell terrain, two methods stand out as the most popular: plaster cloth over a support frame, and carved extruded foam insulation. Each has its pros and cons, and the best choice really depends on your skills, budget, and what you want to achieve with your layout.
Comparing Common Terrain Base Materials
Choosing the right material for your terrain base is one of the first big decisions you'll make. It affects everything from the weight of your layout to how easily you can make changes later on. This table breaks down the most common options to help you decide.
| Material | Best For | Ease of Use | Weight | Cost |
|---|---|---|---|---|
| Plaster Cloth | Creating organic, flowing hills and dramatic, uneven terrain. | Messy but straightforward. Draping and smoothing is intuitive. | Heavy when dry. | Low |
| Extruded Foam | Lightweight layouts, precise carving, and easy modifications. | Very easy. Can be cut and shaped with simple tools. | Very light. | Moderate |
| Stacked Cardboard | Quick mockups and internal supports for other materials. | Extremely easy to cut and glue, but not a permanent surface. | Light, but can compress. | Very Low |
| Wire Mesh/Screen | Forming complex, open shapes as a base for plaster cloth. | Requires shaping and stapling; can be sharp. | Light before plaster. | Low-Moderate |
Ultimately, both plaster cloth and extruded foam are fantastic choices. Many modelers even use a hybrid approach, using foam for the main landforms and plaster cloth to blend the gaps and create a smooth shell.
Let's dig a little deeper into the two main players.
Plaster Cloth Over Wire Mesh
This is the classic, old-school technique. You build a web of wire screen or even crumpled newspaper held up by cardboard formers, then lay strips of wet, plaster-soaked gauze over the top to create a hard shell.
- Pros: It’s cheap and absolutely fantastic for creating dramatic, flowing, organic shapes that are tough to get with rigid foam.
- Cons: It's messy, can get pretty heavy, and is a real pain to modify later on if you decide you want to add a creek or carve out a new road.
Extruded Foam Insulation
This has become the go-to method for most modelers today. You see it in big pink or blue sheets at the hardware store. Just stack them up, glue them together, and start carving your landscape with knives, rasps, or a hot wire cutter.
- Pros: It's incredibly lightweight, surprisingly strong, and super easy to carve and change. You can cut into it anytime to add new features without a major demolition project.
- Cons: Carving it creates a lot of fine dust, and while a hot wire cutter is the best tool for the job, it produces fumes and requires good ventilation.
No matter which method you pick, the initial goal is identical: create a solid, durable shell that captures the rough contours of your planned landscape. Don't stress about perfection here—this base will eventually be covered with plaster, ground cover, and other scenic goodies.
The demand for realistic miniature worlds is booming. The global market for model train landscaping supplies was valued at USD 150 Million and is only expected to grow, with hobbyists often dedicating 15-20% of their total layout budget just to scenery.
Techniques for Shaping Your Landscape
Once your base material is in place, the real artistry begins. The key to carving a believable landscape is to avoid uniformity at all costs. Nature is rarely smooth or symmetrical.
Use a Surform rasp or some coarse sandpaper to round off the sharp, blocky edges of your foam hills, creating more gentle, rolling slopes.
For dramatic rock faces, try breaking pieces of foam off with your hands instead of cutting them. This creates a much more jagged, natural-looking fracture. From there, you can grab a hobby knife to carve in smaller details like individual strata lines and fissures.
These foundational skills are crucial, and if you're looking for a deeper dive into the specific tools and supplies you'll want on hand, check out our comprehensive diorama supplies guide.
Your goal here is to finish with a solid, contoured shell that’s ready for the next layers of plaster, dirt, and foliage that will truly bring it to life.
Mastering Realistic Ground Cover and Trees
Alright, your terrain forms are shaped, sealed, and ready to go. You’ve basically built the canvas. Now for the fun part—turning that sterile plaster shell into a living, breathing slice of the world. This is where we bring in the textures, colors, and foliage that tell the story of your layout’s season, location, and overall vibe.
Applying ground cover is all about layering, just like in nature. You don't just see a perfect green field; you see dirt, then low weeds, then taller grasses, all mixed together. We'll start with the "earth" and work our way up, building that depth and realism that makes scenery for model trains so convincing.
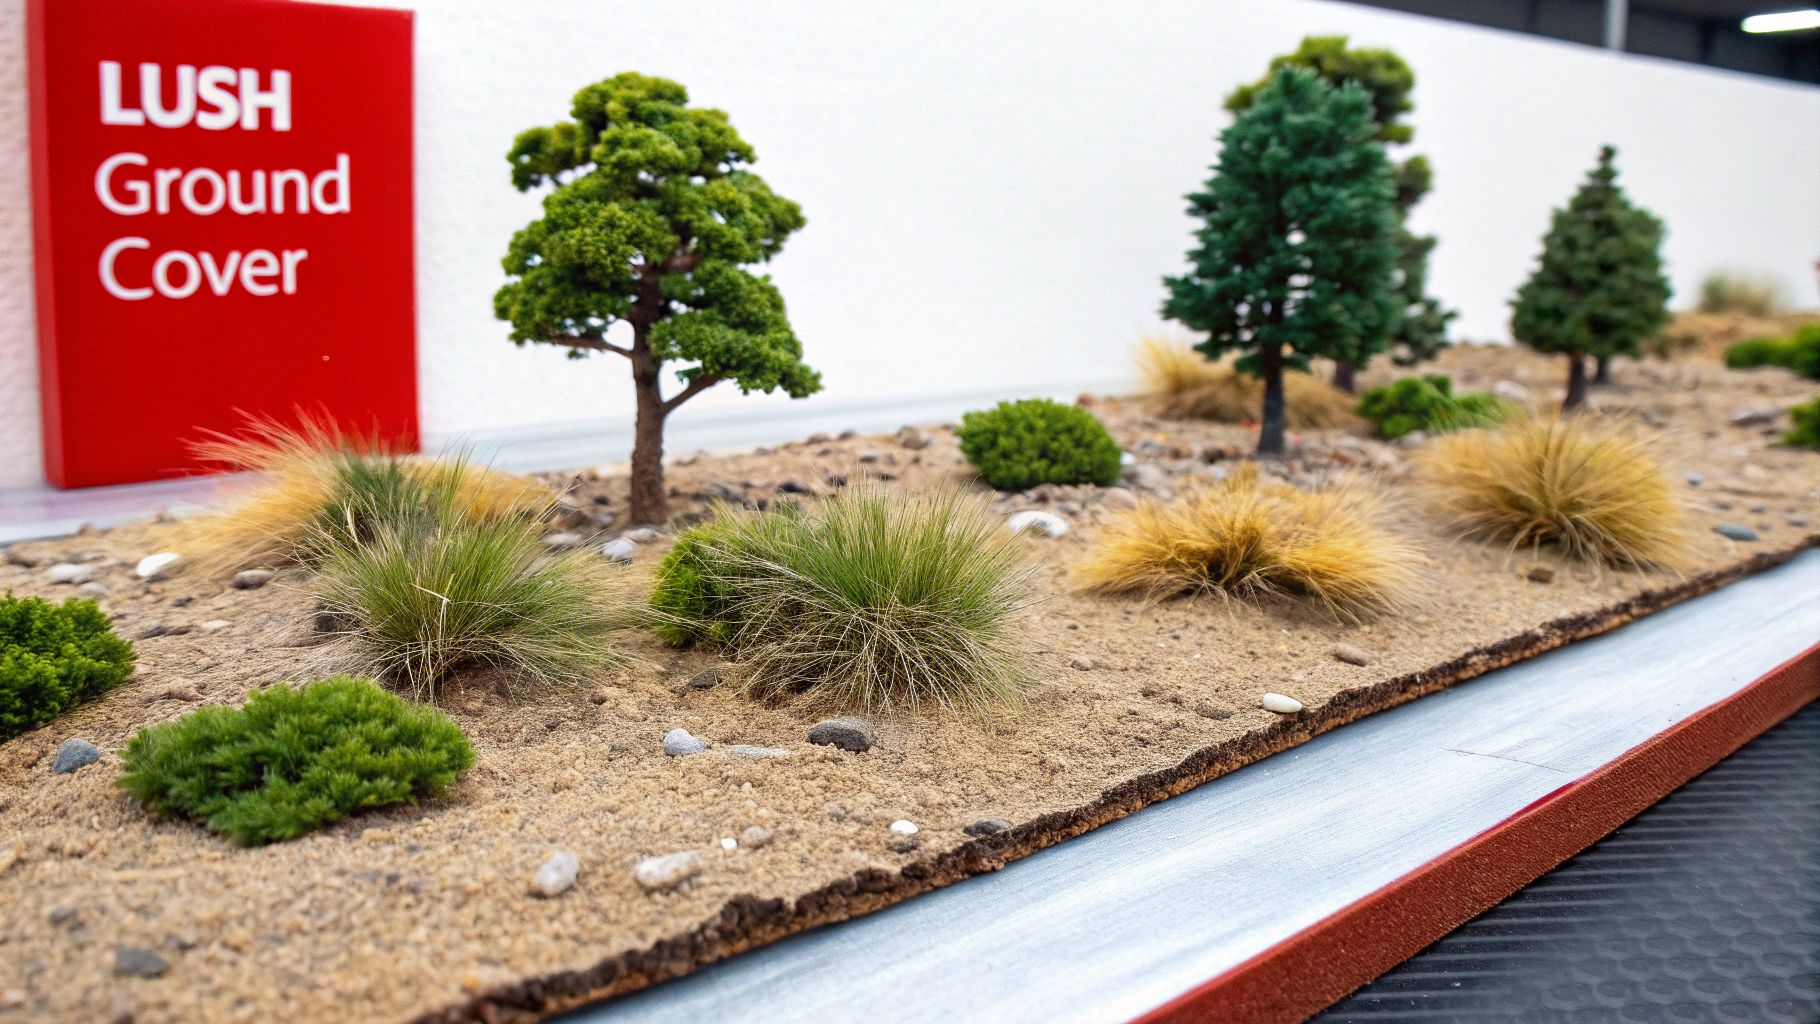
Starting with a Convincing Dirt Base
Before a single blade of grass sprouts, you need dirt. This is a foundational step that too many people skip, but it’s critical for authenticity. Even in a dense forest, you’re going to see patches of bare earth peeking through.
A great way to start is by painting your entire scenery shell with a flat, earth-toned latex paint. I usually grab a sample can from the local hardware store—think muddy browns, dusty tans, or a rich loam color, whatever fits your scene. This does two things: it seals any stray bits of plaster and ensures no bright white spots will ever show through your finished work.
For an even better effect, while the paint is still wet, sprinkle on a thin layer of fine, sifted dirt from your own backyard or some unsanded tile grout. This gives the surface a real, gritty texture that catches the light perfectly and creates the ideal base for everything else.
The Art of Layering Ground Textures
Nature is beautifully messy and never uniform. A real field isn't one solid color; it’s a tapestry of different plants, heights, and shades. To get this look, you have to resist the urge to just shake one color of ground foam everywhere. Blending and layering is the secret sauce.
First, brush on a diluted mix of white glue and water—a 50/50 ratio works well. Add a single drop of dish soap to the mix; it acts as a wetting agent and helps the glue flow smoothly. With the area coated, you can start sprinkling on your main textures.
- Fine Ground Foam: This is your workhorse. Grab a few different shades—light green for new growth, a darker green for established areas, and even some burnt yellow or brown for dry patches.
- Coarse Ground Foam: Use this for low undergrowth, small bushes, and clumpy vegetation. Apply it sparingly to break up the smooth texture of the fine foam.
- Static Grass: This stuff is a complete game-changer. It’s made of tiny fibers that stand straight up when you use an applicator, perfectly mimicking individual blades of grass.
A static grass applicator is one of the best investments you can make for your scenery. It’s the difference between a flat, toy-like lawn and a wild, realistic field. Seriously, you won't regret it.
When you're applying these materials, work in small, irregular sections. Overlap the colors and textures to create soft, natural transitions. Whatever you do, avoid making hard lines or perfect circles of color—that’s a dead giveaway that it’s man-made.
Bringing Your Forest to Life with Trees
Trees are probably the most powerful scenic element on your layout. They instantly set the scale, season, and geographic region. A hillside of tall pines feels completely different from a valley dotted with leafy oak trees.
You've got a few routes you can take to populate your world with trees, from buying them ready-made to crafting them yourself.
- Commercial Trees: This is the fastest way to grow a forest. While the cheap ones can look a bit fake, many companies now produce incredibly realistic trees. A pro tip is to buy good-quality trees and then "super-detail" them by adding a bit more foam for texture or airbrushing them with different shades to add variety.
- Tree Kits: These kits give you a bunch of plastic armatures (the trunk and branches) and the foam to build your own. This route gives you much more control over the final shape and color of each tree.
- Natural Armatures: For the ultimate in realism, nothing beats using natural materials. The dried roots of certain plants or cuttings from garden shrubs like sedum make for unbelievably convincing tree forms once they're dried and prepared.
If you’re interested in building a whole forest from scratch, our detailed guide on how to make model trees is a fantastic starting point.
No matter where your trees come from, the secret to a believable forest is variety. Use different heights, shapes, and shades of green. And please, don't plant them in neat, straight rows like soldiers. Cluster them in irregular groups with natural-looking gaps in between. Finally, don't forget the undergrowth—adding small bushes and turf around the base of your trees helps "plant" them into the scene and makes them look like they truly belong there.
Creating Convincing Rocks and Water Features
If ground cover and trees are the body of your landscape, then rocks and water features are its soul. These are the showstoppers—the dramatic rock cuts, the serene ponds, and the rushing streams that catch the eye and create powerful focal points. Nailing these features is what elevates your scenery for model trains from good to genuinely breathtaking.
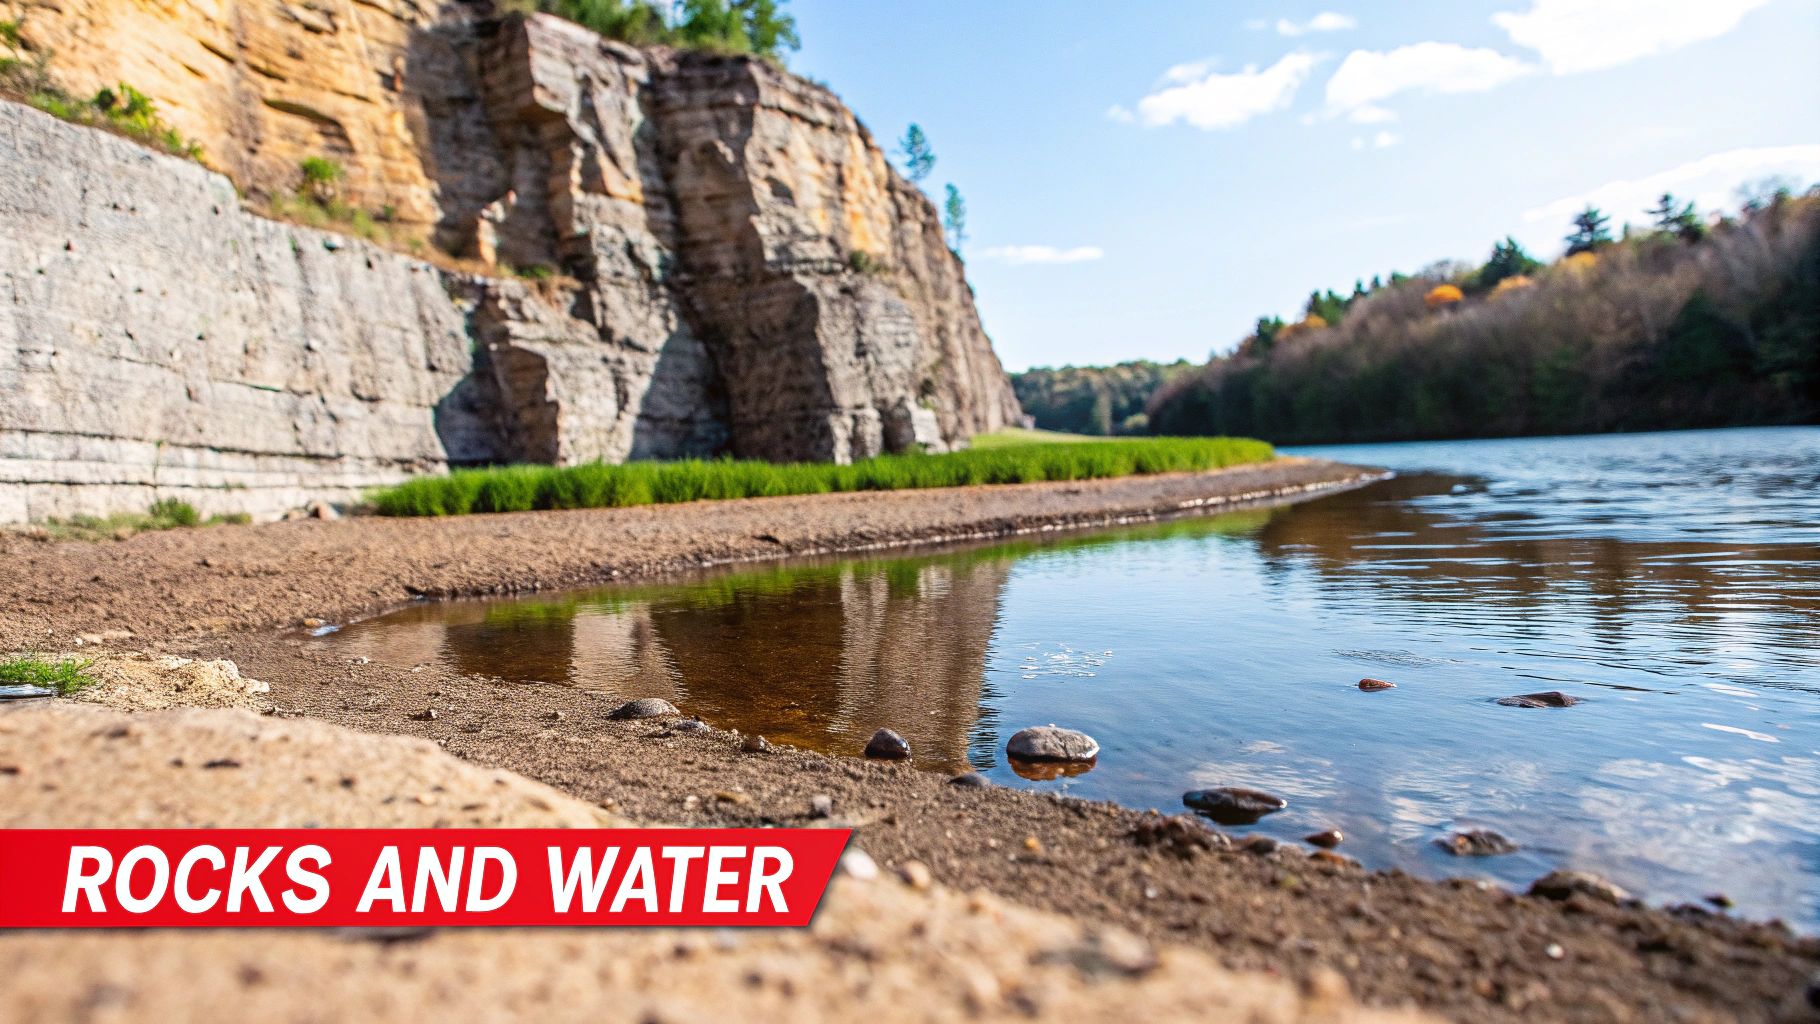
A lot of modelers feel intimidated by rocks and water, but the techniques are surprisingly straightforward. With a bit of patience and the right materials, you can create stunning geological and hydrological elements that look like they were pulled right out of the real world.
Sculpting Believable Rock Formations
You've got two main routes for creating rock formations on a model railroad: carving them right out of your foam scenery base or casting them from plaster using commercial molds. Each method gives you a different level of control and produces distinct results.
Carving Rocks Directly from Foam
If your layout is built on an extruded foam base, you're already sitting on the raw material for excellent rock faces. This method is fast, integrated, and gives you total creative freedom. Just grab a sharp hobby knife and start carving vertical strata lines and fissures directly into the foam.
For an even more natural, rugged look, try breaking chunks of foam away with your hands instead of cutting them. This creates a jagged, fractured surface that perfectly mimics how real rock shears and weathers. Once you're happy with the shape, a thin coat of plaster or Sculptamold will hide the foam texture and get it ready for paint.
Casting Rocks with Plaster Molds
For sheer, unmatched detail, nothing beats casting your own rocks. Commercial rubber molds, available in countless geological styles, let you create incredibly detailed plaster castings. You can apply these to your scenery shell like tiles, blend them together with more plaster, and build massive, complex rock walls.
- Mix your plaster to about the consistency of pancake batter before pouring it into the mold.
- Let it set until it's firm but not fully cured—usually around 15-20 minutes.
- Flex the mold to pop the casting out. While it's still slightly damp, you can bend it to conform to curved surfaces on your layout.
This method gives you consistent, hyper-realistic rock textures every single time. It's the perfect way to create those signature scenes you've been dreaming of.
Painting and Weathering Rocks for Realism
This is where the magic happens. A plain gray rock casting looks like a toy, but a properly colored and weathered one looks like a miniature piece of the earth. The process is a simple one-two punch of washes and dry-brushing.
First, paint your entire rock formation with a neutral, earthy acrylic color. Then, mix a very thin, watery black or dark brown paint—this is your "wash." Brush this wash liberally over the entire rock surface and let it pool in all the deep cracks and crevices.
After the wash is completely dry, take a flat brush and dip it into a lighter color, like a tan or light gray. Now, wipe almost all the paint off on a paper towel. Lightly drag the nearly dry brush across the rock faces. This technique magically picks out all the raised details, creating instant highlights and incredible depth.
Remember to always work from dark to light. The dark wash sinks into the shadows, and the light dry-brushing catches the highlights. This simple sequence is the secret to making any rock texture pop.
Crafting Lifelike Water Features
A water feature—whether it's a slow-moving river, a small farm pond, or a crashing waterfall—can easily become the centerpiece of your entire layout. Thankfully, modern materials have made creating convincing water effects easier than ever.
Preparing the Riverbed
Your first step is to create and color the riverbed itself. This isn't the water, but what you'll see through the water. Carve your river's path into your scenery base, making sure it has a natural, meandering flow instead of looking like a perfect canal.
Paint the riverbed with various shades of earth tones. Think darker greens and browns in the center for depth, with lighter tans near the shoreline. From there, you can glue down fine sand, tiny pebbles (often called "talus"), and fallen branches to add realistic texture and detail.
Pouring for Depth and Clarity
The go-to method for creating deep, still water is using a two-part epoxy resin. When mixed, this clear liquid can be poured directly into your prepared riverbed. It self-levels into a perfectly flat, glass-like surface that looks just like real water.
For deeper scenes, you'll want to pour the resin in multiple thin layers, maybe about 1/8 inch at a time, to ensure it cures properly without generating too much heat. You can even add a tiny drop of green or blue acrylic paint to the resin mix to give the water a subtle tint.
For more advanced effects, many modelers turn to specialized products like the popular Ammo by Mig Jimenez Clear Acrylic Water, which offers incredible clarity and control.
Once your final layer is poured and fully cured, you can add final touches. A bit of gloss medium stippled on the surface can create the effect of small ripples or waves, bringing your water feature to life.
Adding Structures and Details for Authenticity
With your basic landforms, ground cover, and trees in place, you’ve built a great-looking natural canvas. Now it’s time to bring in the human element—the structures and details that tell the story of your railroad and give it a real purpose.
These are the final, critical layers that transform a nice but generic scene into a specific, lived-in place. A simple barn and some fencing immediately signal an agricultural branch line, while a few grimy, soot-stained industrial buildings suggest a totally different kind of operation. This is where your layout’s narrative truly comes to life.
Integrating Buildings into the Scene
One of the most common mistakes I see is a beautifully finished building kit just plopped onto a perfectly flat, green surface. It sticks out like a sore thumb and screams "toy." The secret to making structures look like they belong is to physically "plant" them into the landscape.
Think about how a real building settles into the ground. The earth around it is never perfectly level. There's almost always a gravel path, a worn-down patch of dirt leading to a door, or weeds growing up against the foundation. Nailing these little details is what sells the illusion.
Before you even think about gluing a structure down, use a putty like Sculptamold to build up a slight foundation that blends into the surrounding terrain. This gives the building a solid footing and eliminates those ugly, unnatural gaps underneath. Once it's set, you can add dirt, fine gravel, and static grass around the base to finish the effect.
The goal is to make it look like the building has real weight and has been sitting in that exact spot for years, interacting with its environment. This one small step makes a massive difference in the overall realism of your scenery for model trains.
The Power of Small Details
While a big, impressive factory or a detailed station is a great focal point, it's often the tiny, seemingly insignificant details that really convince the eye. This is where you can have the most fun and let your layout's personality shine through. Just think about all the "stuff" that accumulates in the real world.
- Trackside Junk: Old oil drums stacked behind a shed, a messy pile of discarded railroad ties, or a rusty wheelbarrow left leaning against a fence.
- Figures and Vehicles: A couple of scale figures waiting at a crossing or a period-correct truck parked by a loading dock instantly adds life and a clear sense of scale.
- Signage and Fences: A faded billboard advertising a 1950s brand of soda or a rickety wooden fence running alongside a field are powerful, subtle storytelling tools.
These small touches are what make a scene feel inhabited and alive, rather than sterile and perfect.
Choosing the Right Structures for Your Era
The buildings you select are absolutely critical for establishing your chosen time period. A modern, tilt-slab concrete warehouse would look completely out of place on a layout set in the 1940s. Thankfully, the market for structure kits is enormous, with fantastic options available for just about any era or region you can imagine.
For instance, Europe has a commanding position in the model train market, with Germany and the United Kingdom leading the way in high-end, historically accurate models. This focus means there's a huge demand for detailed and authentic scenery, from buildings to tiny accessories.
When you're picking out kits, try to think beyond just the big, heroic structures. Consider the smaller support buildings that make a railroad function—things like sheds, signal towers, and lineside huts. For more advanced modelers looking to scratch-build or plan complex scenes, learning how to render in SketchUp can be a huge help in visualizing your miniature town before you even start cutting materials.
Weathering for a Cohesive Look
The final step is to tie everything together with a bit of weathering. A brand-new, shiny plastic kit looks exactly like what it is—a plastic kit. Weathering is the art of adding the realistic effects of time, dirt, and wear.
You don't need complex tools. Simple techniques using weathering powders and thin acrylic washes can add layers of convincing grime, rust streaks, and accumulated dust.
The real key here is to apply these effects to everything in the scene, not just the buildings. A light dusting of the same earth-colored powder on your building's foundation, the roofs of your rolling stock, and the track ties all the elements together. It finally looks like everything has been existing in the same dusty, dirty environment, creating a single, cohesive world in miniature.
Common Scenery Questions Answered
As you shift from planning your layout to actually building it, a bunch of questions are bound to pop up. This part of the hobby is a constant learning curve, but some challenges are pretty universal. Here, we'll tackle a few of the most common questions modelers run into when creating realistic scenery, giving you some clear, practical answers to get you past those early hurdles.
What Is the Best Scale for a Scenery Beginner?
For anyone who's serious about creating great-looking scenery, HO scale (1:87) is almost always the best place to start. There's a good reason for this—it hits that sweet spot between size and detail.
The parts are large enough to handle and add detail to without getting too frustrating, but the scale is still small enough that you can build a decent-sized layout in a spare room or a corner of the basement.
Even more important is the sheer volume of commercial support. The selection of scenery products, buildings, vehicles, and figures for HO scale is absolutely massive. This makes it so much easier to find exactly what you need to bring your vision to life, especially when you're just starting and don't want to scratch-build every single thing.
How Do I Avoid My Scenery Looking Flat and Unnatural?
The secret to believable scenery is all about creating variety in both height and texture. Let's face it, nature is messy and rarely uniform, so your miniature world shouldn't be either. Even if you're starting with a perfectly flat piece of plywood, you can create the illusion of interesting terrain.
A great first step is adding gentle rises with thin sheets of foam insulation. You can also carve shallow ditches alongside your track bed. That simple change immediately breaks up the tabletop look. Next, and this is a big one, never use just one color of ground cover.
- Mix it up. Blend different shades and textures of static grass and ground foam to mimic the patchy look of a real field or hillside.
- Vary the height. Don't just stop at grass. Add taller weeds, small shrubs, and a mix of different-sized trees to create layers.
- Break up big areas. Interrupt large, empty spaces with little details like a cluster of rock outcroppings, a fallen log, or a simple dirt path winding through the scene.
When you combine these techniques, you create visual interest that tricks the eye into seeing a much more complex and natural landscape.
Can I Really Use Dirt from My Garden?
Absolutely, and it can look fantastic! Using real, sifted dirt from your own backyard gives you a level of texture and color authenticity that’s tough to replicate with commercial products. But—and this is a big but—you have to prepare it correctly to avoid some nasty surprises down the road.
First, sift the dirt through a fine mesh screen to get rid of any pebbles, roots, and other junk. The next step is non-negotiable: you have to sterilize it. Spread the sifted dirt in a thin layer on an old baking sheet and pop it in the oven at a low temperature, around 200°F (95°C), for about an hour.
This sterilization step is critical. It kills off any dormant mold spores, insect eggs, or other biological nasties that could spring to life later and ruin all your hard work.
Once it's completely cooled down, your homemade dirt is ready to be applied and locked in place with a watered-down mix of white glue.
What Are the Absolute Must-Have Tools for Scenery?
You can get started and achieve some really impressive results with a surprisingly small and inexpensive set of tools. You definitely don't need to go out and buy a whole workshop's worth of equipment right away.
Just focus on getting these core items first:
- A sharp utility knife or a hot wire foam cutter for shaping your foam terrain base. This is essential.
- A set of cheap craft paint brushes will become your go-to tools for everything from painting rocks to dabbing on glue.
- A simple spray bottle for "wet water" (which is just water with a single drop of dish soap) is vital for getting your ground cover to stick properly.
While it's not something you need on day one, a static grass applicator is probably the single best investment you can make to take your scenery from good to great. You can pick up everything else as your skills develop and your projects call for it.
At Fusion Scale Hobbies, we're passionate about helping you build the miniature world you've always imagined. From foundational materials to the smallest scenic details, we have everything you need to bring your layout to life. Explore our massive selection and find your inspiration today at https://fusionscalehobbies.com.