

World War II model kits are more than just plastic parts in a box. They are stunningly detailed, scaled-down replicas of the historical aircraft, tanks, ships, and soldiers that defined the Second World War. For hobbyists, these kits are a hands-on way to connect with history, bringing everything from iconic Spitfires to formidable Tiger tanks to life on their workbench.
Your Journey into Historical Scale Modeling
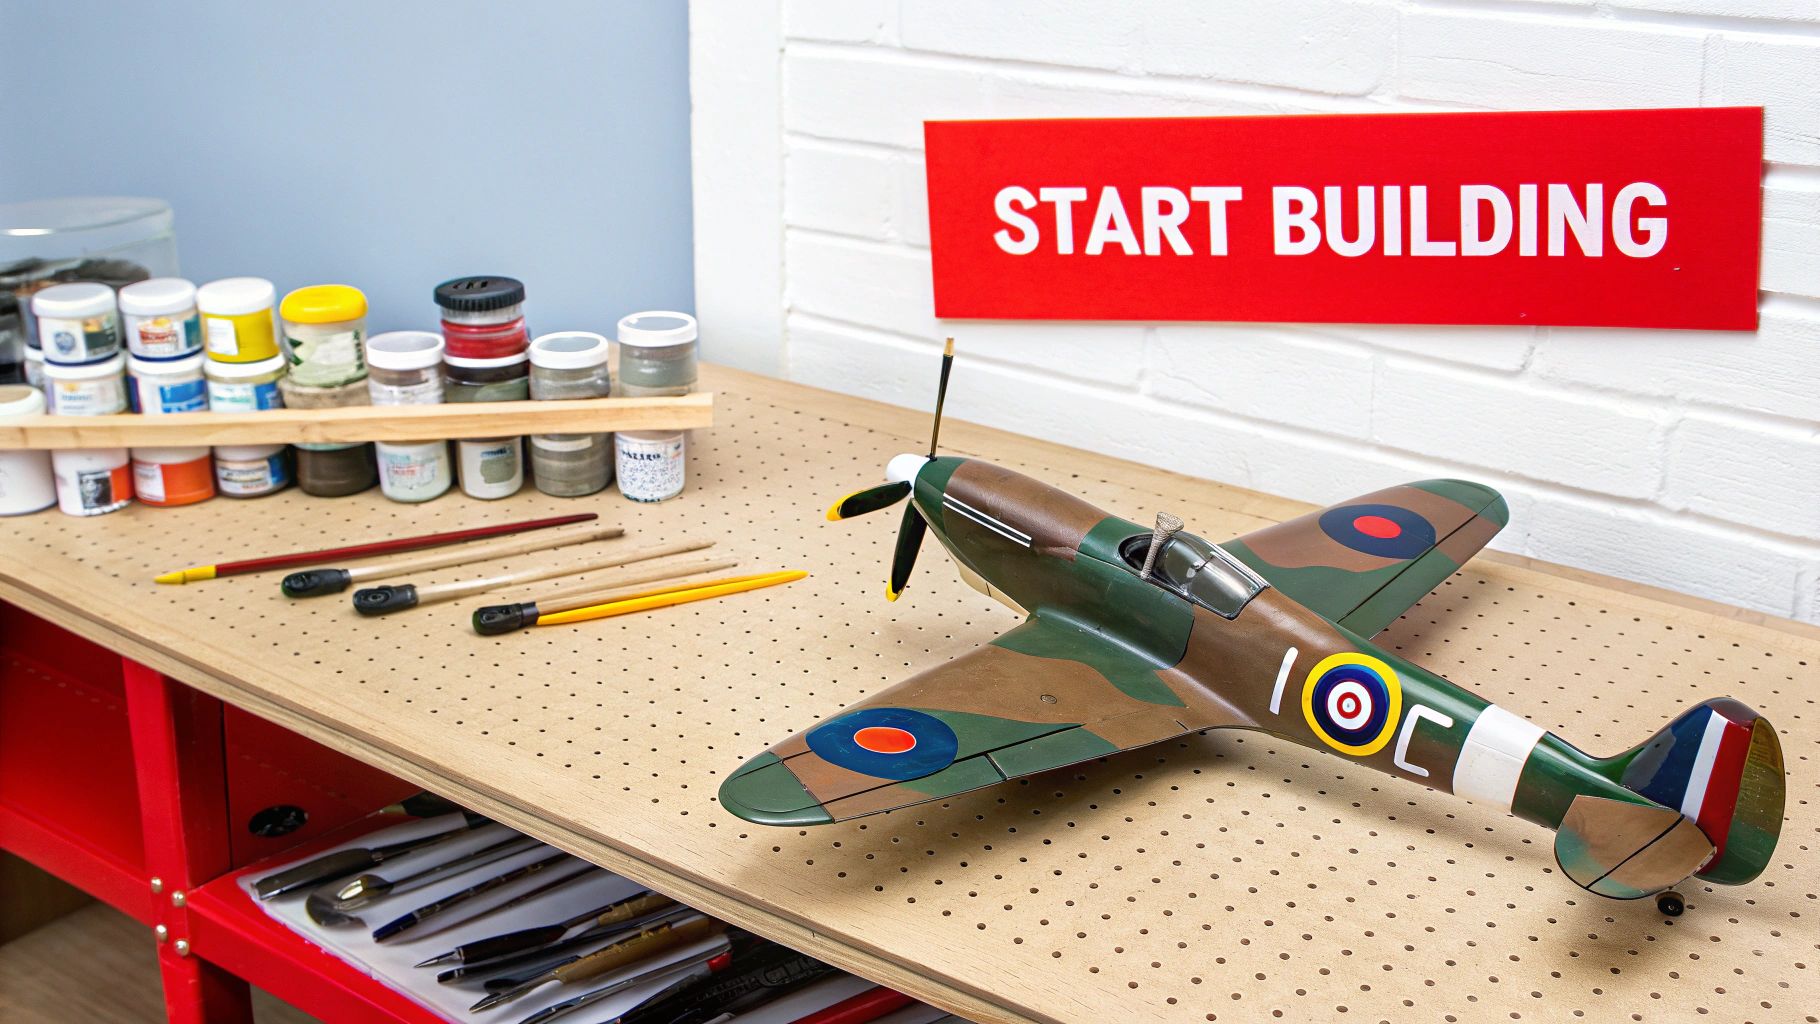
Get ready to embark on a journey where history comes alive right in front of you. Building World War II model kits is so much more than a hobby; it’s an immersive experience that casts you as both historian and artist. Every kit is a tangible piece of the past, just waiting for you to assemble, paint, and display.
Whether you're a complete beginner or an experienced builder looking to sharpen your skills, this guide is your new starting point. We’ll explore the vast world of subjects available, from the sleek, beautiful lines of a P-51 Mustang to the rugged, imposing armor of a Sherman tank. The goal here is simple: to ignite your passion and give you a clear path forward.
From History to Hobby
The link between the war and this hobby is incredibly deep. The sheer scale of World War II manufacturing—with the United States alone producing over 310,000 aircraft and 100,000 tanks—created a massive catalog of iconic machinery that has fascinated people for decades. This fascination is what helped plastic model kits explode into a mainstream hobby back in the 1960s and 70s.
This guide will walk you through everything you need to know to get started right:
- Selecting Your First Kit: How to pick a subject that truly inspires you.
- Understanding Scale: Making sense of crucial ratios like 1:35 and 1:72.
- Assembling Your Toolkit: What you actually need to gather for a successful build.
- Mastering Finishing Techniques: The art of painting, decaling, and weathering.
By meticulously recreating these historical artifacts, you gain a much deeper appreciation for the engineering, the stories, and the people behind them. Each finished model is a tribute—a miniature monument built with your own hands.
While our focus here is on World War II subjects, the skills you learn are universal. The broader world of scale modeling includes all sorts of fascinating challenges, like assembling intricate engine model building kits. Ultimately, the core principles of patience, precision, and passion apply to every box you open.
To get a jump-start before we dive in, check out our essential overview of what a scale model kit is—it's the perfect primer for this rewarding hobby.
https://fusionscalehobbies.com/blogs/news/scale-model-kit
Choosing Your First Historical Subject
Stepping into the world of historical modeling is like opening a massive hangar filled with the most legendary machines of the Second World War. The sheer variety of World War 2 model kits can be exciting, but also a little daunting. So, where do you begin? The best starting point is always with a subject that genuinely fascinates you.
Your personal interest is the fuel for this hobby. Think about the stories, battles, or technologies that draw you in. Are you captivated by the dogfights over Britain, the brutal tank battles on the Eastern Front, or the naval clashes in the Pacific? Choosing a subject you're passionate about will make the entire building process more rewarding and meaningful.
Aircraft The Kings of the Sky
For many, the journey begins with aircraft. These models capture the grace, power, and high-stakes drama of aerial combat. They generally fall into two main categories, each offering a unique building experience.
-
Fighters: These are the nimble hunters of the sky. Kits of iconic planes like the British Spitfire, the American P-51 Mustang, or the German Messerschmitt Bf 109 are incredibly popular. They are often great for beginners due to their relatively smaller size and lower part counts, allowing you to focus on mastering basic assembly and painting.
-
Bombers and Transports: On the other end of the spectrum are the heavy hitters like the B-17 Flying Fortress or the Lancaster. These multi-engine aircraft models are larger, more complex, and present a much bigger challenge with more parts and intricate details. They make for a satisfying project for more experienced builders.
Armored Fighting Vehicles The Power on the Ground
If raw power and mechanical grit appeal to you, then the world of armored fighting vehicles (AFVs) is your battlefield. This is arguably the most popular category in military modeling, celebrated for its weathering and diorama potential.
Tanks are the undisputed stars here. From the formidable German Tiger tank to the ubiquitous American M4 Sherman, these models are packed with detail. Their complex running gear, textured armor plates, and numerous external details provide an incredible canvas for artistic techniques like chipping, rust effects, and mud application. For a deeper dive into this specific category, you can explore our guide on the best tank models to see what makes these kits so compelling.
Beyond tanks, this category also includes:
- Half-tracks and Armored Cars: Essential support vehicles that offer unique shapes and modeling opportunities.
- Artillery and Anti-Tank Guns: These can be built as standalone pieces or as part of a larger diorama, often paired with crew figures.
The true appeal of building armor is in telling a story of endurance. Every scratch, mud splatter, and rust streak you add transforms the model from a pristine machine into a battle-hardened veteran that has seen action.
Naval Vessels The Titans of the Sea
For those fascinated by maritime history, naval models offer a completely different scale and perspective. Recreating the warships of World War II is a lesson in patience and precision, as these kits often contain hundreds of tiny, intricate parts.
From the sleek silhouette of a German U-boat to the majestic presence of the Japanese battleship Yamato or an American aircraft carrier, these models are impressive display pieces. The challenge lies in accurately assembling the complex superstructures, railings, and tiny anti-aircraft guns. The reward is a stunningly detailed replica of a floating fortress that ruled the waves.
Military Figures The Human Element
Finally, don't overlook the importance of military figures. Whether it's a squad of infantry soldiers, a tank crew, or a pilot scrambling to their plane, figures add a vital human element to your displays. They provide scale, context, and a powerful narrative focus.
Painting figures is a distinct skill set within the hobby, requiring a delicate touch to capture realistic uniforms, equipment, and facial expressions. Adding figures to a vehicle or diorama instantly transforms it from a static model into a dynamic snapshot of a moment in time.
Your first subject is your first mission—choose one that inspires you, and your modeling adventure will get off to a flying start.
Understanding Scale in Model Kits
Scale is probably the single most important concept to get your head around in modeling, but it’s way simpler than it sounds.
Think of it like this: if a real Tiger tank is the full-size, real-life story, the scale of a model kit is just the size of the book you're telling that story in. It’s simply a consistent ratio that tells you how much smaller the model is compared to the actual thing.
This ratio is always written as a fraction, like 1:35 or 1/35. All this means is that one inch (or centimeter, or any unit) on your model equals 35 of those same units on the real vehicle. A smaller number after the colon, like 1:35, means you get a larger, more detailed model. A bigger number, like 1:72, gives you a smaller model.
Getting this down is the key to building a collection that looks right together on your shelf. It lets you pick kits that actually fit your space, your budget, and the level of detail you’re aiming for.
This infographic breaks down the main categories of World War II models and shows where different scales are most common.
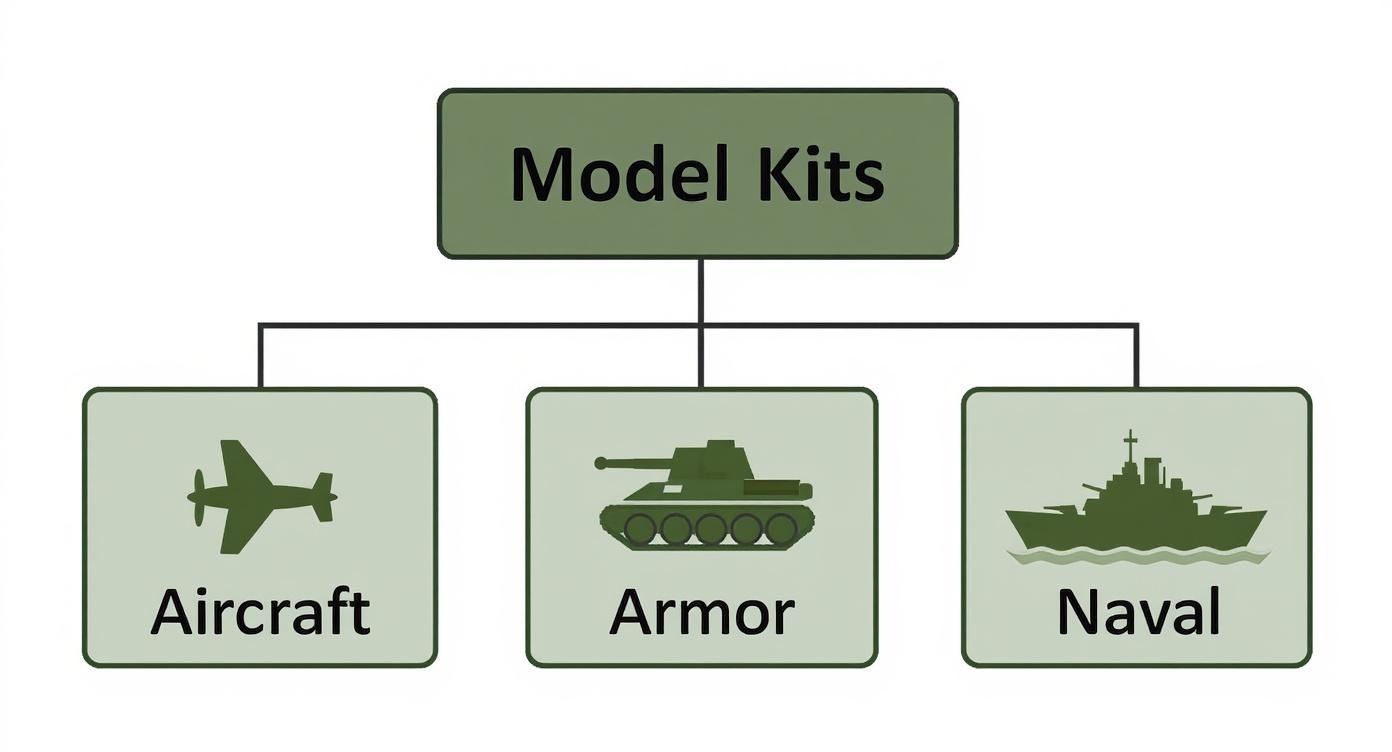
As you can see, the major branches of World War 2 model kits—aircraft, armor, and naval—each have their own preferred scales that have become the standard over time.
The Gold Standard for Armor: 1:35 Scale
When it comes to tanks, armored cars, and the soldiers that go with them, 1:35 scale is the undisputed king of the hill. This scale was first popularized by the legendary Japanese manufacturer Tamiya back in the 1960s, and it quickly became the go-to standard for military ground vehicles all over the world.
So, why is it so popular? It hits the sweet spot. A model of an M4 Sherman tank in 1:35 is big enough to pack in an incredible amount of detail—everything from the tiny weld seams on the hull to the rough texture of a canvas gun mantlet. It’s also the perfect canvas for adding aftermarket photo-etched parts, creating complex weathering, and pairing with highly detailed figures to build a compelling diorama.
If your goal is to build a single, impressive piece of armor that really tells a story, 1:35 is where you want to be.
Aircraft Scales: Taking to the Skies
The world of aviation modeling is mostly split between two main scales, and each one offers a totally different experience.
-
1:72 Scale: Often called the "constant scale" by old-school modelers, this is the classic choice for aircraft. It lets you build a really diverse collection of planes, from tiny fighters to massive four-engine bombers, without needing an entire room to display them. A B-17 Flying Fortress in 1:72 is still an impressive size, while a Spitfire remains totally manageable.
-
1:48 Scale: This scale is a major step up in both size and detail. A fighter plane in 1:48 scale is large enough for you to go wild super-detailing the cockpit, wheel wells, and engine. It has become a hugely popular choice for modelers who want to focus their efforts on creating one stunningly accurate aircraft replica.
The choice often comes down to collection versus detail. Do you want to display an entire squadron of different aircraft types, or would you rather create one perfect, show-stopping masterpiece? Your answer will point you to the right scale.
Common WWII Model Kit Scales Compared
To make sense of it all, here’s a quick comparison of the most popular scales you'll run into when shopping for WWII kits. This table breaks down what each scale is best for, along with its pros and cons.
| Scale | Primary Use | Advantages | Disadvantages |
|---|---|---|---|
| 1:35 | Tanks, armored vehicles, figures, artillery | The "gold standard" for armor. Large size allows for extreme detail, weathering, and aftermarket parts. Perfect for dioramas. | Models can be large and require significant display space. Can be more expensive. |
| 1:48 | Aircraft, some military vehicles | Excellent balance of size and detail for aircraft. Great for super-detailing cockpits and engines. A growing scale for armor. | Larger aircraft (bombers) can become very big. Less vehicle variety than 1:35. |
| 1:72 | Aircraft, smaller military vehicles | The classic "collector's scale" for aircraft. Allows for large, diverse collections in a small space. Very affordable. | Less detail possible than larger scales. Small parts can be fiddly for beginners. |
| 1:700 | Warships (Aircraft Carriers, Battleships) | Allows massive naval ships to be displayed on a standard shelf. Ideal for building entire fleets or task forces. | Extremely small and delicate parts. Detail is limited by the tiny size. |
| 1:350 | Warships (for higher detail) | A larger naval scale that provides stunning detail and presence. The choice for a centerpiece ship model. | Models are very large, complex, and expensive. Requires a lot of space. |
Ultimately, the "best" scale is the one that fits your personal goals, available space, and budget. Whether you're building a massive battleship or a tiny fighter plane, understanding these differences is the first step toward a successful project.
Naval and Small-Scale Options
Naval modeling plays by a different set of rules, mainly because the real subjects are just so enormous. The most popular scale for WWII warships is 1:700, which shrinks a massive aircraft carrier down to a size that can actually fit on a shelf. For those who want even more detail, 1:350 scale is also common, resulting in some truly stunning (and huge) models.
Finally, you might see smaller scales like 1:144 for very large aircraft or even 1:700 for tiny vehicles meant to be displayed on the decks of model ships. These are pretty specialized, but they’re perfect for certain projects. By understanding these common scales, you can dive into the world of World War 2 model kits with confidence, knowing exactly what you’re getting in the box.
Assembling Your Essential Toolkit
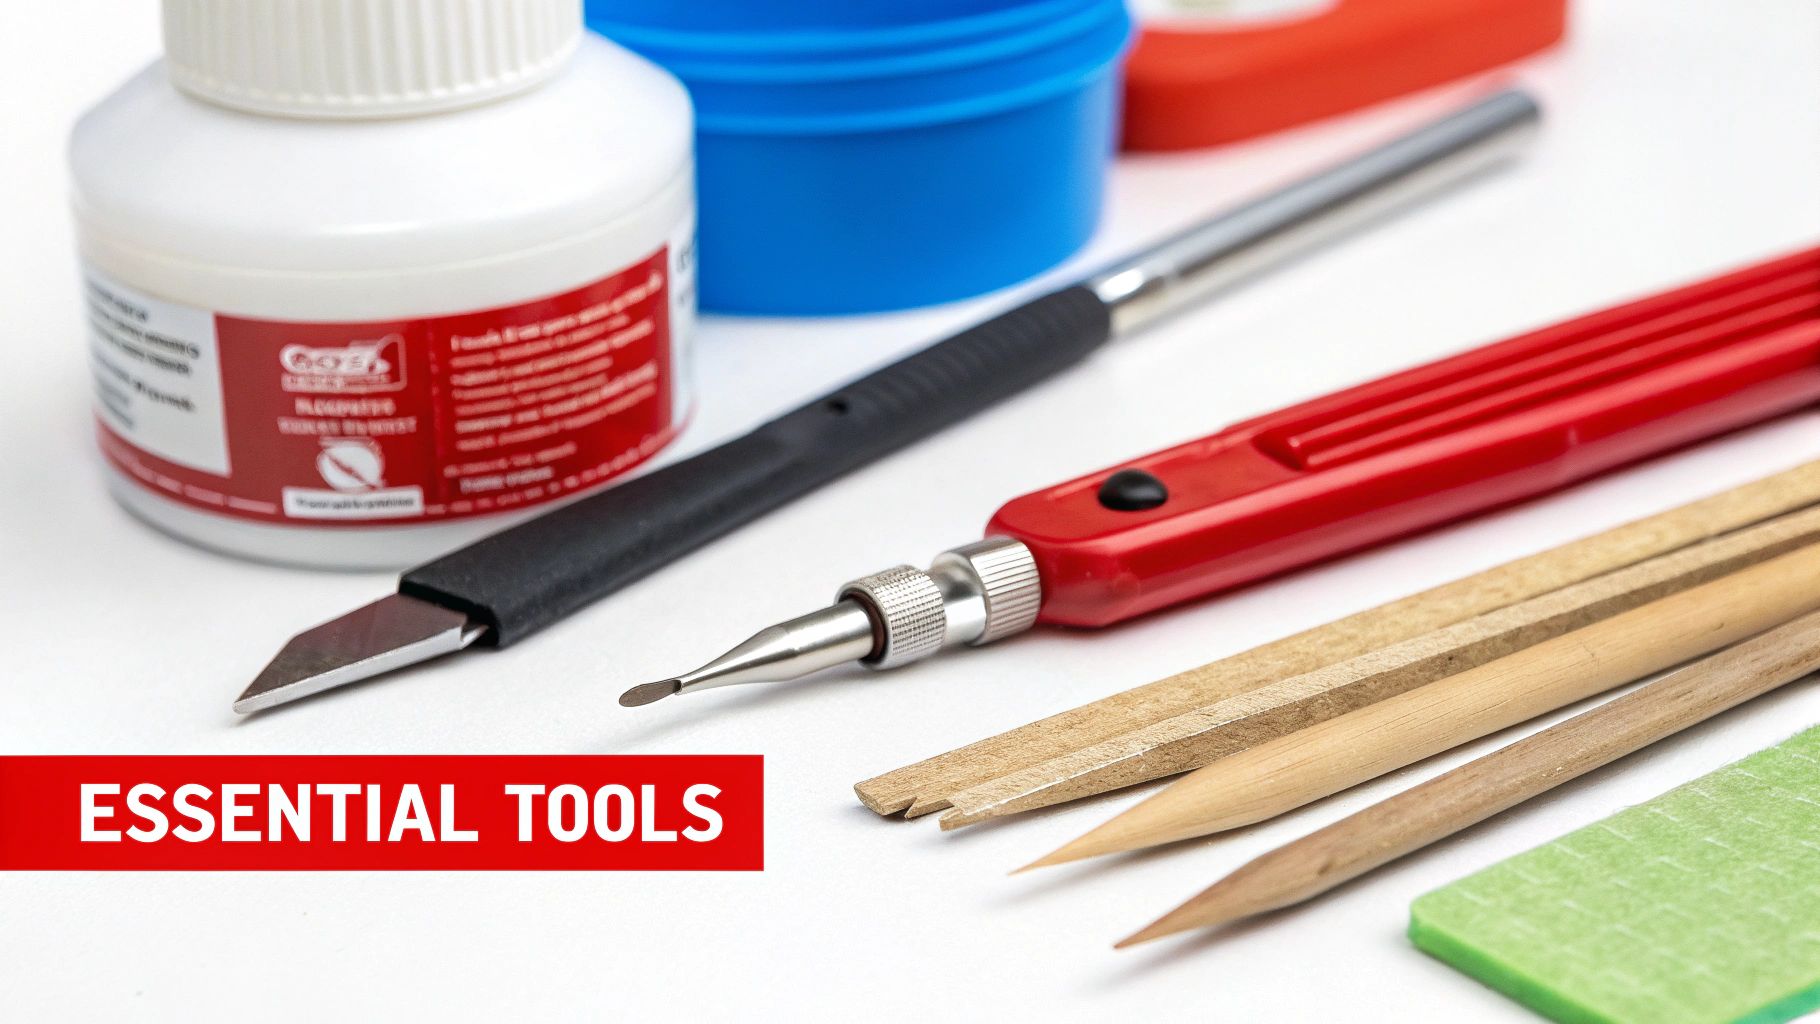
To build a piece of history, you need the right gear. A mechanic wouldn’t use a hammer to turn a bolt, and a modeler needs specific tools to get a clean, professional finish. The great news? You don’t need to spend a fortune to get started with World War 2 model kits.
A small investment in a few quality basics will completely transform your building experience. It’s the difference between a frustrating mess and a rewarding, creative process. We’ll break down the essentials into two groups: the absolute must-haves for your first build, and the nice-to-haves you can add as your skills grow.
Your First Mission Must-Have Tools
Think of these four items as your foundational toolkit. With just these, you can tackle almost any plastic model kit and get a fantastic result. Don't be tempted to use household substitutes—hobby tools are designed for precision and control that a pair of kitchen scissors just can't match.
-
Hobby Knife: This is your number one cleanup tool. After you snip a part from its frame (the sprue), small plastic nubs will be left behind. A sharp hobby knife lets you carefully shave them away for a perfectly smooth surface. For really detailed work, many modelers swear by precision cutters like the Olfa Sac-1, which are known for their incredibly sharp, fine blades.
-
Sprue Cutters: Also known as side cutters or nippers, these are non-negotiable for cleanly removing parts from the plastic frame. If you twist parts off, you’ll damage them and leave ugly white stress marks in the plastic. A good pair of sprue cutters snips the part off with minimal cleanup needed, protecting those delicate pieces.
-
Sanding Tools: No matter how cleanly you cut, some light sanding is always needed to get rid of seam lines and attachment points. A set of hobby sanding sticks or files with different grits (from coarse to fine) is perfect. They let you smooth things out without accidentally sanding away the surrounding details.
-
Plastic Cement: This isn’t your average glue. It’s actually a chemical solvent that slightly melts the plastic surfaces, welding them together to create a permanent, super-strong bond. Look for a liquid cement with a fine applicator brush—it gives you way more control than the old-school tubes.
Investing in these four core tools is the single best thing you can do to ensure your first modeling project is a success. They are the foundation upon which all other skills are built.
Leveling Up Your Arsenal
Once you have a few builds under your belt, you’ll naturally want to push for a higher level of detail and realism. That's the perfect time to start expanding your toolkit with more specialized equipment. These tools aren't essential for beginners, but they make advanced techniques much, much easier.
Consider adding these to your collection as you progress:
-
Pin Vise and Micro-Drill Bits: A pin vise is a small, handheld drill perfect for creating tiny holes. Think adding antennas to a tank, rigging lines on a ship, or drilling out gun barrels for a much more realistic look.
-
Tweezers: Absolutely essential for handling and placing tiny parts. You'll thank yourself for having them when you're dealing with the microscopic components in 1:700 scale naval kits or the intricate details in a 1:35 scale tank upgrade set. A good set should include both pointed and flat-tipped tweezers.
-
Photo-Etch Tools: Photo-etched (PE) metal parts offer an insane level of fine detail but require special handling. A set of PE bending pliers helps you fold these delicate brass parts into shape with crisp, clean angles.
-
Self-Healing Cutting Mat: This is one of those quality-of-life upgrades. A cutting mat protects your desk or workbench and keeps your knife blades from dulling so quickly. The grid lines printed on them are also a huge help for measuring and making straight cuts.
Starting with a solid foundation of the "must-have" tools makes building World War 2 model kits far more enjoyable. By getting the basics right, you set yourself up for success and can focus on the fun part: bringing a piece of history to life. From there, you can gradually add more specialized gear as your ambition and skills continue to grow.
Painting and Weathering Your Models
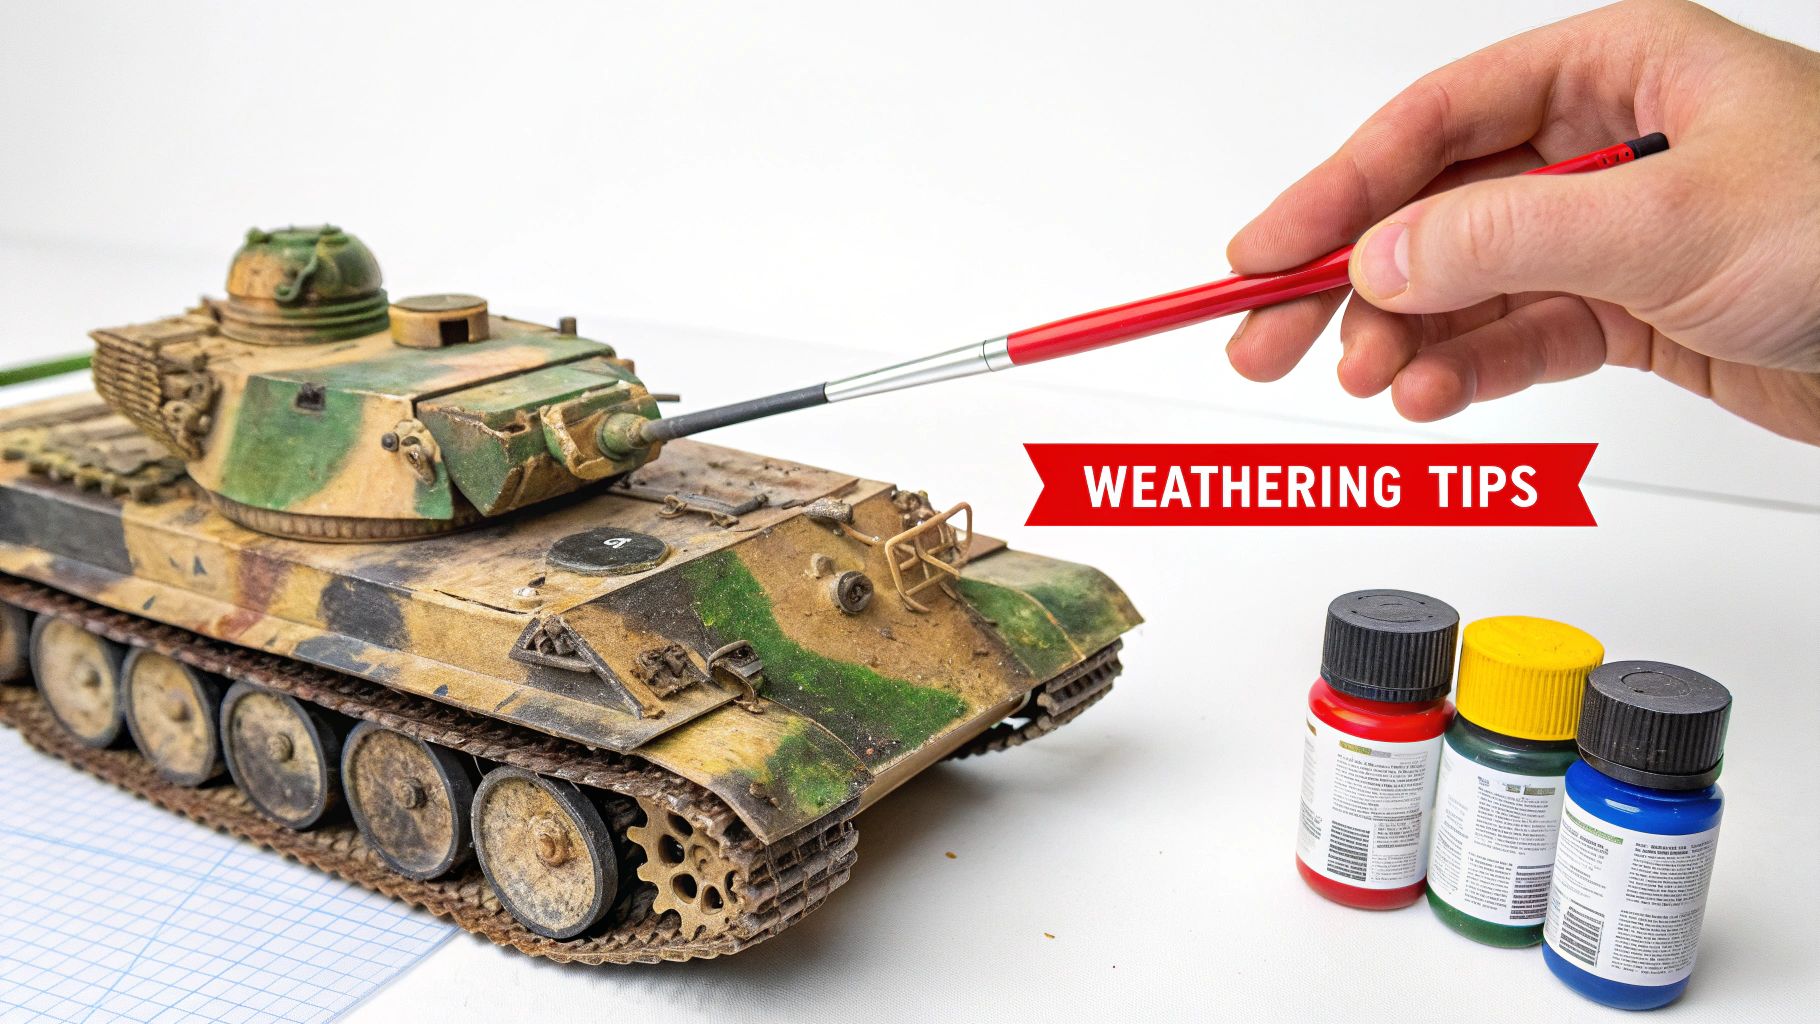
This is where the real magic happens. So far, you've assembled a plastic replica. Now it's time to transform it into a piece of history. The painting and weathering stages are where your World War 2 model kits stop looking like toys and start telling powerful stories.
This process breathes life into your model, turning a monochrome collection of parts into a convincing miniature. It’s an incredibly rewarding phase of the hobby that blends technical skill with pure artistic expression. Let's walk through the key techniques that will elevate your builds from good to truly great.
Choosing Your Paints and Application Method
Your first big decision is what kind of paint to use. The two main players in the hobby are acrylics and enamels, and each has its own distinct personality.
-
Acrylics: These water-based paints are the go-to for most modelers today. They’re known for their fast drying times, low odor, and easy cleanup with just water or a dedicated acrylic thinner. Brands like Tamiya and Vallejo offer a massive range of historically accurate colors perfect for any project.
-
Enamels: The old guard of model paints, these are oil-based and have been used by hobbyists for decades. They take much longer to dry, which can actually be a huge advantage for techniques like blending colors. The downside? They have a strong smell and require mineral spirits or turpentine for cleanup.
For beginners, acrylics are almost always the recommended starting point. They're just so much more user-friendly.
Once you’ve picked your paint, you need a way to get it on the model. Hand-brushing is the most accessible method—all you need are a few quality brushes to get started. It’s perfect for smaller models and for detail work like cockpits or crew figures.
Airbrushing, on the other hand, involves spraying a fine mist of paint using compressed air. It requires a higher initial investment in an airbrush and compressor, but it delivers exceptionally smooth, thin, and even coats that are impossible to achieve with a brush. For authentic camouflage on a 1:48 scale aircraft or a 1:35 scale tank, an airbrush is the superior tool. You can dive deeper with our specialized guide on painting tank models.
Bringing Your Model to Life with Weathering
Weathering is the art of making something new look old, used, and exposed to the elements. It’s the single most important step in achieving realism. An unweathered tank model looks like it just rolled off the factory floor; a weathered one looks like it fought its way across Europe.
Here are a few foundational techniques to get you started on that journey.
Weathering isn't about making your model dirty; it's about adding history. Each chip, rust streak, and layer of dust is a chapter in the vehicle's story, telling an observer where it has been and what it has endured.
Step 1: Applying a Wash
The first—and most impactful—weathering technique is applying a wash. A wash is just a very thin, watery paint, usually a dark brown or black, that you brush over the entire model.
Thanks to capillary action, the thinned paint naturally flows into and gathers in all the recessed details like panel lines, bolts, and grilles. Once you wipe the excess away from the flat surfaces, the dark pigment stays behind in the crevices. This creates realistic shadows and makes every tiny detail pop, instantly adding a sense of depth to your model.
Step 2: Dry Brushing for Wear and Tear
While a wash darkens the recesses, dry brushing highlights the raised details. This technique simulates how paint wears off on sharp edges and high-traffic areas, exposing the metal underneath or a lighter shade of the base coat.
To do it, you dip the tip of a flat brush in a light-colored paint, then wipe almost all of it off on a paper towel until the brush seems dry. When you lightly drag this "dry" brush over the model’s raised surfaces—like hatches, hinges, and weld seams—a tiny amount of pigment catches on the edges. The result is a subtle, realistic highlight that screams years of use and service.
Taking It Further with Advanced Effects
Once you've mastered washes and dry brushing, a whole world of advanced weathering opens up. You can use specialized products and techniques to create incredibly realistic effects that tell a much more specific story about your model's environment.
Consider trying these next:
- Chipping: Simulating chipped paint by dabbing on dark grey or rust-colored paint with a fine brush or a small piece of sponge.
- Rust and Streaks: Using rust-colored oil paints or pigments to create streaks running down from bolts and panels, simulating the effects of rain and corrosion.
- Mud and Dust: Applying textured pastes and powdered pigments to the tracks, wheels, and lower hull to show exactly where your vehicle has been driving.
By layering these techniques, you can transform your plastic kit into a convincing, battle-hardened historical miniature that truly tells a story.
Creating Dioramas and Dynamic Displays
So you’ve got the hang of assembling and weathering your kits. What’s next? It's time to give your World War 2 model kits a world to live in. That's where the magic of dioramas comes into play.
A diorama isn’t just a fancy base for your model—it's a complete, three-dimensional scene that tells a story. Think of it like building a stage for a single, frozen moment in history. Suddenly, your static model of a tank or aircraft is transformed into a dynamic snapshot packed with context, drama, and a powerful sense of realism.
You're no longer just displaying a vehicle; you're recreating a specific event. Imagine a Sherman tank rumbling through a ruined French village or a German U-boat being resupplied in its pen. That’s the power of a good diorama.
Planning Your Historical Scene
Every great diorama starts with a story. Before you even think about touching the glue, you need to decide what moment you want to capture. This planning phase is absolutely crucial, and it boils down to answering a few key questions to give your project direction.
First, pick a moment and a location. Are you aiming for a tense standoff on the Eastern Front during the brutal winter of 1943? Or maybe a dusty, sun-baked outpost in North Africa? Your setting will dictate everything that follows, from the terrain itself to the tiny accessories you'll need to bring it to life.
Get these core elements locked down:
- The Narrative: What's actually happening here? Is the tank crew taking a break, or are they in the thick of a firefight?
- The Location: What’s the ground like? Is it muddy, snowy, sandy, or covered in rubble from a recent battle?
- The Composition: How will you arrange everything to guide the viewer's eye and build a sense of action or tension?
Building Your World from the Ground Up
With a solid plan, you can start building the foundation of your scene. A simple wooden plaque or even a photo frame makes an excellent base. The real artistry, though, is in creating believable terrain and scenery.
You can craft convincing ground cover using cheap, everyday materials. A layer of PVA glue sprinkled with fine sand is perfect for a desert scene. For a European battlefield, try a mix of plaster, tiny stones, and static grass. The secret is to build up layers to create texture and depth.
From there, add scenic elements like model trees, shattered brick walls, and discarded equipment to really sell the environment.
A diorama’s success hinges on cohesion. Every element—the vehicle, the figures, and the terrain—must be weathered consistently. A factory-clean tank sitting in a muddy, war-torn landscape will instantly break the illusion of reality.
The global love for military modeling has fueled some incredible innovation. While Western companies pioneered World War 2 model kits in the 1950s and 60s, they soon faced stiff competition from Asia and Eastern Europe. Japanese brands like Tamiya set new standards for precision, and later, Chinese manufacturers used new tech to make the hobby accessible worldwide. Even today, WWII subjects make up well over 50% of historical military models sold each year. You can dive deeper into how the industry grew by reading this detailed history of plastic models.
Finally, it's all about placement. This is what creates the drama. Avoid plopping your main vehicle down perfectly parallel to the base edges—angling it just slightly creates a much more dynamic feel. Position your figures so they interact with the vehicle and their surroundings. One might be pointing, another taking cover. Little touches like these are what complete your historical snapshot and truly bring it to life.
Common Questions About WWII Model Kits
Jumping into World War 2 model kits for the first time usually brings up a few common questions. We hear these all the time from hobbyists just getting their feet wet, so we've put together some straight, practical answers to help you dive right in with confidence.
What Is the Best Kit for a Beginner?
For your first build, I'd strongly recommend picking up a newer kit from a trusted name like Tamiya or Airfix. Look for something in a popular scale—1:72 for aircraft or 1:35 for tanks—because you'll find tons of paints, decals, and advice for them online. The key is to find a kit with a low part count, often marked right on the box as "beginner-friendly."
These kits are engineered so much better than older ones, which means the parts just fit. This cuts down on the frustration big time and lets you focus on learning the basics of building and painting without getting bogged down by a super complex model. A simple fighter plane is a perfect place to start.
How Long Does It Take to Build One?
That really depends on the kit's complexity and how perfect you want the final result to be. A straightforward 1:72 scale fighter might take a beginner somewhere between 5-10 hours, spread out over a few evenings to let glue and paint dry properly.
On the other end of the spectrum, a highly detailed 1:35 scale tank with a full interior and individual track links could easily take a seasoned modeler 50-100 hours or more. The trick is to see it as a marathon, not a sprint. Just enjoy the process and work at your own pace.
Where Can I Find Accurate Color Information?
Your best starting point is right in the box. Most kit instructions include a painting guide that calls out specific paint codes for brands like Tamiya, Vallejo, or Mr Hobby. This will get you very close to the right camouflage schemes and detail colors.
If you really want to nail the authenticity, there are tons of online resources out there. Modeling forums like FineScale Modeler, historical websites, and specialized books are goldmines for detailed color info on specific vehicles from different fronts of the war. Checking a few of these sources will give you the most convincing finish for your model.
Ready to start your first build? Fusion Scale Hobbies has a massive selection of beginner-friendly kits, paints, and essential tools to bring your project to life. Explore our collection and find your inspiration at https://fusionscalehobbies.com today.