


Before a single piece of wood gets cut or a length of track is laid, the most important work on your model railroad happens right between your ears. Model railroad layout planning is all about turning that spark of an idea into a solid, buildable blueprint. It’s where you define the story your railroad will tell, making sure every decision down the line serves that one unified vision.
Translating Your Vision into a Workable Concept
Every great model railroad starts with a story, not a train. This is the foundational phase where you decide what your layout is all about. Are you modeling the gritty, bustling transition from steam to diesel on the Pennsylvania Railroad? Or maybe a sleepy, modern-day industrial short line somewhere in the Pacific Northwest? Nailing this down first acts as a powerful filter for every choice you'll make later.
We often talk about this initial brainstorming in terms of "givens and druthers." Your "givens" are the hard realities—the non-negotiable limits like your available space, budget, and time. Your "druthers" are what you’d rather do if you had no limits. Think long mainline runs, complex switching puzzles, or jaw-dropping mountain scenery. The real art of planning is finding that sweet spot right in the middle.
Defining Your Core Theme
A clear, well-defined theme is your best defense against scope creep. It keeps the project focused and manageable. To create your roadmap, think about these key elements:
- Prototype: Are you modeling a real railroad, like the Union Pacific, or inventing your own freelance line? Following a prototype gives you a ready-made guide for everything from locomotives to lineside structures.
- Era: The time period you choose dictates everything. It determines the types of engines and rolling stock you'll run, the style of the buildings, and even the cars and trucks on your roads.
- Location: Placing your railroad in a specific part of the world—the Appalachian coal fields, the arid Southwest, the rolling hills of New England—informs your entire approach to scenery and gives the layout a distinct atmosphere.
This simple flowchart shows how a fuzzy idea gets sharpened into a concrete plan.
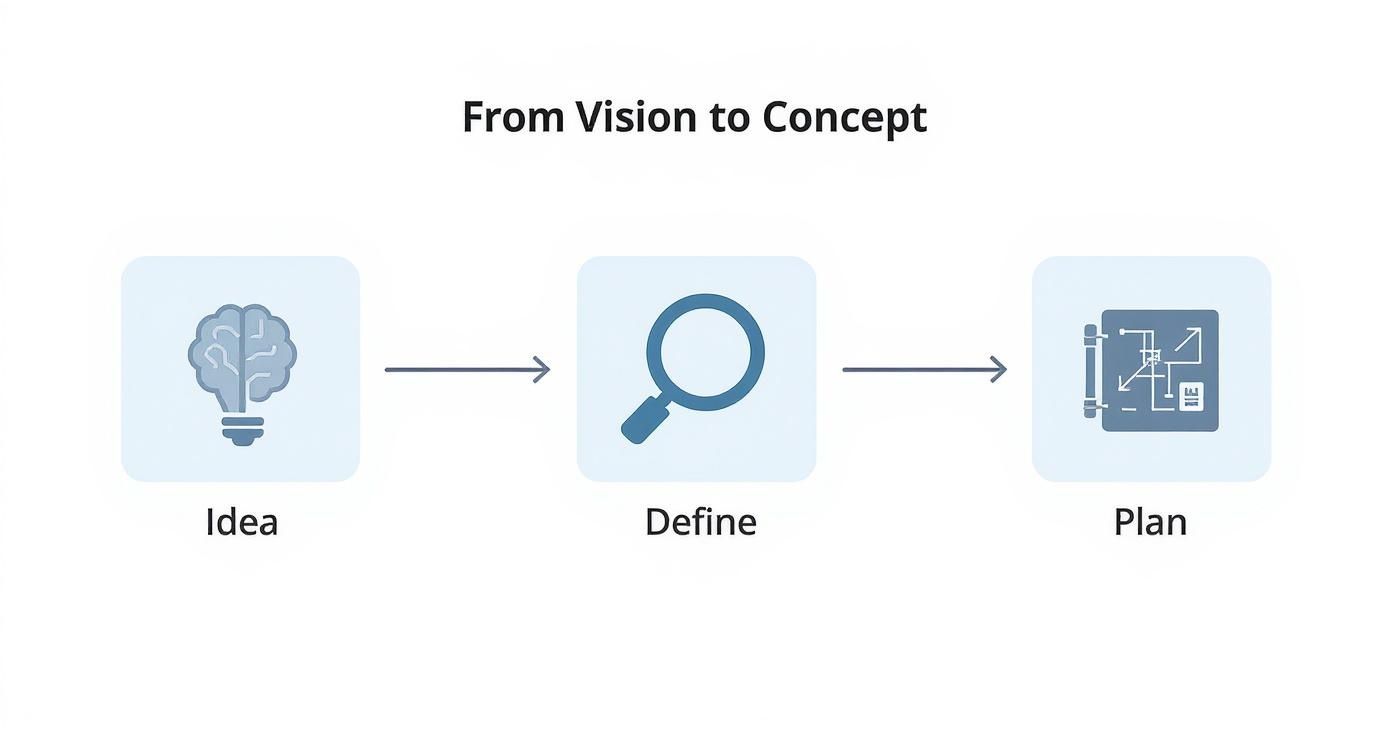
As the diagram shows, that middle definition phase is the crucial link. It turns a vague concept into a structured plan you can actually build from.
The Power of a Unified Purpose
Don't mistake this planning stage as just a daydreaming exercise; it’s basically project management for your hobby. Just like good renovation project management tips are key to a successful home build, applying those same principles here will save you from costly mistakes and keep you from losing steam.
When every single decision—from the brand of track you buy to the building kits you choose—serves your central theme, the result is a cohesive and believable miniature world that just feels right.
A layout without a clear purpose often becomes a frustrating collection of disconnected scenes. Defining your story from the start is the single best investment you can make in the long-term success of your project.
Historical accuracy, in particular, has become a huge driver for modelers. For instance, the 'Transition Era' of the 1930s to 1950s remains incredibly popular, accounting for about 40% of all new layouts. These projects demand a good bit of research to really capture the look and feel of railroads like the Pennsylvania Railroad during its glory days.
Choosing the Right Scale for Your Space
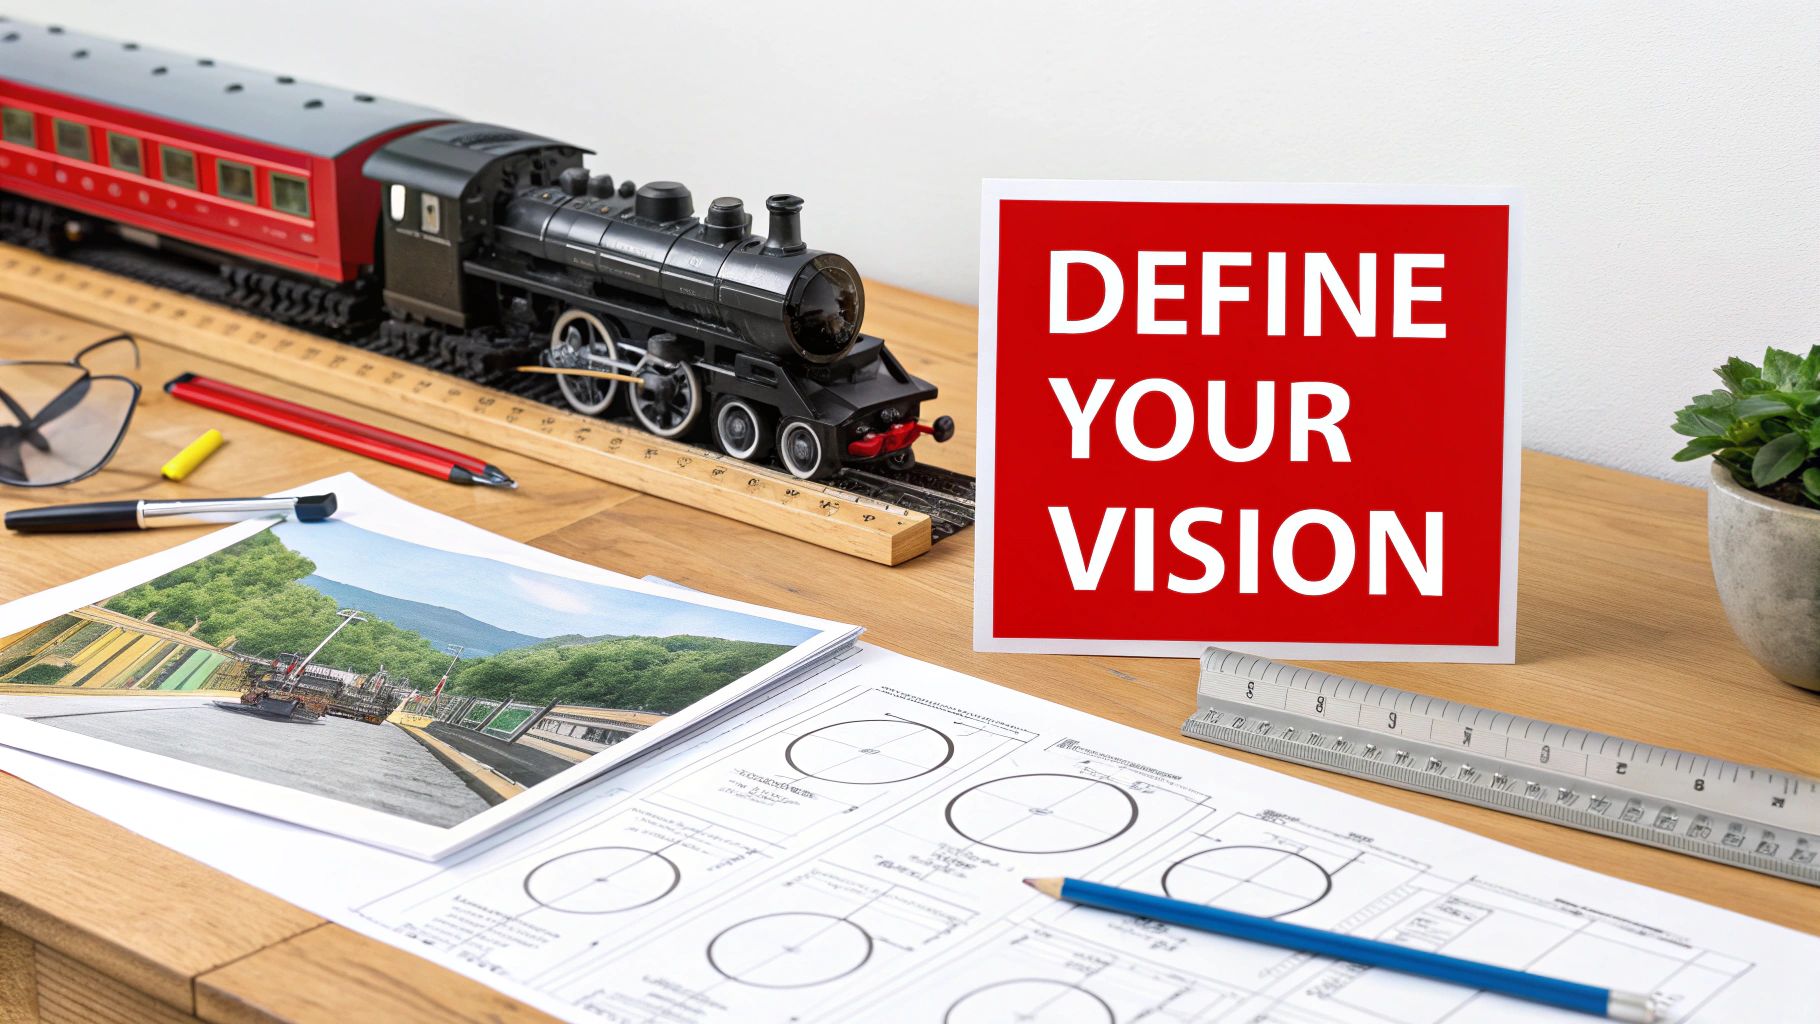
Your available space is the ultimate reality check in this hobby. It’s the single biggest constraint we all face. The scale you choose—that is, the ratio of your models to the real thing—will dictate everything that follows. It impacts the length of your trains, the detail you can cram onto a locomotive, and the very feel of the world you’re building.
This decision goes way beyond just fitting a table in a room. It's about creating a miniature world that feels right and is actually fun to operate. Getting this right from the start saves a world of frustration and ensures your layout is a source of joy, not just a cramped compromise.
Understanding the Major Scales
While model railroading has seen plenty of scales over the years, three have really stood the test of time. They’ve become the go-to choices for hobbyists everywhere by offering the best balance of size, detail, and space efficiency.
- HO Scale (1:87): Often called the "Goldilocks" of scales, HO is the undisputed king. It’s large enough to pack in satisfying detail and ensure reliable operation, yet it’s compact enough to fit a respectable layout into a spare room.
- N Scale (1:160): If you're short on space or dream of long, sweeping mainlines, N scale is your ticket. You can fit roughly four times the railroad into the same footprint as an HO layout, making it perfect for grand landscapes and impressive train lengths.
- O Scale (1:48): This is a larger scale, known for its sheer presence and incredible detail. O scale models have a satisfying heft, but they demand a serious amount of space. It’s the perfect choice for modelers who love fine details and robust, easy-to-handle equipment.
The numbers back this up. HO scale dominates the market, accounting for roughly 60% of all model railroad layouts worldwide. N scale comes in next at around 25%, followed by O scale at about 10%. It all comes down to that fantastic balance HO offers.
For a closer look at what these numbers mean in practice, our detailed guide on model railway scales explained is a great resource to help you visualize the differences.
Model Railroad Scale Comparison Guide
To help you decide, here’s a quick breakdown of how the big three stack up against each other. Think about what matters most to you—sweeping vistas or intricate details—and see which scale aligns with your vision.
| Feature | N Scale (1:160) | HO Scale (1:87) | O Scale (1:48) |
|---|---|---|---|
| Space Needs | Excellent for small rooms or apartments | Good for spare rooms, basements | Requires significant space; large rooms are best |
| Typical Scene | Long trains, expansive landscapes | Balanced scenes, good for operations | Detailed dioramas, close-up industrial scenes |
| Detail Level | Good, but challenging for fine work | Excellent balance of size and detail | Superb; ideal for super-detailing |
| Equipment Cost | Generally the most affordable | Mid-range, widest variety available | Typically the most expensive |
| Availability | Very good, lots of modern equipment | The best; virtually everything is available | Good, with a focus on classic eras |
| Handling | Can be difficult for unsteady hands | Easy to handle for most people | Very easy to handle, great for all ages |
Ultimately, the best scale is the one that fits your space and your modeling goals. This table should give you a solid starting point for making that choice.
Matching Scale to Your Available Space
So, let's bring this back to your actual room. The classic 4x8-foot sheet of plywood is a time-honored starting point for a layout, but what you can build on it is completely different depending on the scale.
A 4x8-foot space can become a sprawling N scale division point with multiple industries and a functional yard. In HO scale, it's better suited for a focused switching puzzle or a simple continuous loop. In O scale, that same space might only accommodate a small industrial diorama or a single engine terminal scene.
To avoid building a layout that’s a chore to work on, you have to think beyond the benchwork footprint. These factors are non-negotiable if you want to have a good time.
- Aisle Width: You absolutely need room to move. Aim for a bare minimum of 30-36 inches of clear walking space around your layout. Any less and it becomes a frustrating shuffle, especially if you ever want friends over for an operating session.
- Reach-In Distance: We’ve all done it, but try to avoid it. Never design a part of your layout that is more than 30 inches from the edge. If a car derails in a back corner and you need a step stool and a prayer to retrieve it, you’ve made a serious design error.
- Minimum Radius: Every scale has a practical minimum radius for curves that looks realistic and operates smoothly. Forcing O scale trains around a tight 18-inch radius curve designed for HO is a recipe for constant derailments and equipment that just looks silly.
Good model railroad layout planning is all about working with your space, not fighting it. When you choose a scale that fits your room and your goals, you're setting yourself up for a successful and incredibly rewarding journey.
Designing a Track Plan with Purpose
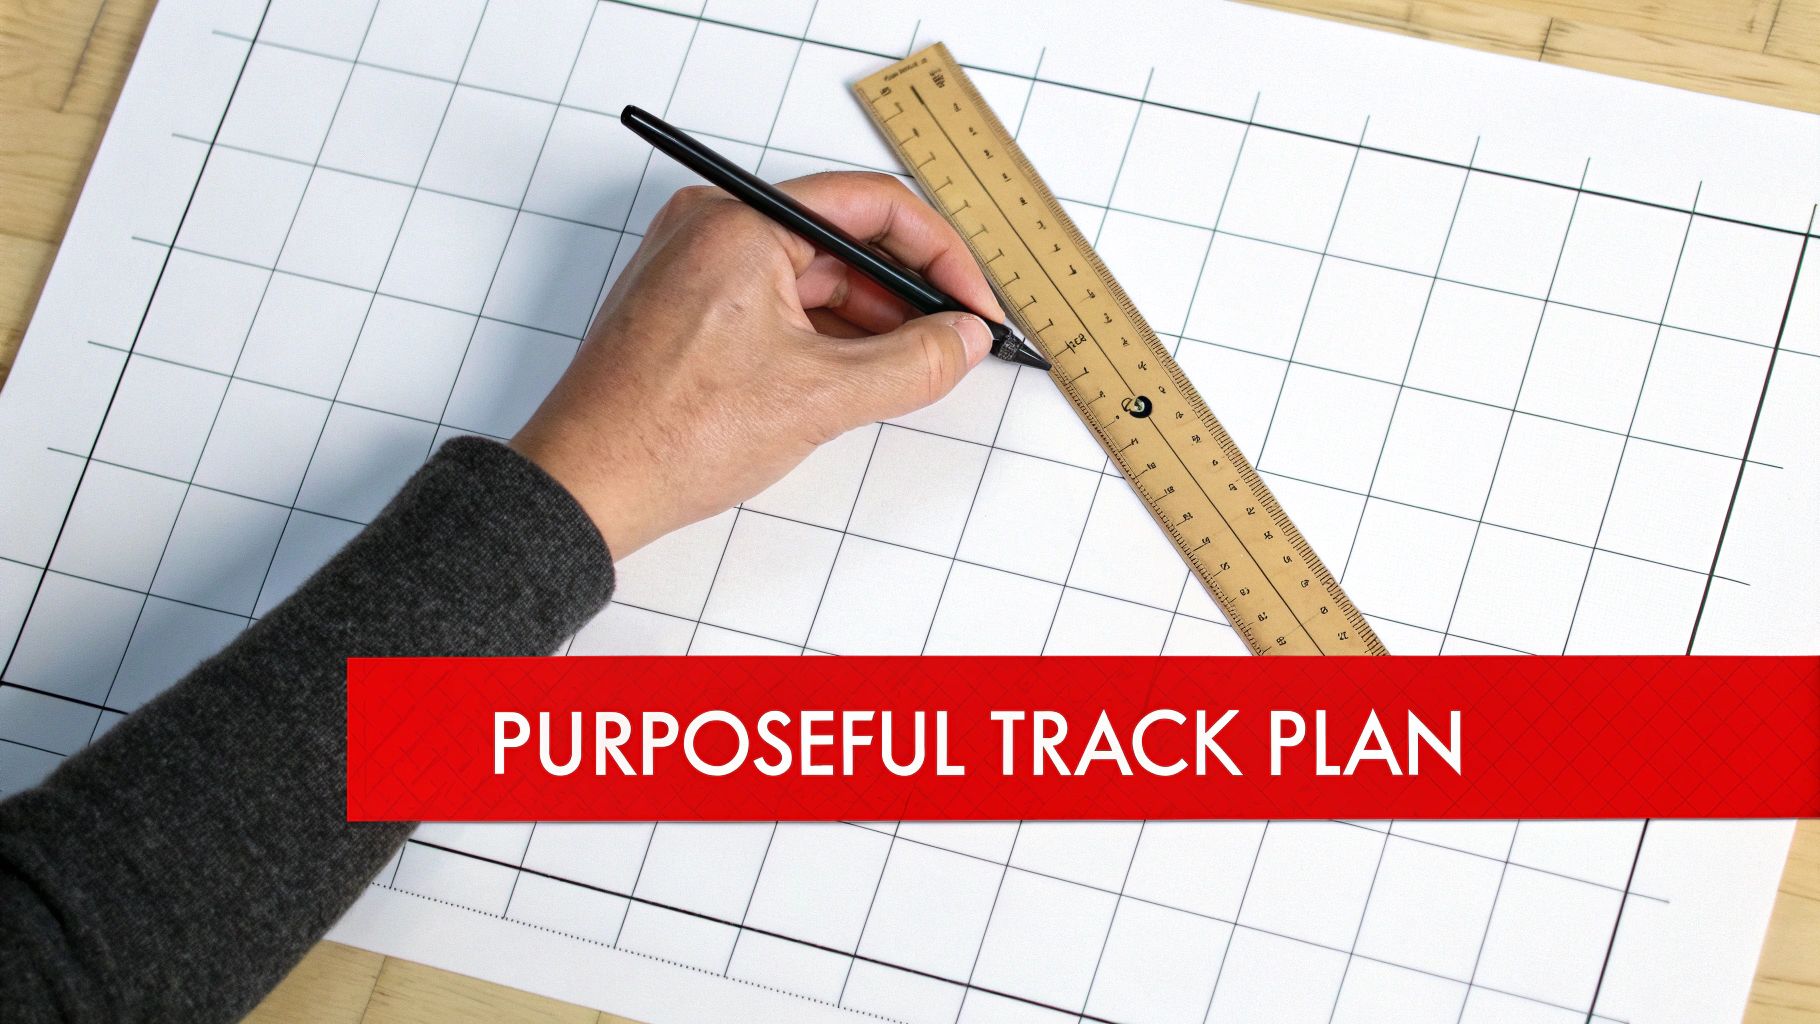
A great track plan is the absolute heart of your model railroad. It's so much more than a loop of track on a board; it's the blueprint that dictates how your trains run, the stories you can tell, and just how much fun you'll have operating your miniature world. This is where we go beyond the basic oval and start thinking like a real railroad designer, creating a layout that’s engaging to run, not just to watch.
Your track plan is the physical expression of the vision you've already defined. A gritty coal-hauling branch line in Appalachia is going to have a completely different track arrangement than a bustling passenger terminal in a big city. The goal here is to make the track itself support your theme, giving every single train a genuine reason to move from point A to point B.
Choosing a Layout Style for Your Goals
There are a few foundational layout styles, and each one offers a totally unique operating experience. The best choice for you boils down to what you want to do with your trains.
- Continuous Loop: This is the classic, perfect for just watching trains run. Modern designs often get creative by disguising the loop with scenery blocks, tunnels, and different elevations to create the illusion of a much longer journey.
- Point-to-Point: This style models a specific segment of a larger railroad, with trains traveling from one end of the layout to the other. It’s ideal for simulating purposeful, realistic operations where freight and passengers have actual destinations.
- Shelf Layout: This is an increasingly popular choice for modelers working with limited space. These layouts are built on narrow shelves around the walls of a room, which maximizes the mainline run while leaving your floor space wide open. They're almost always point-to-point and really focus on switching and local freight jobs.
Key Takeaway: A purposeful track plan provides operational interest that actually lasts. While a simple loop is great for getting started, a design that incorporates industries, interchanges, and staging will keep you engaged for years to come.
For more complex layouts, getting a handle on understanding construction blueprints can be a real game-changer. It helps you accurately transfer your paper design into your physical space. A model railroad plan is, after all, a specialized type of blueprint where every line and symbol has a precise meaning.
Avoiding Common Track Planning Pitfalls
A poorly designed track plan can lead to endless frustration. Derailments, operational dead-ends, and unrealistic track arrangements can suck the fun right out of the hobby. The good news is, most of these mistakes are pretty easy to avoid with a little forethought.
One of the most common blunders is the dreaded "S-curve." This happens when a curve to the left is immediately followed by a curve to the right without any straight track in between. This transition forces the couplers on your cars to swing to opposite extremes, often causing them to uncouple or just pull the car right off the rails. The fix is simple: always include at least one car-length of straight track between opposing curves.
Another critical error is using curves with a radius that is way too sharp for your locomotives and rolling stock. Sure, a locomotive might technically be able to navigate a tight 18-inch radius curve in HO scale, but longer cars and engines will look awkward and are far more likely to derail. Use the broadest curves your space allows—it makes everything run more reliably and look much more realistic. You can explore a variety of well-designed HO scale layout plans to see how experienced modelers use generous curves to their advantage.
The Strategic Role of Staging Yards
This might be the single most important element of a functional track plan, and ironically, it's one that is often completely hidden from view: the staging yard. A staging yard is a set of tracks, typically "off-stage" behind a backdrop or on a lower level, that represents the rest of the world beyond your modeled scene.
Without staging, your railroad is a closed system. Trains have nowhere to come from and nowhere to go. A staging yard solves this problem by giving you a place to store trains before they enter the visible layout and after they exit. This simple addition creates the illusion that your railroad is part of a much larger, active network.
Here’s what a staging yard really does for you:
- Purposeful Operation: A freight train can emerge from staging, work the industries on your layout, and then exit back to staging, representing its journey to a distant city.
- Increased Variety: You can store multiple complete trains in staging. This allows you to run different types of traffic during an operating session without having to constantly handle your delicate models.
- Realistic Flow: It lets you simulate the passage of time and the continuous movement of goods and people that defines a real railroad.
Whether you're sketching by hand or using modern software, designing a track plan with purpose is a crucial step in your model railroad layout planning. By focusing on operational flow and avoiding these common mistakes, you're building a foundation for a layout that will provide countless hours of genuine enjoyment.
Building Reliable Benchwork and Wiring
Let's talk about the parts of your layout that no one will ever see but everyone will notice if you get them wrong: the benchwork and wiring. This is the true foundation of your railroad. Get this part right, and you're setting yourself up for years of smooth, trouble-free operation. Skimp here, and you’ll be chasing down electrical gremlins and track issues forever.
Think of the benchwork as the skeleton of your railroad. Its one job is to provide a stable, level, and warp-free base for everything that comes next. A shaky foundation is a guaranteed recipe for track misalignments, constant derailments, and a whole lot of frustration.
Choosing Your Benchwork Construction Method
Sure, you can start with a simple sheet of plywood on a table frame, but most dedicated layouts use more advanced methods for better support and easier scenery work down the line. The two most popular approaches in modern model railroad layout planning are open-grid and L-girder.
- Open-Grid: This classic method uses a grid of 1x4 lumber to create a rigid frame. Your track subroadbed, usually plywood or foam, sits on risers attached to this grid. It's strong, straightforward, and leaves plenty of open space underneath for creating varied terrain like valleys and rivers.
- L-Girder: Many consider this the most versatile system out there. L-girder uses L-shaped beams (often made from plywood and 1x2s) to create a robust, self-supporting frame that doesn’t need legs in the middle of long spans. It’s incredibly flexible and perfect for complex, multi-level layouts.
No matter which method you pick, dimensional lumber (like 1x4s or 2x4s) and ¾-inch plywood are your best friends. They provide the strength and stability needed to support your miniature world without sagging over time.
Demystifying Layout Wiring
Wiring can feel like the most intimidating part of a layout build, but its purpose is simple: get consistent, reliable power to every single inch of your track. A well-planned electrical system is the secret to flawless operation, preventing the stalls and flickering lights that can completely ruin the experience.
Your first big decision is between traditional Direct Current (DC) and modern Digital Command Control (DCC). DC is the old-school system where the voltage to the track controls one train's speed and direction. If you want to run a second train independently, you need to wire the layout into separate electrical "blocks."
DCC, on the other hand, puts a constant voltage on the track and sends digital commands to a decoder inside each locomotive. This is how you can control multiple trains on the same piece of track without any complex block wiring. It's no surprise that modern layouts have embraced it; Digital Command Control (DCC) is used in over 70% of new layouts built since 2015. You can dig deeper into these trends in the model train market if you're curious.
For any layout where you plan to operate more than one train at a time, DCC is the way to go. The simplified wiring and incredible operational flexibility are well worth the initial investment.
Best Practices for Foolproof Wiring
A little discipline during the wiring phase pays off big time later on. The goal isn't just to make it work, but to build a system that's easy to troubleshoot if a problem ever pops up.
Every good wiring system starts with a power bus. This is just a pair of heavy-gauge wires (typically 12 or 14-gauge) that run underneath the entire layout, basically mirroring your track plan. These are the main arteries carrying power from your controller.
From this main bus, you'll run smaller feeder wires (around 22-gauge) up to the track itself. Here's a pro tip: solder a feeder wire to every single piece of rail. At the very least, do it every three feet. This way, you aren't relying on those flimsy metal rail joiners, which will eventually loosen or corrode and kill your electrical conductivity.
Finally, keep it clean. Use different colored wires for each rail to keep your polarity straight, and secure everything neatly under the benchwork with cable ties or clips. A tidy wiring job makes finding and fixing a problem down the road a five-minute job instead of a five-hour headache. This solid foundation is the bedrock of successful model railroad layout planning.
Creating Believable Scenery and Structures
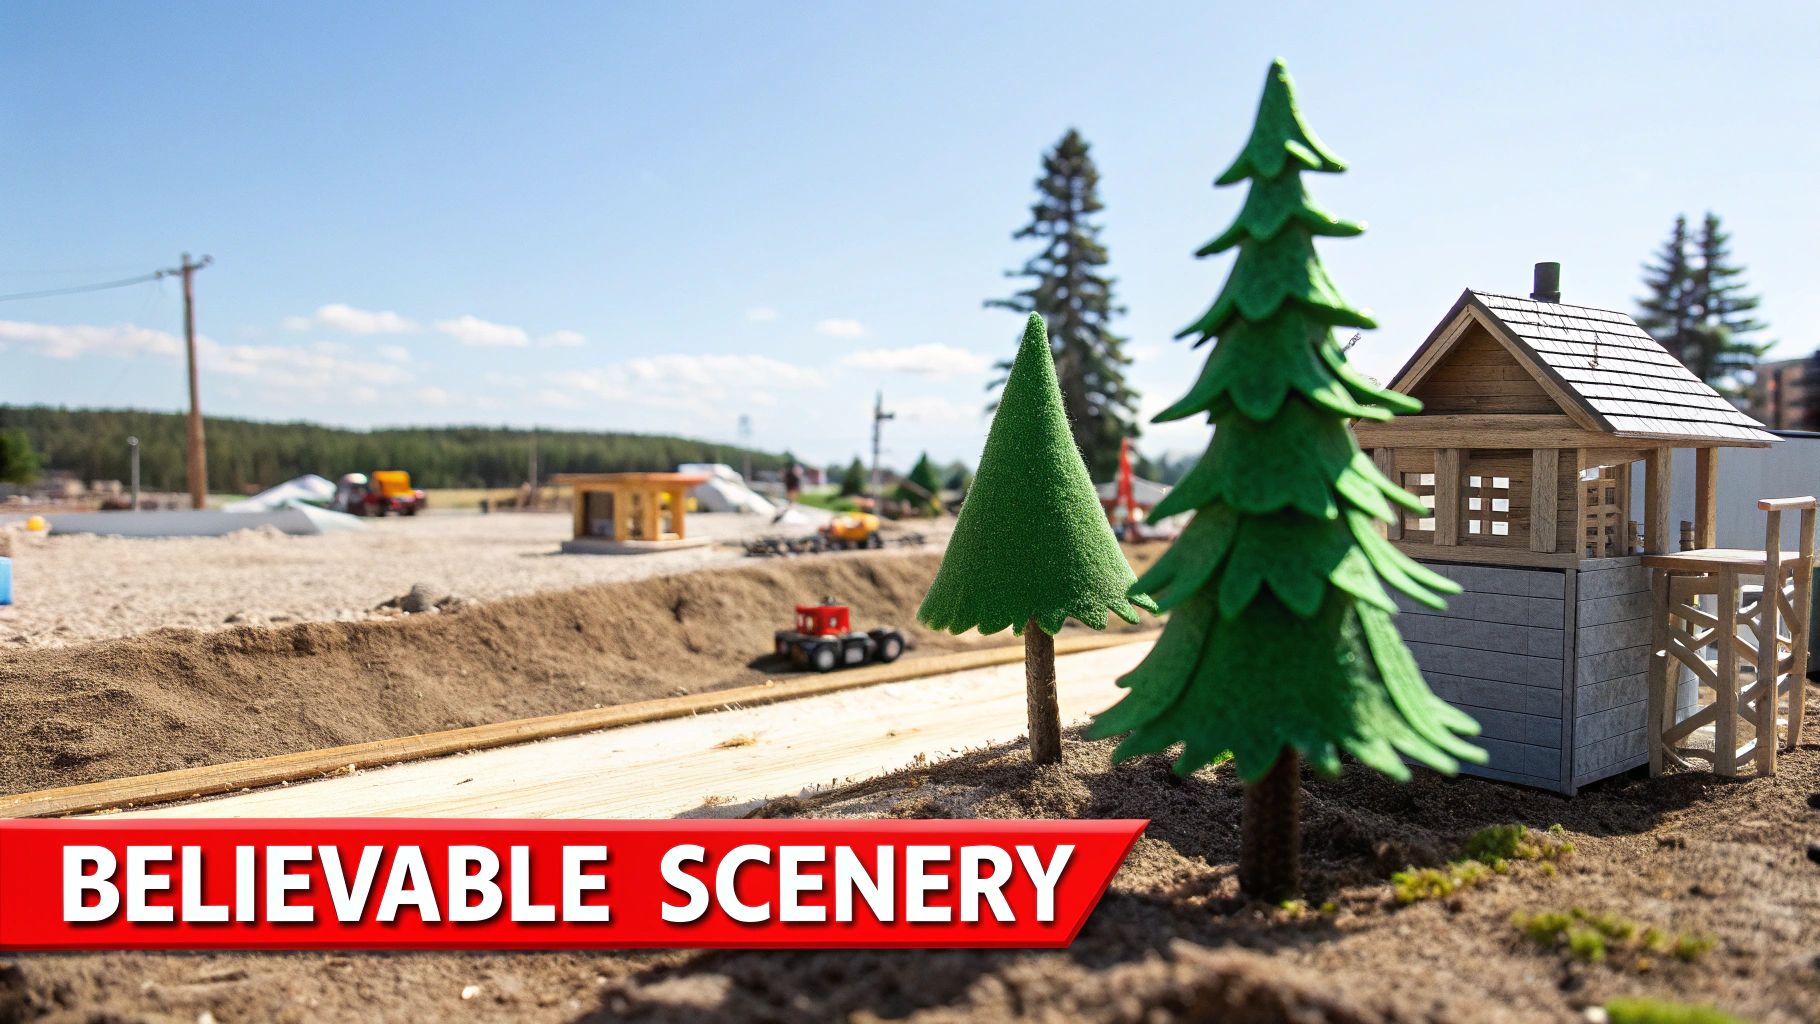
This is where the real magic happens. It’s the stage where your carefully laid track and wooden framework finally start breathing life, transforming from a construction project into a miniature world. Creating scenery that feels real isn't about being a master artist; it’s about paying attention to the world around you and learning how to layer simple textures. This is how you turn flat plywood into rolling hills, dense forests, and meandering rivers, making your layout a place people want to explore, not just a loop of track.
First things first, we have to get rid of the "plywood prairie." Extruded foam insulation board is your best friend here. Seriously. It's lightweight, a dream to shape with a hot wire cutter or even an old Surform tool, and it’s perfect for building up your basic topography. Just stack and carve layers of foam to quickly form hills, create riverbeds, or build up road embankments. This will immediately give your layout a natural, three-dimensional character.
Ground Up Scenery Construction
Once your basic landforms are carved out, the next job is to hide the "bones" of the construction. A layer of plaster cloth or a product like Sculptamold over the foam gives you a hard, durable shell. Think of this shell as your canvas, ready for the textures that will truly sell the scene.
And this is where layering becomes so important. Please don't just paint the ground brown and call it a day. Real ground is a messy, chaotic mix of dirt, rocks, weeds, and grasses. You can replicate this with just a few core materials:
- Base Dirt: Start with a sifted layer of real dirt from your backyard or a commercial ground foam in an earth tone. Lock it in place with a spray of diluted white glue or scenic cement.
- Varied Textures: Sprinkle in some fine ballast to create gravel roads, add talus for rock slides at the base of a cliff, and use different shades of ground foam to represent changing soil types.
- Vegetation: A static grass applicator is a game-changer for creating realistic fields and patches of weeds. Use different lengths and colors. For bushes and undergrowth, tufts of coarse ground foam work wonders.
Remember, nature is rarely neat or uniform. The key is to blend these different textures together. The final effect will be far more convincing than any single material could ever be on its own. For a deeper look at different materials and methods, exploring guides on scenery for model trains can spark a ton of ideas for your own project.
The Importance of Backdrops and Structures
A good backdrop can literally double the perceived size of your layout. It doesn’t have to be fancy—whether you use a commercially printed photo backdrop or just paint a sheet of hardboard a simple sky blue, it creates an immediate sense of depth and place. A backdrop is a powerful tool for establishing your location, telling the viewer instantly if they're in the rugged mountains of Colorado or the gentle rolling hills of Pennsylvania.
Structures are much more than just pretty decorations; they are the destinations that give your railroad a reason to exist. That grain elevator, coal mine, or small-town freight depot provides a purpose for every single train you run. Their placement is a critical part of your model railroad layout planning and should feel intentional, not like an afterthought.
Structures anchor a scene and provide operational interest. A well-placed industry isn't just scenery; it's a recurring character in the story your railroad tells during every operating session.
You’ll often find that the kits you can buy off the shelf don't perfectly match your prototype or fit the space you have available. This is where the fun of kitbashing (combining parts from multiple kits) or scratch-building comes in. Building your own custom structures ensures they fit the scene perfectly and capture the unique flavor of the railroad you’re modeling. Even simple modifications can make a mass-produced kit feel like a one-of-a-kind model, reinforcing the unique story of your layout.
Common Questions on Layout Planning
As you start sketching out ideas for your model railroad, a few key questions always seem to surface. Tackling these head-on will save you a world of trouble down the line. It's all about making the right foundational choices now to avoid major headaches later.
What Is the Best Way to Start Planning a Model Railroad Layout for a Beginner?
My best advice? Start small. Seriously. It's so tempting to dream up a basement-spanning empire right out of the gate, but that's a fast track to burnout. A classic 4x8-foot table or a simple shelf layout is the perfect starting point.
A manageable project like this lets you get your hands dirty with the fundamentals—benchwork, track laying, wiring, and scenery—without feeling completely swamped. You'll see progress faster, which is a huge motivator.
Stick with a simple track plan, maybe a basic oval with a couple of spurs for industries. This gives you the best of both worlds: you can let a train run continuously while you handle other things, but you also have purposeful switching operations to keep things interesting. Nail a smaller layout first, and you'll build the skills and confidence to tackle that bigger dream project later on.
How Do I Choose Between DC and DCC Control for My New Layout?
This is a big one. Your choice here really shapes your budget and, more importantly, how you'll actually run your trains. It boils down to your operational goals and how much realism you're after.
Traditional Direct Current (DC) control is the old-school, straightforward option. It's cheaper to get started because the power packs cost less and you don't need to install decoders in your locomotives. But that simplicity has its limits. If you want to run more than one train independently, you're looking at complex wiring with insulated blocks and a whole panel of toggle switches.
Digital Command Control (DCC) is a bigger investment upfront, but it simplifies your wiring immensely while opening up a new world of realism. With DCC, you can control multiple locomotives on the same section of track, each with its own speed and direction. Plus, you get access to incredible features like realistic sounds, controllable lights, and ultra-smooth, slow-speed performance.
For anyone who pictures running multiple trains at once or craves the immersive experience of sound and lighting, DCC is the clear choice. It's a worthwhile investment that you'll be thankful for as your layout grows.
What Are the Most Common Mistakes to Avoid in Layout Planning?
Even seasoned modelers stumble into a few classic traps during the planning phase. Knowing what they are from the start can keep your project fun instead of frustrating.
The absolute biggest mistake is trying to cram too much track into the space you have. You end up with a "spaghetti bowl" of track, ridiculously tight curves that trains can't handle, and no room for scenery. The whole thing just looks crowded and unrealistic. Always, always favor broad, gentle curves and give your scenes some room to breathe.
Here are a few other pitfalls to watch out for:
- Bad Access: If you can't easily reach every corner of your layout, you're in for a nightmare when it's time to clean the track or rerail a car. A maximum reach-in distance of about 30 inches is a golden rule.
- No Staging: It's easy to focus on the visible parts of the layout, but you need a place for trains to "come from" and "go to." Staging yards represent the rest of the world and are what make your operations feel like they have a real purpose.
- A Pancake-Flat World: A layout with no elevation changes can look pretty dull. Even adding gentle grades or creating subtle hills and valleys with your scenery makes the entire scene feel more dynamic and believable.
Avoiding these common blunders is the key to building a model railroad that's as enjoyable to operate as it is to look at.
At Fusion Scale Hobbies, we carry everything you need to turn your well-laid plans into reality. From track and benchwork supplies to the latest DCC systems and scenery materials, find all the top brands to build the layout of your dreams. https://fusionscalehobbies.com