


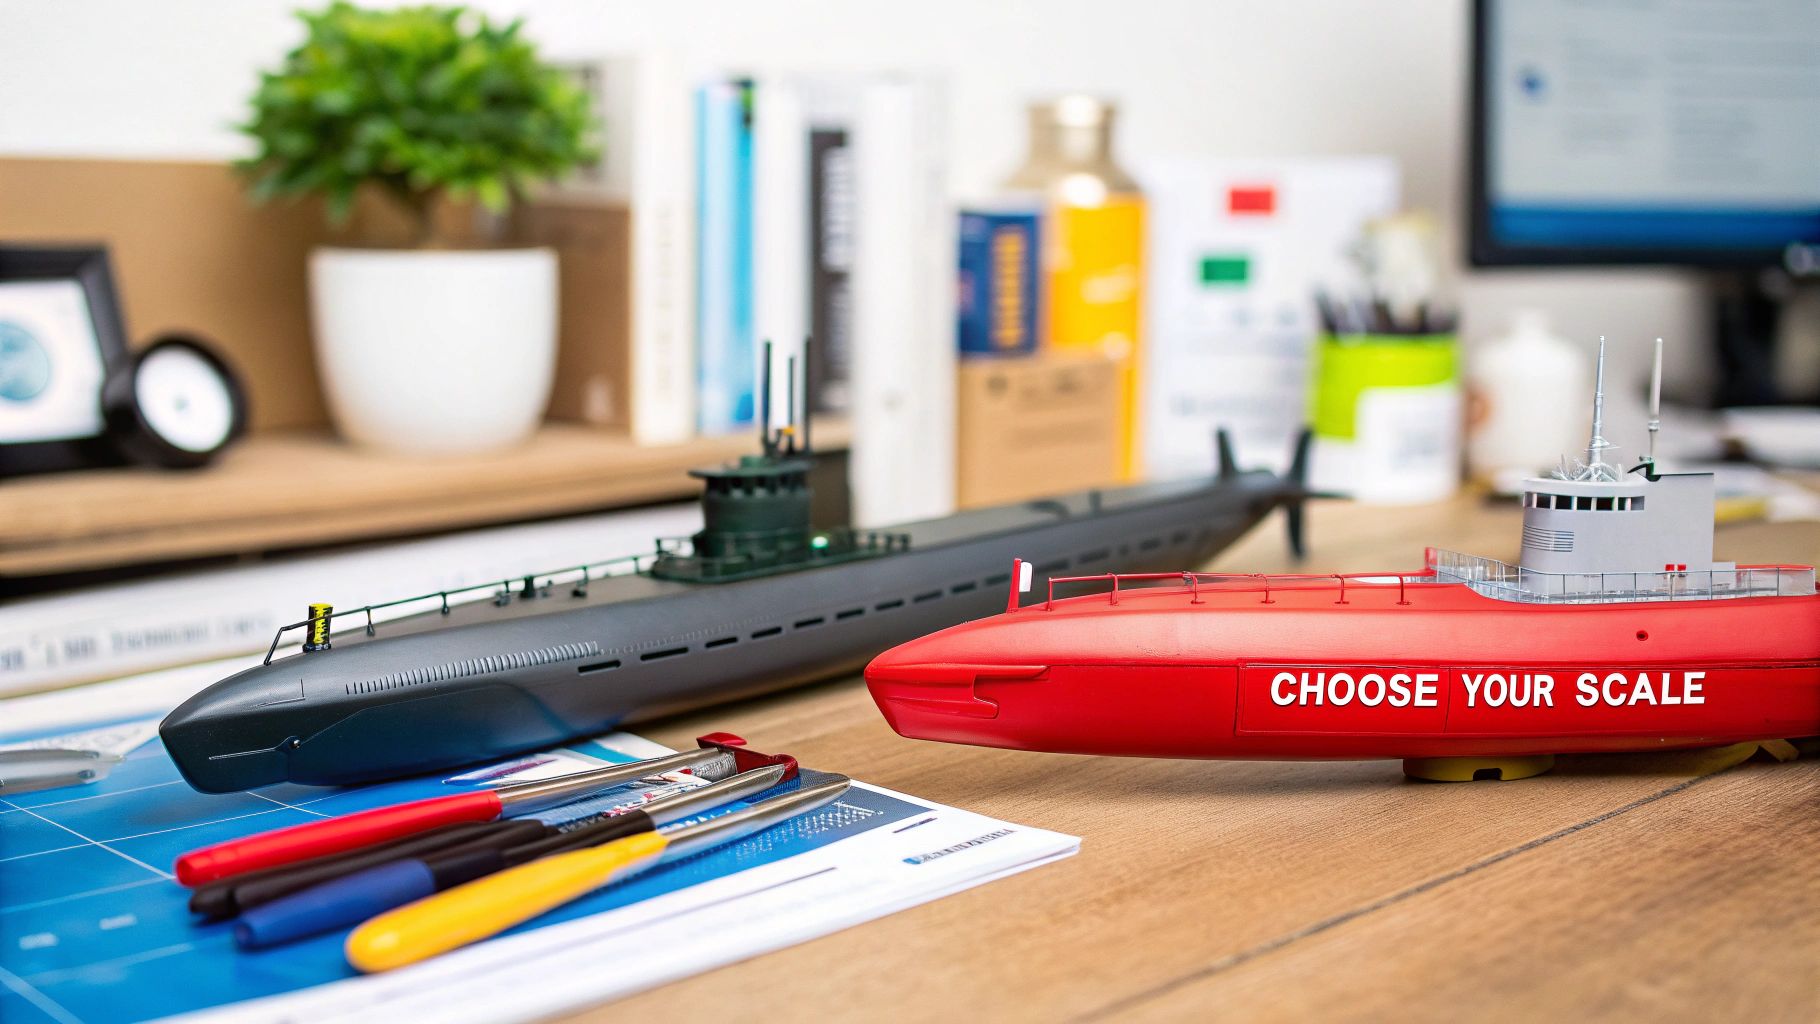
A model kit submarine captures every rivet, viewport and deck detail in miniature form. It’s the kind of project that asks you to assemble, paint and proudly show off – but only if you choose the right kit. Scale, complexity and brand quality all play a part in finding that perfect match.
Understanding Model Kit Submarine Options
Picking your first or next sub can feel overwhelming. One builder might start with a 1/700 Tamiya diesel-electric kit, wrapping it up in just a few weeknights. Meanwhile, a seasoned hobbyist might tackle a 1/350 Revell nuclear vessel over several weekends.
Here are a few real-world scenarios to consider:
- A college student finishes a 1/700 U-boat in under five evenings, gaining confidence for bigger projects.
- A dedicated collector spends Saturday mornings on a 1/350 USS Nautilus, sorting through 200+ parts.
- Modular hulls, I’ve noticed, can halve your gluing steps and keep everything lined up.
Scale Size Tips
Limited desk space often points to 1/700, which builds quickly and fits on crowded shelves.
If you crave crisp detail—and have room to spare—a 1/350 model rewards you with periscope fine points and deck fittings that truly pop.
For coastal dioramas, nothing beats the realism of larger scales; periscopes look more to-scale, and railings come alive.
Below is a quick breakdown of how common submarine propulsion types compare in today’s model market.
Common Scale And Propulsion Breakdown
| Propulsion Type | Market Share (%) |
|---|---|
| Diesel-Electric | 65 |
| Nuclear-Powered | 25 |
| Air-Independent | 10 |
Diesel-electric kits dominate thanks to their historical fame and model availability. Nuclear and air-independent subs add variety, but remain niche.
Material Differences
Polystyrene plastic remains the go-to for beginners; it’s easy to sand and glue.
Once you’ve got some experience, resin parts deliver razor-sharp detail—just be ready for extra filling and tender loving care.
Mixed-media kits pair plastic hulls with photo-etched brass railings, boosting authenticity at the cost of a steeper learning curve.
The chart below shows the projected market growth for submarines from 2024 to 2034.
That steady climb is driven by rising defense budgets and collector interest worldwide.
You’ll also see the global submarine market jumped to $28.8 billion in 2024 and is on track for $47.5 billion by 2034 at roughly 5.1% CAGR. For a deeper dive, check out Global Insight Services.
Manufacturer Reputation
Tamiya and Revell often top lists for crisp molds and clear, illustrated instructions.
Smaller brands may offer bargains, but online communities sometimes flag fit issues or soft detail.
Specialist outfits will even sell upgrade sets—think extra hatches or conning towers—to take your build to the next level.
Assessing Part Count
Part count tells you about complexity and patience required.
A typical 1/700 kit hovers around 50 pieces—perfect for evening sessions.
Mid-range 1/350 models can push past 150 parts, often including photo-etched brass and resin bits.
Hull Design Variations
One-piece hulls get you gluing fast with minimal seams.
Two-half hulls reveal interior framing but demand more seam filling.
If you’re eyeing RC or ballast mods, split hulls leave room to install tubing and servos without hacking your build later.
Skill Level And Budget
Manufacturers now label kits from Beginner to Expert, helping you gauge if the instructions and part complexity align with your experience.
Expect to spend around $20 for a basic 1/700 kit—premium 1/350 models with photo-etched parts can top $100.
Don’t forget paint, glue, and detailing tools; these extras often equal the kit cost.
Always match your first submarine kit to where you are in your journey. Small dry runs in 1/700 help refine painting and assembly before you take on a giant hull.
Bench Space Constraints
Measure before you buy. A 1/350 build can stretch over 12 inches long.
Aim for shelf depth of at least 18 inches to clear tools and keep sprues off the floor.
Clear storage bins help you sort sprues by sprue, saving time and frustration.
Tool And Supply Budgeting
Beyond the kit, budget for:
- Precision cutter: $10
- Sanding sticks: $8
- Pin vise set: $15
- Masking tape: $4
- Hand brushes: $5 each
- An airbrush system: starts around $80
When To Upgrade Kits
Once you’ve nailed several 1/700 subs, level up to 1/350 with photo-etched sets and resin upgrades.
- Photo-etch enhances railings and ladders
- Resin detail kits add sonar domes and deck gear
- Pre-cut masking kits speed up complex camo jobs
Comparing Different Approaches
Static builds focus on flawless paint and glue work.
RC-capable models bring waterproofing, batteries and servos into play.
Dioramas introduce resin water, LED lighting and terrain challenges.
Common Mistakes To Avoid
Skipping test-fits almost always leads to misaligned halves.
- Overlooking flash on parts can compromise detail—clean sprues thoroughly.
- Ignoring small labels on sprues can send you down the wrong assembly path.
- Rushing paint layers often means orange peel or glued-on fingerprints.
Check out our guide on scale model kit options at Fusion Scale Hobbies for deeper insights into choosing the perfect submarine model.
Gathering Essential Tools And Supplies
I always begin by carving out a dedicated bench space—clear of clutter and distraction. Laying out shallow trays means I’m never hunting for cutters or knives during a build. This simple setup saves me precious minutes and keeps the momentum flowing.
Submarine kits demand razor-sharp precision. Tiny hatches and resin photo-etch parts won’t cooperate unless your blades are crisp and your sanding is smooth. Investing in the right tools from the start turns what could be a frustrating afternoon into a satisfying, frustration-free session.
My personal toolkit essentials include:
- Precision Cutters: Flush-cutting edges for clean sprue removal
- Hobby Knife: Ultra-sharp blades ideal for trimming and sculpting
- Sanding Sticks: Multiple grits to finesse seams and smooth surfaces
- Pin Vise Set: Steady drilling for wiring holes or rigging posts
With these basics on hand, you can layer on specialty gear as your skills evolve.
Selecting Essential Hand Tools
Choosing between budget tools and premium gear often comes down to how many kits you plan to tackle each year. If you build once in a blue moon, a $10 cutter and a $8 sanding stick might do just fine. But for the enthusiast pushing out builds weekly, splurging on a $40 ergonomic cutter and tungsten blades pays dividends in longevity and performance.
Here’s how they stack up:
| Tool Type | Budget Option | Premium Option |
|---|---|---|
| Hobby Knife | $5 Starter Kit | $25 Precision Kit |
| Precision Cutters | $10 Steel Nippers | $40 Ergonomic Flush |
| Sanding Supplies | $8 Sanding Sticks | $20 Sanding Bars |
Smart spending on quality tools can reduce part damage by up to 30%, a game-changer for any serious model submarine builder.
Once you’ve settled on your core tools, it’s time to consider safety gear and workspace aids. A daylight lamp with a magnifier is a must for tiny periscope details, while cut-resistant gloves and safety glasses protect against accidental slips.
Organizing Your Work Caddy
I prefer a portable caddy with clear, divided compartments—each one dedicated to a stage of the build. Label trays for:
- Cutting: sprue cutters, knives, spare blades
- Sanding: sticks, bars, micro-files
- Test-Fitting: small clamps, alignment jigs
Small bins keep photo-etched parts from vanishing under a layer of hull dust. And a damp microfiber cloth at arm’s reach makes quick work of fingerprints before paint.
Picking The Right Adhesives And Masking Supplies
Joining plastic panels cleanly hinges on choosing the right glue. I lean on thin liquid cement for seamless hull joins and CA glue for instant tacks. For a deep dive into adhesives, check out our Best Glue for Plastic Models guide.
Primers are your ally for filling micro-gaps ahead of paint. When it comes to masking, low-tack tape and liquid masks are non-negotiable for crisp camouflage lines:
- Stretch tape gently around curves to avoid lifting
- Seal edges with thinned primer brushed on sparingly
- Always test on scrap plastic to prevent paint pull
Beyond hand tools, an airbrush kit takes paintwork to the next level. A single-action model starts around $80, while a dual-action setup can top $150. A mini moisture trap between compressor and brush is my secret for completely smooth lines.
And never skimp on safety: I suit up with disposable gloves, protective eyewear, and an organic-vapor respirator. A compact fume extractor quietly whisks overspray away, and a fire-resistant mat catches accidental solvent spills.
Keeping a jar of isopropyl alcohol and a set of cleaning brushes at the ready means my airbrush and needles stay tip-top throughout a marathon painting session. Store spare parts—needles, O-rings, micro-tips—in clearly labeled bags to avoid the panic of a missing nozzle mid-project.
Building Your Submarine Model Kit
Getting your parts squeaky clean is the first secret to a smooth assembly. A soak in mild detergent and warm water strips away any leftover mold release. This simple prep preserves crisp detail and prevents paint from peeling later.
Before committing glue, dry-fit each hull piece. Even the best kits often reveal a subtle 0.2 mm gap along the seam. Lay sections on a flat surface and mark contact points with a soft pencil.
I like to rig simple aluminum jigs and cheap silicone mats to hold halves in position. It’s a real time-saver when you’re fussing over a perfect seam.
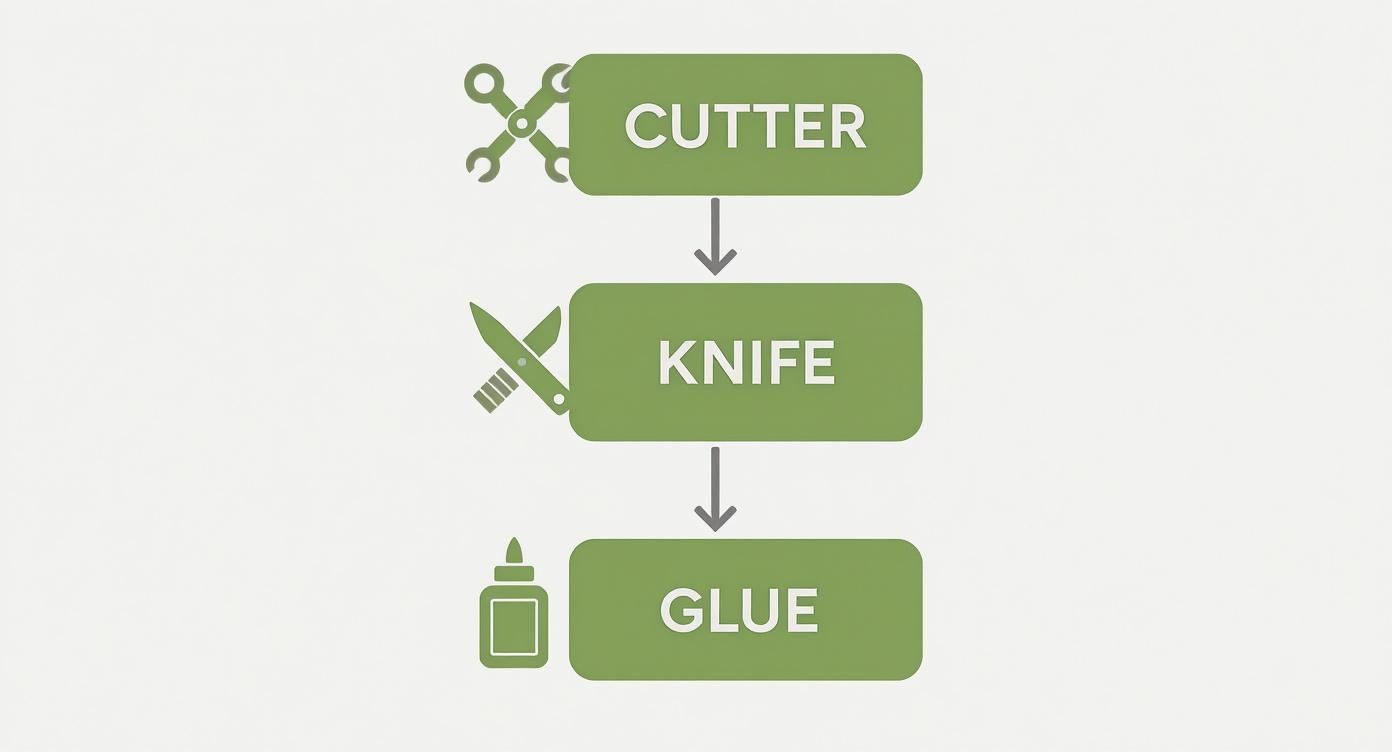
While the graphic shows cutter, knife, glue in sequence, it underscores one key fact: a fresh cutter can reduce sprue damage by over 30%. Next, a sharp hobby knife refines each edge, and solvent cement locks everything together.
Aligning Hull Sections
When those hull halves refuse to close smoothly, shim with strips cut from Evergreen styrene or scrap plastic. A 0.5 mm shim at pinch points makes all the difference.
Push a tiny block of styrene behind the gap to avoid over-sanding — you’ll keep crisp panel lines intact and save hours of chasing recessed detail later.
“Liquid cement in tight crevices welds plastic below the surface.”
That nugget from a veteran builder reminds me to brush in small amounts of liquid cement, then hold parts with micro-clamps until the solvent dries. Once set, I follow with fine sanding sticks, moving finally to a wet 600-grit sponge for a glass-smooth finish.
Reinforcing Delicate Details
On models with railings, periscopes or antennas, strengthening before paint pays off. Thin layers of CA glue firm up fragile bits without adding bulk.
For truly rugged superstructure, drill a 0.3 mm hole in each mating part and insert brass wire. The mechanical bond laughs at rough handling.
Timing matters too. Install periscopes early if you want them rock-solid, or wait until after masking to keep paint lines pristine.
When you’re squinting under a loupe, light makes all the difference. I always use an essential craft light with a magnifying glass to avoid mistakes and protect my eyes.
Filling Seams Without Losing Detail
If your filler flows too smoothly, it can obliterate panel lines. Instead, mix in microballoons for a fine-grain resin that sands easily and self-levels.
Alternatively, Squadron White Putty works beautifully. Apply sparingly with a metal spatula, let it cure, then sand with a 400-grit stick.
Always practice on a spare sprue first. That test run shows you exactly how much pressure to use before touching your finished hull.
Integrating Add-On Parts
Scratch-building missing details can transform a standard kit. I use brass rod for lifelines and refer to photo-etched sets when bending antenna masts to precise angles.
If you’re adding deck fixtures, dry-fit everything, then mark mounting points with a needle. Drill pilot holes and drop in locator pins for repeatable, rock-solid alignment.
- Thin Liquid Cement for invisible seams
- CA Super Glue when you need an instant tack
- Epoxy Putty for filling larger voids
Expert Troubleshooting Tips
Glue blobs can be trimmed away. Score with a fresh blade, then reapply a drop of solvent cement to resmooth.
Warped parts often respond to steam. Hold the piece under a damp cloth, heat gently, and once it flexes back, lock it in place with a tiny spot of super glue.
I always note shim thickness and glue types on my build sheet. That way I can replicate successes (and sidestep past mistakes) on the next dive into scale-sub modeling.
Integrating some market insight can help when you’re choosing aftermarket upgrades. The global submarine market is currently valued at $26.39 billion, climbing to $32.37 billion by 2030 at a 4.17% CAGR.
Finishing this assembly phase means your hull is solid, seams are tight, and all fittings are secure. From here, you’re ready to prime, mask, and watch your miniature sub come alive under paint.
Mastering Painting And Weathering Techniques
Painting can transform a bare hull into a believable war machine. With a bit of airbrush work and weathering flair, your submarine kit will look ready to slip beneath the waves.
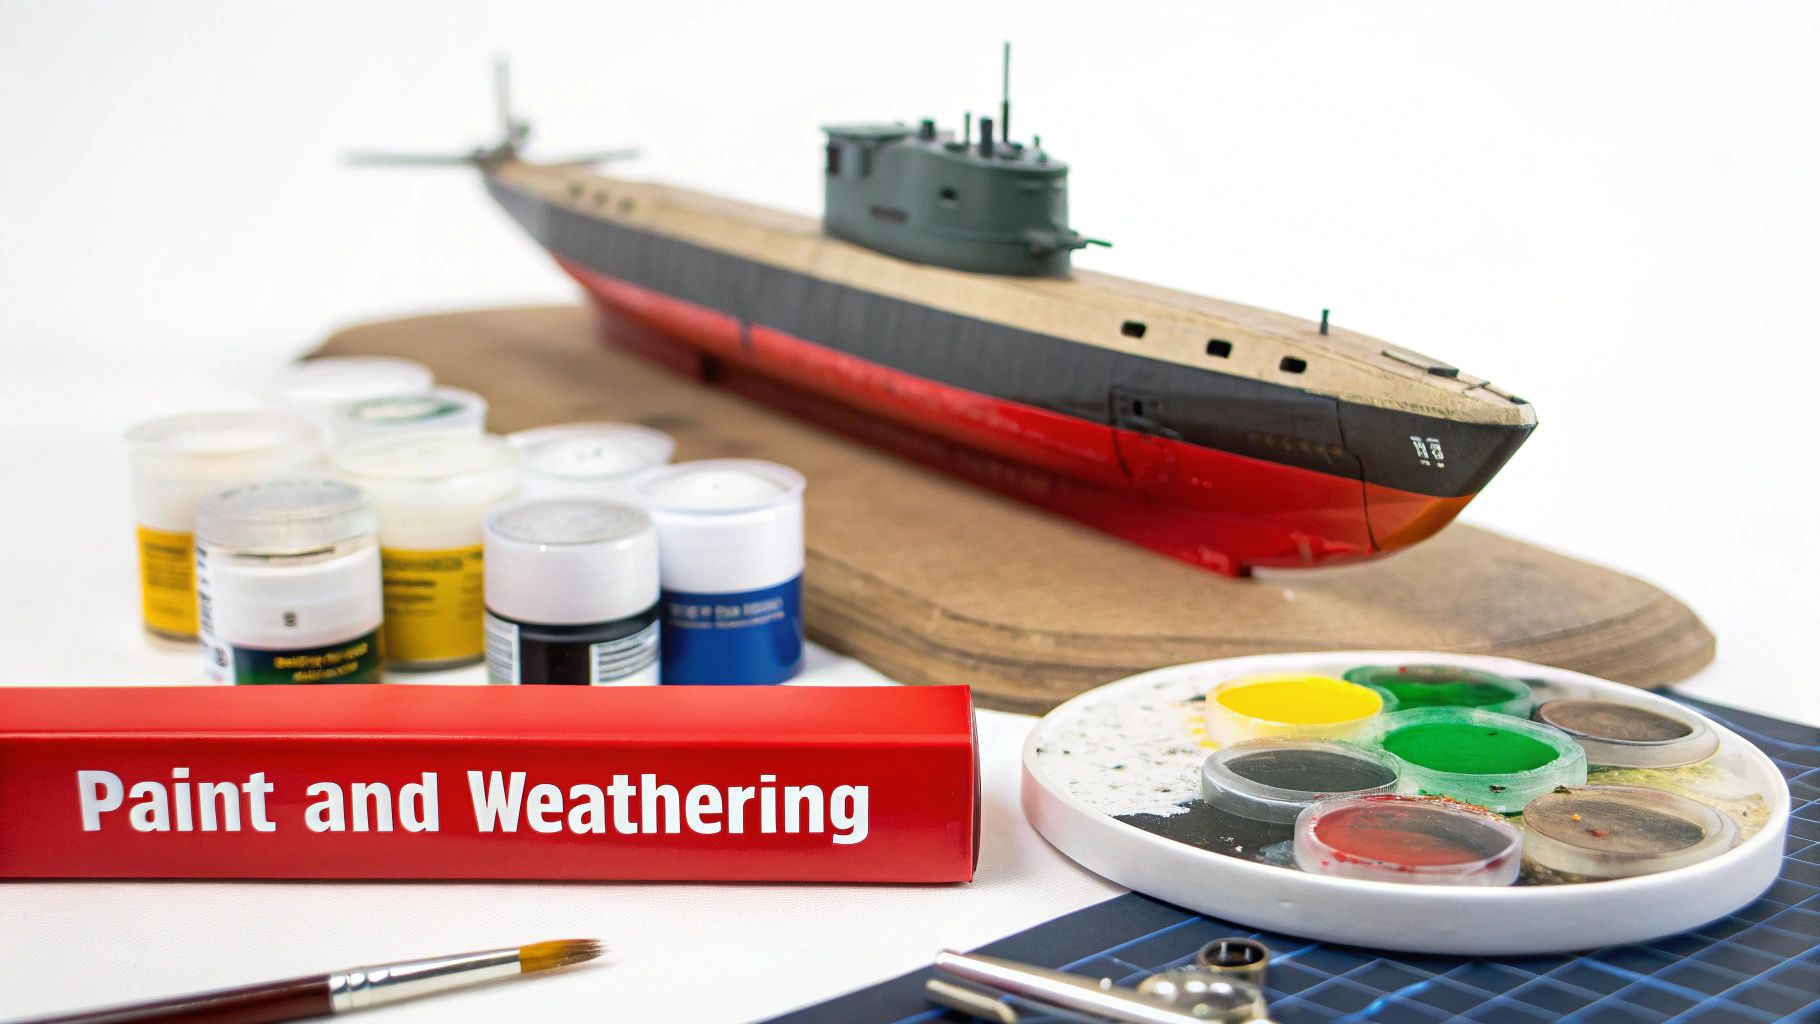
In these shots, you'll see how masking, pre-shading, layered washes, and pigments combine to create depth in real time.
Selecting Paint Types
Deciding on the right paint is more than just color—it’s about finish, working time, and cleanup. For smooth strokes and easy water clean-up, Acrylics are hard to beat. They dry quickly and are almost odorless.
If you want a glossy shell and don’t mind waiting a bit longer, Enamels deliver rich coverage but need solvent thinners. Choose Lacquers when you need a durable, chip-resistant surface—just remember to keep humidity low and ventilate well.
- Acrylic: Fast drying, water cleanup, low odor
- Enamel: Deep gloss, long cure, solvent thinning
- Lacquer: Rapid hardening, high resistance, strict airflow
For a deep dive into paint chemistry, check out Acrylic vs Enamel Model Paint. Viscosity can make or break those fine lines on the conning tower—adjust until the mist is silky.
Setting Up Airbrush Station
A stable work area is half the battle. Aim for 40–60% humidity and pull fresh air in with a small fan. A moisture trap in your airline can eliminate most water droplets, giving you crisp, consistent lines.
- Dual-action airbrush (~$150) for precise control
- Moisture trap (up to 99% efficiency)
- Foam-lined case for needles, nozzles, and spares
A quiet exhaust or filter system keeps paint fumes at bay and speeds up drying.
Pre-Shading And Masking
I always start with a dark grey undercoat in panel recesses. It’s amazing how this step breathes life into flat expanses. Mask tricky curves with low-tack tape, sealing edges with a thinned primer.
- Use small tape pieces around hatches for sharp camouflage
- Peel at a 45° angle to protect edges
| Camouflage Pattern | Complexity Level |
|---|---|
| Two-Tone Hull | Low |
| Multi-Color Scheme | High |
On my Typhoon-class build, pre-shading shaved nearly 20% off painting time and enriched every panel’s character.
Applying Layered Washes
Washes settle into seams and give that lived-in grime you can’t buy in a bottle.
- Mix 70% thinner with 30% paint
- Brush into panel lines, then gently remove excess with a swab
- Repeat in high-traffic zones for deeper contrast
A single wash can make a flat grey hull look 40% more weathered in minutes
After that, dry brushing with a nearly dry brush and a lighter shade highlights raised details.
Using Weathering Pigments
Powdered pigments replicate rust streaks, salt stains, and deck dirt in a way paint alone can’t.
- Iron oxide for realistic rust on weld seams
- Sand-colored pigment for dust on deck grates
Set pigments with a matte clear or a dedicated binder so nothing flakes off. In my Typhoon-class, a 60/40 brown-to-rust mix nailed the look. Keep the effect uniform; no patch should scream “I was here first.”
Seal everything with a gloss coat over enamel washes, then switch to matt to lock in every nuance.
Consistent Finish Tips
Tackle one panel at a time—pre-shade, main color, wash, dry brush, and pigment. Jot your airbrush settings and paint ratios on a notepad. You’ll thank yourself when you recreate the effect.
A well-documented paint sequence can cut mistakes by 50%, boosting uniformity
Filters—super-thinned paint layers—help meld colors. A 10:1 thinner-to-paint ratio is my go-to for gentle tonal shifts.
- Warm beige filter ties different camo patches together
- Gray-green filter tames bright panels without dulling detail
Streak grime by holding the brush vertical and dragging thin lines downward.
Final Weathering Touches
Sharp corners, rivets, and panel edges respond well to a touch of metallic grey dry brushing. For chipping, dab a fine sponge in silver and lightly press on high-wear spots.
Wear zones to watch:
- Deck edges where crew boots patrol
- Hatch levers and railings for metal-show-through
Finish with a satin clear mist—this balances glossy accents and matte weathering without unwanted shine.
Practice And Experimentation
Treat spare sprues as your weathering playground. Test mixtures and techniques until they’re second nature. Label small jars with paint ratios so your next success isn’t guesswork.
Weathering is half experiment, half routine—consistency comes from trial and record-keeping
Before long, your submarine will wear every layer convincingly—and you’ll have fun every step of the way.
Creating Displays And Optional Modifications
Bringing a completed submarine model out of its box and into a scene begins with an environment that feels lived-in. Simple textures and subtle layers can turn a bare hull into a vessel slicing through rolling waves or drifting among ice floes.
Designing Dynamic Dioramas
Start with a quick sketch on grid paper to map out where your waves will break or ice will gather. Then gather these key materials:
- Epoxy resin mixed with 3–5% blue pigment for believable ocean tones
- Clear silicone gel sculpted into crests and highlighted with white paint
- Foam board or insulation foam cut into iceberg shapes
Pour the resin in thin coats, letting each layer cure completely before adding the next.
Layered pours prevent trapped bubbles and create crystal-clear wave details
In one 1/350-scale build I tackled, four resin passes and two pigment densities produced a realistic depth effect. Once the water base is set, brush your foam icebergs with streaks of gray and white to break up any monotony. Finally, seal the edges with thinned acrylic—this keeps stray resin from creeping out and spoiling the neat finish.
Integrating RC And Ballast Mods
Turning a static model into a functional submarine adds an exciting layer of complexity. Here’s how I usually tackle it:
- Carve a hatch in the lower hull to house a custom ballast tank
- Mount micro servos on small styrene brackets to control the dive planes
- Thread ultra-fine wires through pre-drilled keel holes
- Solder those wires to a microcontroller pad, then cover the joints with heat-shrink tubing
For ballast weights, cast resin blocks with steel shot to reach 1.2 g/cm³ density. Use split molds made from silicone or hot glue and demold after about three hours for consistent weights.
Keep these items at the ready:
- Waterproof tape for sealing hull seams
- Silicone sealant to ensure hatch gaskets stay watertight
- Small plastic tubing for controlled ballast venting
Underwater illumination really seals the effect. I mount diffused white LEDs inside clear acrylic domes, hook them to a compact controller like an Arduino Nano, and test everything in a dry-fit hull before the final seal.
North America remains a significant player in the submarine market, with the United States Navy implementing a comprehensive 20-year modernization plan valued at $21 billion to upgrade its defense infrastructure. The US Navy currently operates 68 submarines and plans to expand production in coming years. Discover more insights about North America submarine market modernization on Stratview Research
By blending immersive diorama techniques with optional RC and ballast upgrades, your submarine kit transforms into a living centerpiece—one that invites spectators to imagine the voyage beneath the waves.
Frequently Asked Questions
Q1 What Scale Fits My Desk Space?
When your workbench is tight, 1/700 scale often hits the sweet spot. A 12-inch shelf, for instance, will hold a U-boat kit comfortably while leaving room for your brushes and tools.
- Measure both depth and width in inches
- Compare the kit’s overall length in the specs
- Allow at least 2 inches extra clearance for display accessories
Matching scale to space prevents wasted kit purchases.
Warping And Fit Checks
Q2 How Can I Fix Warped Hull Halves?
A quick warm-water soak and some spring clamps usually do the trick. Submerge the pieces in 120°F water for about 30 seconds, then realign them on a flat surface.
- Soak parts to soften plastic evenly
- Use a metal ruler or straight edge to line up seams
- Apply gentle clamp pressure until everything cools
Painting And Durability
Q3 Which Paints Hold Up Under Clear-Coat Finishes?
I’ve had the best luck with Vallejo, Tamiya, and AK Interactive—their pigments stay true under lacquer. A coat of Mr Surfacer 1000 primer ensures your paint grips the hull.
Thin your paint to a milky consistency, then build up several light layers. Wait 10 minutes between coats for smoother results.
Keep a spray booth or fume extractor handy to block dust.
- Target 50% humidity for even drying
- Record paint ratios and airbrush settings for future builds
Pro tip: Annotate your paint-to-thinner ratios and pressure settings for repeatable results.
RC Conversion
Q4 Can I Convert A Static Kit To Radio Control?
Absolutely. You’ll carve tiny hatches for micro servos on the dive planes, slip in a silicone ballast bladder, and run ultra-fine wires through pre-drilled hull holes. Seal everything with aquarium-grade silicone and cycle through your controls before the final glue-up.
Dive deeper into our best-selling model kit submarine supplies today at Fusion Scale Hobbies: https://fusionscalehobbies.com